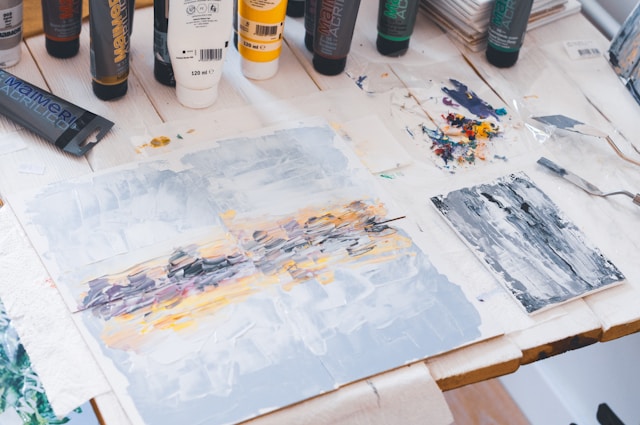
Canvas painting offers a unique and satisfying creative outlet, but like any artistic endeavor, it comes with its own set of challenges. Whether you’re a seasoned painter or just starting, understanding common obstacles and how to tackle them is key to producing your best work. Here, we’ll explore the primary challenges artists face when working with canvas and offer practical solutions to overcome them.
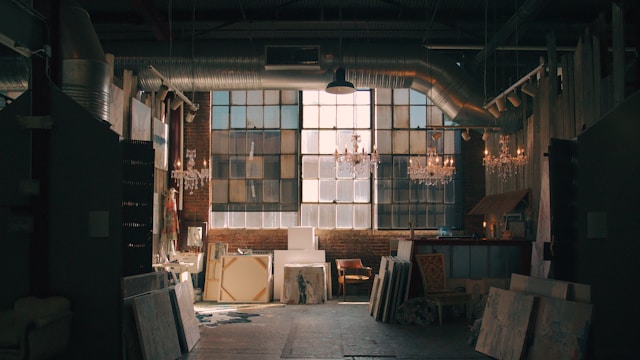
Setting up an art studio in Texas is an exciting step toward pursuing your artistic ambitions. With its thriving arts communities, affordable spaces, and available resources, Texas provides a great environment for artists. However, the process involves careful planning, including selecting the right location, complying with regulations, and understanding your studio needs.
Varnishing an oil painting is an important final step in the painting process that helps protect the artwork from dust, dirt, and UV rays while enhancing its appearance by bringing out the colors and creating a uniform finish. But, varnishing should be done carefully to avoid damaging the painting. Here’s a guide on how to varnish your oil painting correctly.
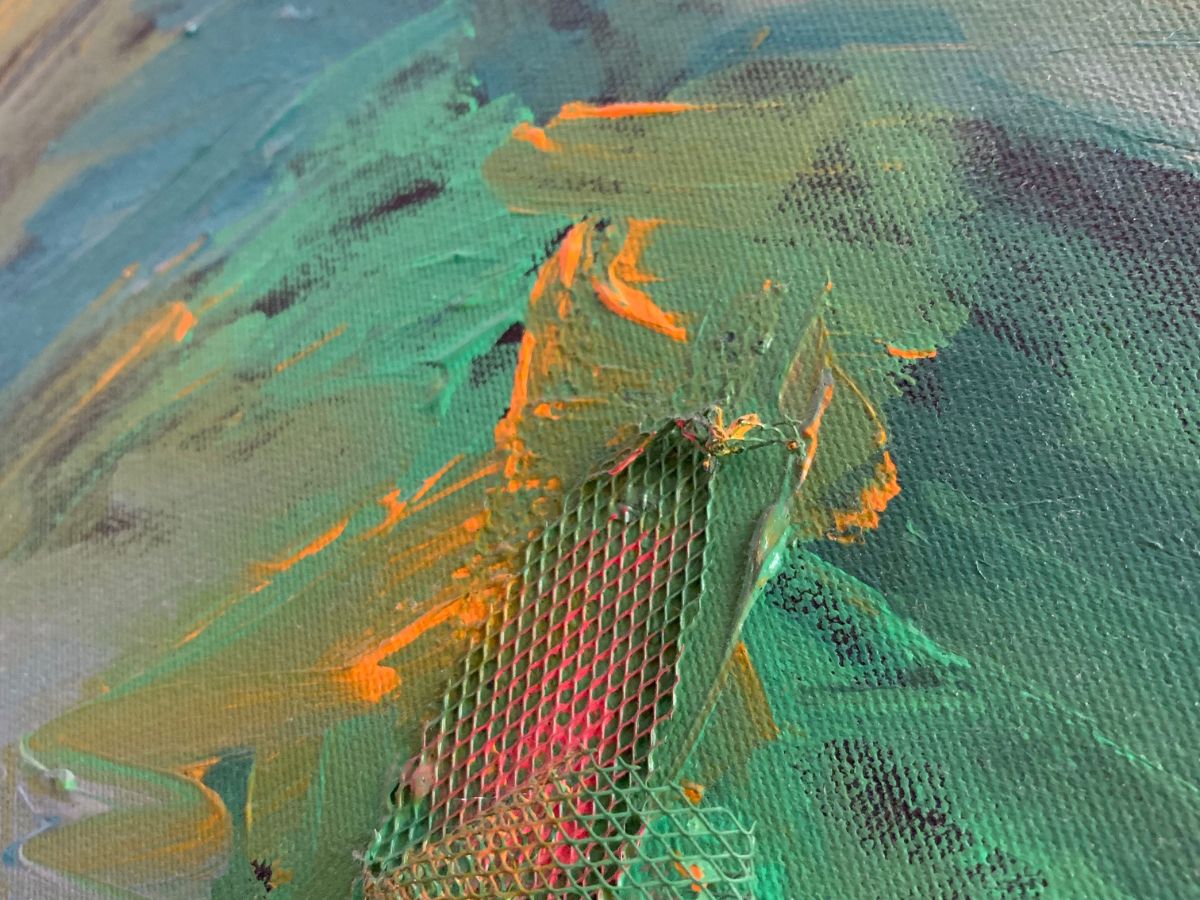
Mixed media art, as the name suggests, is the combination of various materials and artistic techniques within a single artwork. This art form thrives on versatility, allowing artists to mix traditional media like painting and drawing with non-traditional elements such as photography, textiles, and found objects. This creates unique, textured, and layered pieces that challenge conventional artistic boundaries.
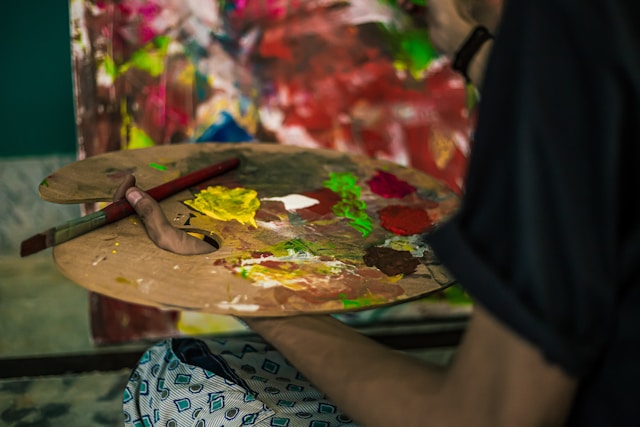
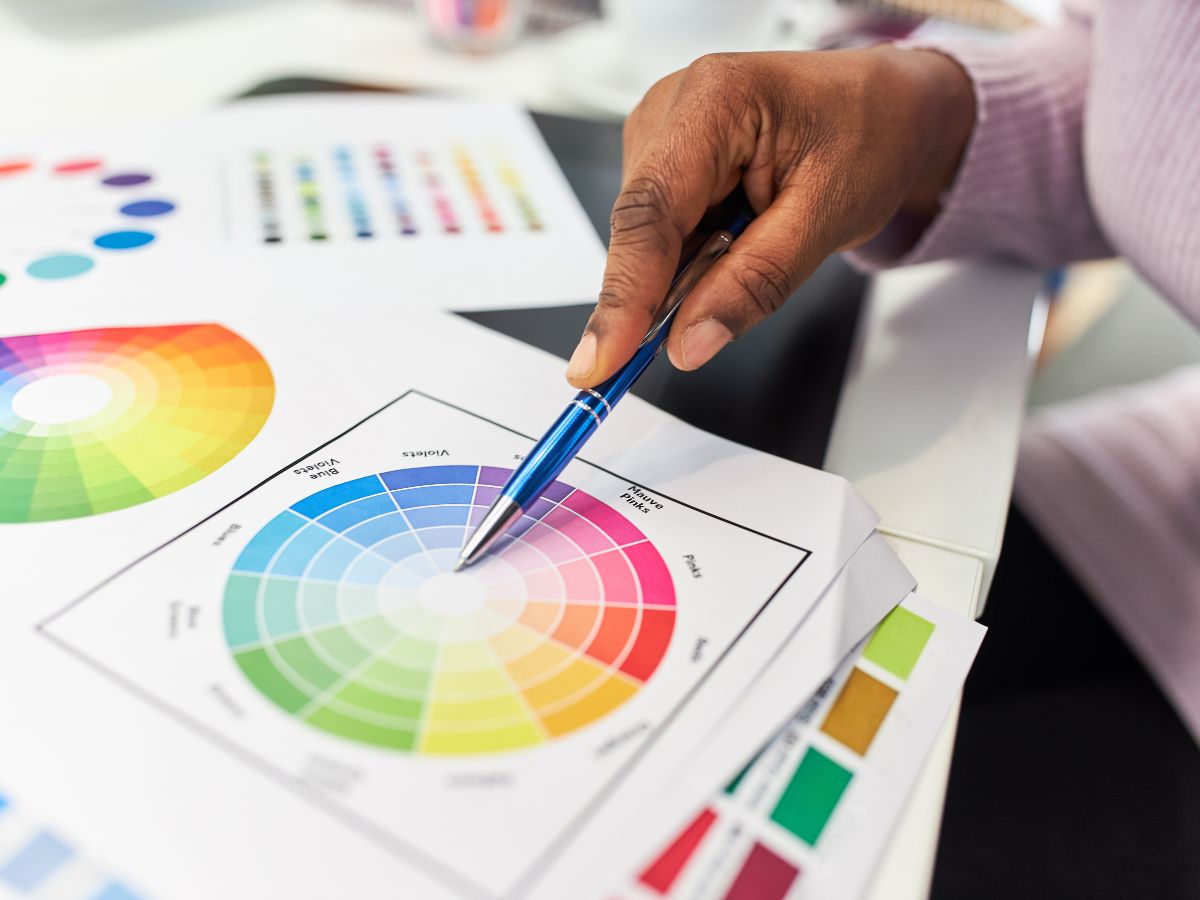
Color theory is a fundamental aspect of canvas painting, serving as a guide for artists to create visually engaging and emotionally resonant artworks. By understanding the principles of color interaction, artists can elevate their work, ensuring that their paintings are not only aesthetically pleasing, but also evoke the intended emotions in the viewer.
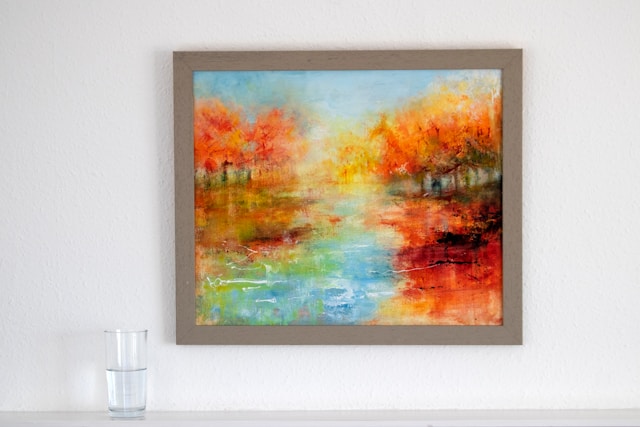
When it comes to the world of art, the canvas serves as a foundation upon which artists bring their visions to life. Whether it’s a masterpiece destined for a museum or a personal creation meant to adorn a living room wall, the choice of canvas can significantly impact the final outcome of a painting. In this blog, we’ll explore the differences between using a cheap canvas versus an expensive one and how each choice influences the artistic process and the resulting artwork.
First, the quality of the materials used in the construction of a canvas can vary greatly between cheap and expensive options. Cheap canvases are often made with lower-grade materials, such as synthetic fibers or thinly stretched cotton, which may lack durability and stability over time.
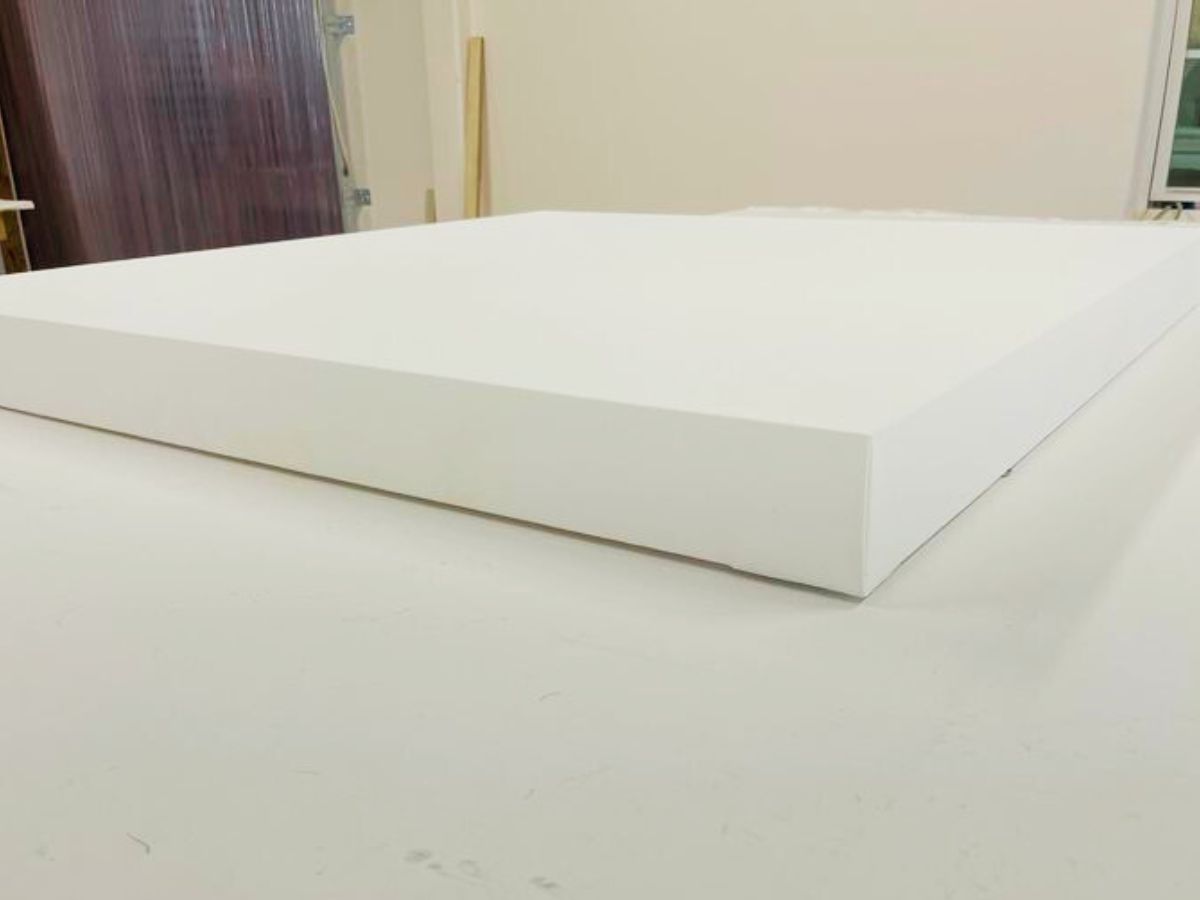
Blank Canvas For Painting
On the other hand, expensive canvases are typically crafted from high-quality materials, such as linen or heavyweight cotton, which offer superior strength and longevity. Stretcher bars, or the frame that holds the canvas, in expensive canvases are made from sturdy, solid wood that will not break easily. This ensures that the fabric remains intact and will not sag in the future. All of CanvasLot canvases are made from high quality and heavy duty materials from the fabric to the wood frame.
This difference in material quality can have significant consequences for the longevity of the artwork. Paintings on cheap canvases are more prone to warping, sagging, and deterioration over time.
The surface texture of the canvas can greatly impact the painting process and the final appearance of the artwork. Cheap canvases often have a rough, uneven texture that can interfere with brush strokes and impede the artist’s ability to achieve fine details and smooth transitions.
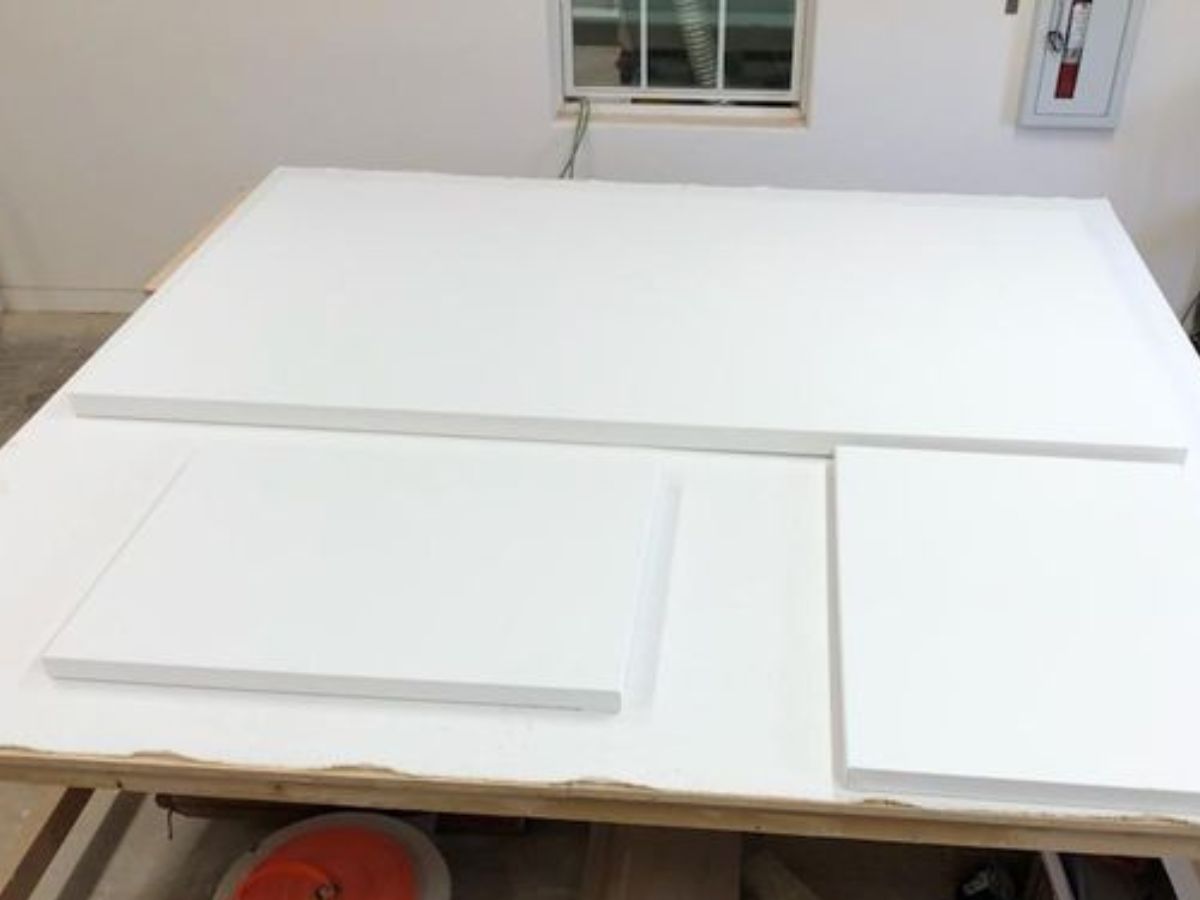
Custom artist canvases
In contrast, expensive canvases typically feature a smoother, more finely woven surface that provides greater control and precision for the artist. This difference in texture can result in paintings with more refined and polished finishes, making them visually more appealing and aesthetically pleasing.
In addition to material quality and surface texture, the stretching and priming of the canvas also play a crucial role in determining its suitability for painting. Cheap canvases are often poorly stretched, with loose or uneven tension, which can create distortions and irregularities in the finished artwork. Also, cheap canvases may be inadequately primed or primed with low-quality gesso, resulting in poor paint adhesion and color saturation.
Meanwhile, expensive canvases are meticulously stretched to achieve optimal tension and primed with high-quality gesso, providing a smooth and stable surface for painting. This superior stretching and priming process ensures that the canvas remains taut and durable throughout the painting process, allowing the artist to work with confidence and precision.
Finally, the cost of a canvas can also reflect the level of craftsmanship and attention to detail that went into its production. Cheap canvases are typically mass-produced using automated processes, resulting in inconsistencies and flaws that can lower the overall quality of the artwork.
Expensive canvases are often handcrafted by skilled artisans who take pride in their workmanship and strive to create a superior product. While expensive canvases may come with a higher price tag, they offer greater value in terms of durability, performance, and aesthetic appeal.
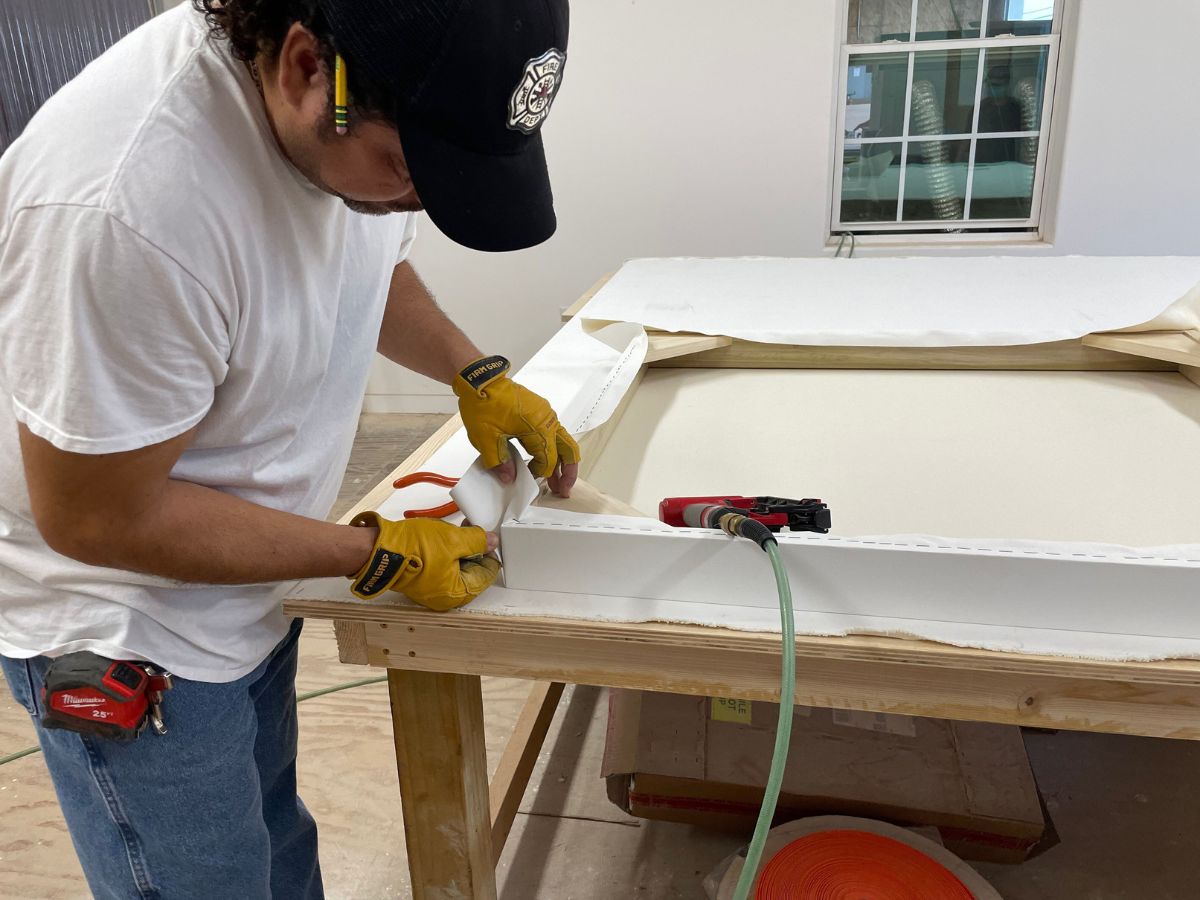
Custom Stretched Canvas
Which canvas to choose?
The choice between using a cheap canvas and an expensive one can have a significant impact on the artistic process and the final outcome of a painting. Cheap canvases may offer a more affordable option, but they often sacrifice quality, durability, and performance.
On the other hand, expensive canvases provide superior materials, surface texture, stretching, priming, and craftsmanship, resulting in paintings of higher quality and longevity. Ultimately, investing in an expensive canvas is not just a matter of price, but a commitment to the integrity and longevity of the artwork.
Embarking on a painting journey is an adventure filled with boundless creativity and artistic exploration. Yet, before we can unleash our brushes upon the canvas, an important decision must be made—do we purchase a pre-stretched canvas or stretch the canvas ourselves?
There are pros and cons to stretching your own canvas and buying a pre-stretched canvas.
Stretching your own canvas
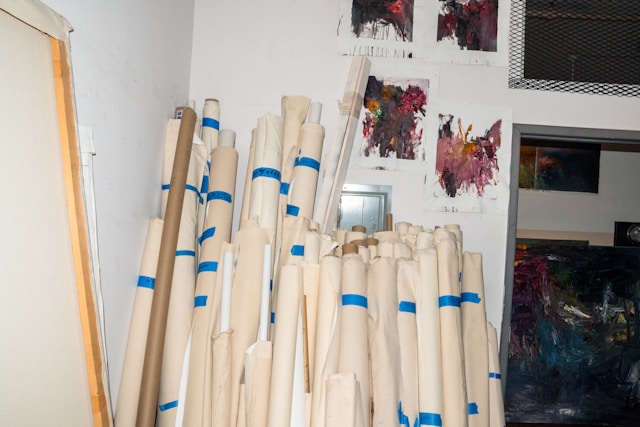
Canvas rolls in an art studio
Pros
1. Cost-effective. Artists stretch their own canvas for the savings they will incur in the long run. You remove the cost paid for professional services, but keep in mind that you have to buy in bulk in the beginning (canvas rolls, stretcher bars, tools, etc.).
2. Personalization. Stretching your own canvas gives you the freedom to customize the canvas according to your preferences and artistic vision. You have complete control over the materials that will be used in your canvas.
3. Additional learning. Most artists can learn how to stretch a canvas. It will be challenging at first, but it’s a valuable learning experience.
Cons
1. Time consuming. As with other DIY projects, stretching a canvas can be time-consuming, especially for beginners. Think about whether the savings is worth the time you’ll spend in the stretching process.
2. Skill. It’s a learned skill to stretch a canvas. An Internet search on tutorials on how to stretch a canvas may help you, but it’s better to have proper guidance from an experienced artist or craftsman.
3. Space. You need to have ample space to stretch a canvas.
Buying Pre-stretched Canvas
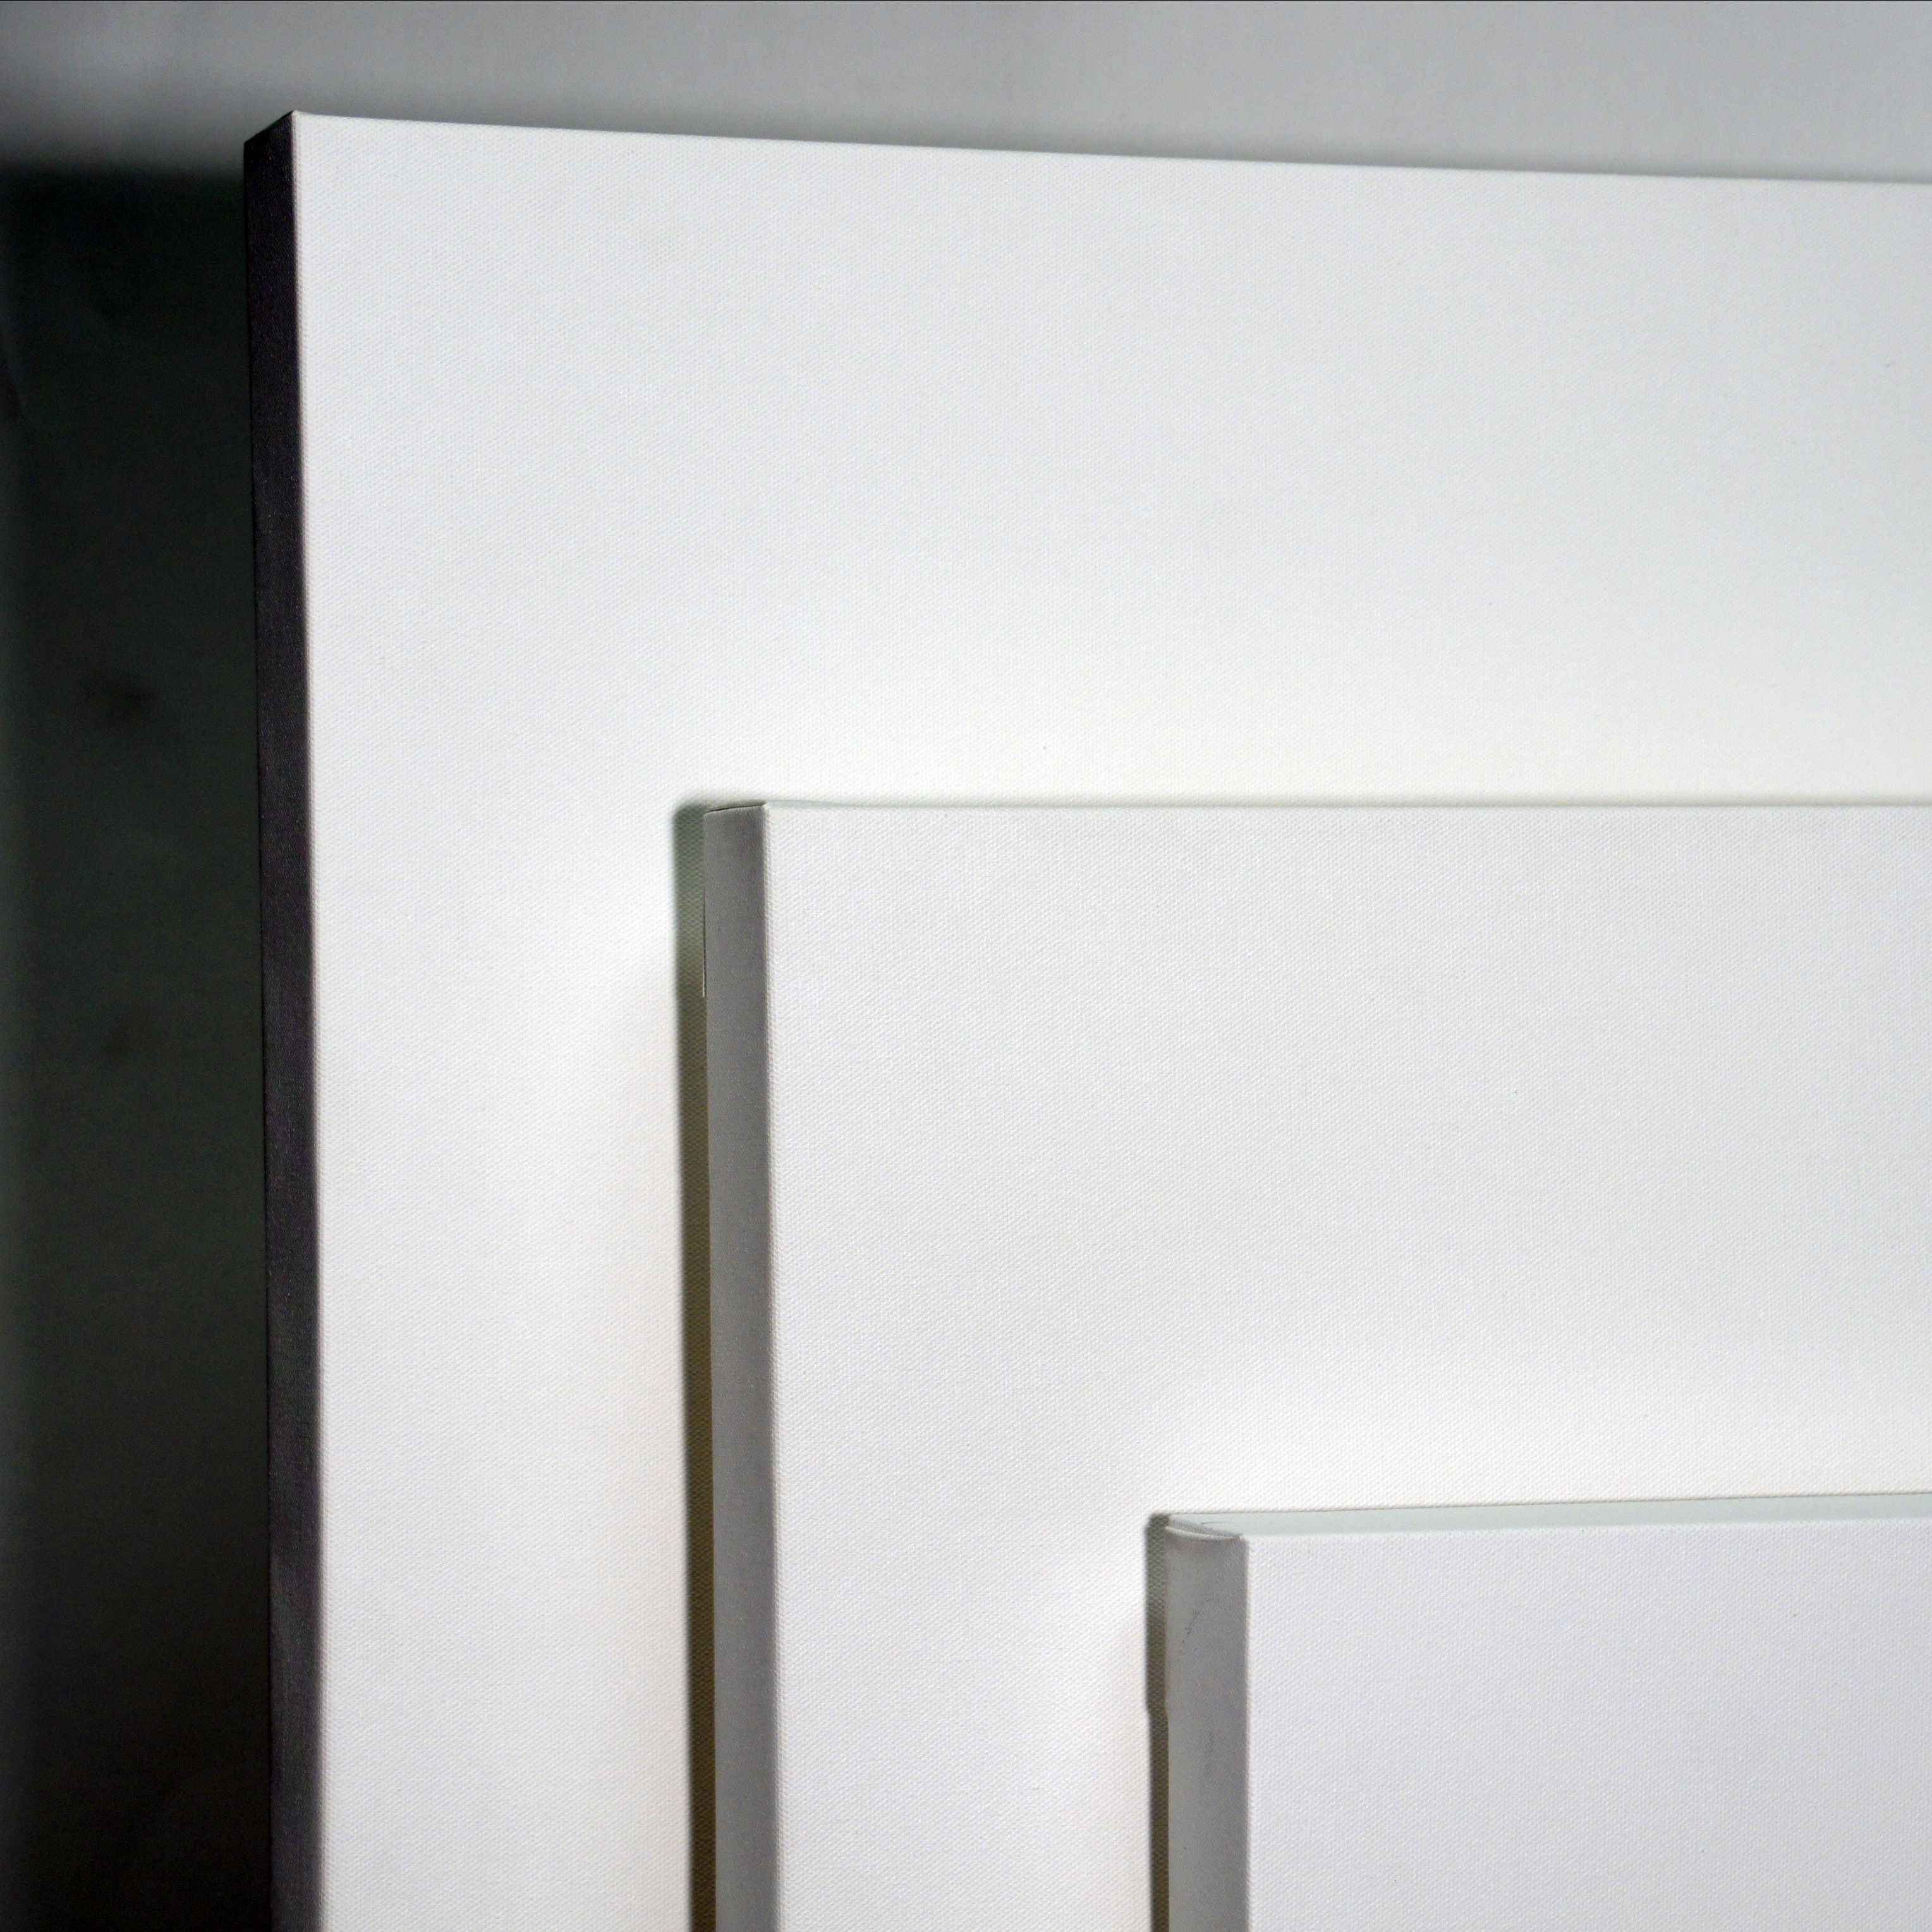
Several sizes of pre-stretched canvases
Pros
1. Time-saving. Buying a pre-stretched canvas frees you from the laborious task of stretching and priming, allowing you to devote more time to the creative process itself.
2. Convenient. A pre-stretched canvas gives you the simplicity of a ready-to-use surface. Whether you’re painting in the comfort of your studio or amidst the hustle and bustle of a plein air adventure, a pre-stretched canvas is a portable, hassle-free companion that empowers you to create wherever inspiration strikes.
3. High quality. Pre-stretched canvases are crafted with care and precision, ensuring a professional-quality surface. They provide a stable foundation that resists warping and sagging, preserving your artwork for generations to come.
Cons
1. Limited sizes. Off-the-shelf canvases may be limited in size and you might not find the right canvas that you need. But, there are shops like CanvasLot that offers custom-sized canvases from 6 inches up to 12 feet.
2. Changes in surface tension. Temperature changes, improper handling, vibrations are a few factors that affect the surface tension of a pre-stretched canvas.
Final word: Should you stretch your own canvas?
Whether you’re working with your own stretched canvas or a pre-stretched one, there are advantages to both options. If you’re working on large paintings regularly, stretching your canvas have its perks. But, if you paint once in a while, or you like to create small and medium artwork, then pre-stretched canvases are for you.
Selecting the perfect canvas for your acrylic masterpiece can be likened to choosing the ideal brushstroke—each decision shapes the final outcome. With a lot of options available, from stretched to unprimed, finding the best quality canvas can feel like navigating a labyrinth of artistic choices.
To help you choose the best canvas for your acrylic painting, here are three factors to consider:
Fabric. Painting canvases are commonly made from two materials–linen and cotton. Artists agree that linen canvas is the better canvas compared to cotton because of its durability and archival quality.
Cotton, on the other hand, provides a softer and smoother surface than linen. It’s also more accessible and budget-friendly. All of CanvasLot’s canvases are made from 100% cotton.
Prime or Umprimed. Priming a canvas gives you a smooth surface to paint on and helps prevent it from rotting. Most canvases are pre-primed with gesso to save you time and effort. Acrylic paint adheres better on a primed canvas and the paint will not sink into the canvas. All of CanvasLot’s canvas surfaces are double primed with acid-free acrylic gesso ready to be painted on.
If you enjoy preparing your canvas from scratch, you can choose an unprimed canvas and apply gesso yourself.
Custom-sized canvases from CanvasLot
Types of Canvases. There are several types of canvases available in the market, each catering to different skill level, painting style, budget and desired outcome.
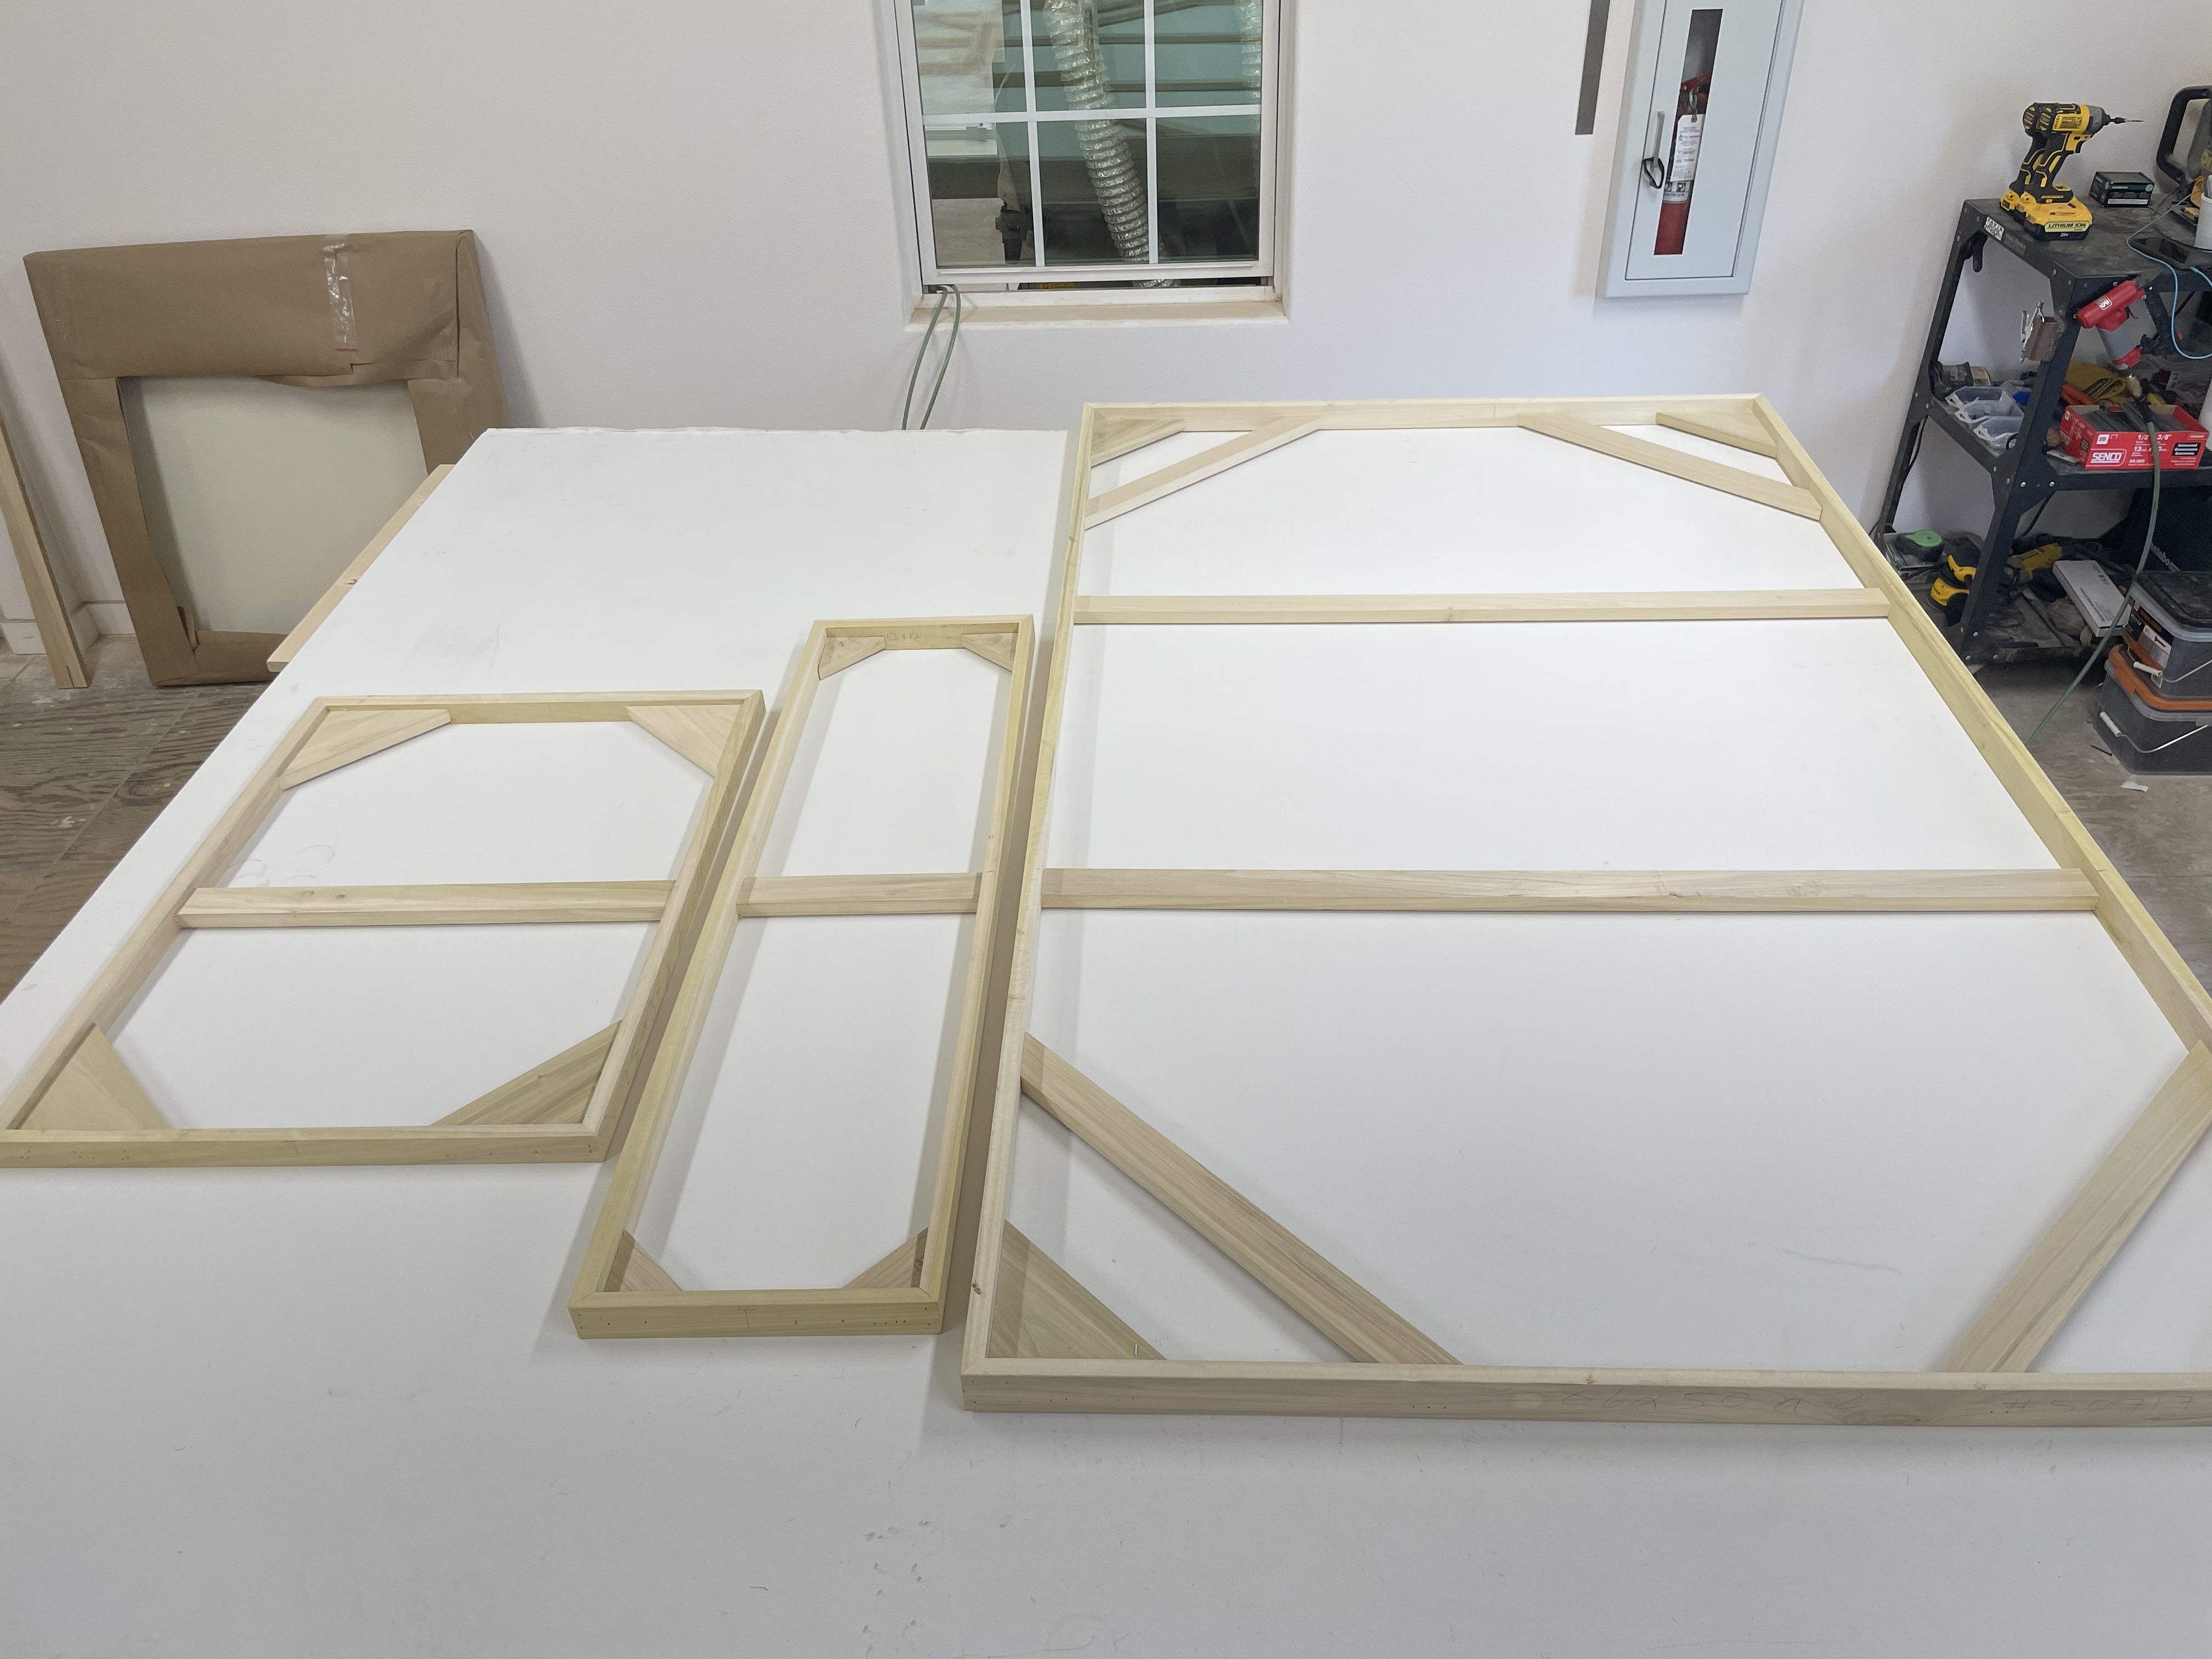
Stretched canvas – A stretched canvas is one of the most popular types of canvas for acrylic painting. The fabric (either linen or cotton) is stretched over and stapled on a wooden frame called stretcher bars.
Canvas panels – A more affordable alternative to stretched canvas, canvas panels are usually made from cotton that is mounted onto a rigid board. It is thinner, more portable and is a good choice for beginners.
Canvas papers – These are sheets of primed canvas that are bound together as a pad or book. Another budget-friendly option that’s ideal for students and novice artists.
Canvas rolls – A canvas roll is usually used used when creating large paintings. It is made from linen or cotton and comes in different weights, textures and fibers. You can get it primed or unprimed. Sold by yard, canvas rolls are on the expensive side of canvases. This option is ideal for an experienced painter.
In conclusion, the best canvas for acrylic painting depends on your personal preferences, skill level and budget. Whether you prefer the convenience of pre-primed canvases or the tactile allure of unprimed linen, selecting the perfect canvas is an important step in bringing your artistic vision to life.
Want to know more about canvases for painting? Contact us and we’ll gladly answer your questions.
Having an artwork is an investment both emotionally and financially. Whether you’re the painter or the art collector, making sure that your painting is in pristine condition should never be a difficult task.
Here are five simple ways on how to care, clean and store your artwork:
Dust regularly. Keep your paintings in tip-top shape by dusting them regularly. If the painting is on a wall, bring it down first and place it on the floor against a wall at an angle before dusting.
Use a soft, clean brush or a microfiber cloth to gently sweep away dust and dirt. Think of yourself as a painting detective, revealing the true beauty hidden beneath the grime! Avoid feather dusters since its fibers could latch on the canvas and edges of the paint itself.
Photo by Joseph Morris on Unsplash
Avoid direct sunlight. Sunlight—the painter’s best friend and worst enemy! While natural light can enhance the beauty of your artwork, prolonged exposure can cause colors to fade and canvas to deteriorate faster than last week’s leftovers.
Keep your paintings out of direct sunlight or consider using UV-filtering glass to protect them. It’s like giving your masterpiece its own pair of sunglasses!
Check the temperature and humidity. Whether you’re hanging or storing your painting, it’s important to pay attention to the room’s temperature and humidity. Avoid extreme heat and cold temperatures since these will damage your artwork.
According to art experts, between 21-24 degree Celsius is the optimal temperature to keep paintings. Be mindful of ceiling lights which can deteriorate your painting in the long run. Also, keep your paintings away from air conditioning units, radiators, fireplaces, and air vents.
Store properly. When it’s time to tuck your paintings away for a little rest, give them the VIP treatment! Store them vertically in a cool, dry place away from damp basements and hot attics.
If you’re stacking them, make sure to place protective sheets between each painting to prevent scratches and smudges. The front of the canvas should be stacked against the front–and not the back, of another canvas. Make sure that the stretcher bars rest over stretcher bars so there are no sharp edges (corners) pushing into the canvas of another painting.
Tip: Put paintings on crates or other stable platform to prevent the them from touching the ground that exposes them to dirt. And, if you live in a flood-prone area, these crates will keep your paintings safe and dry.
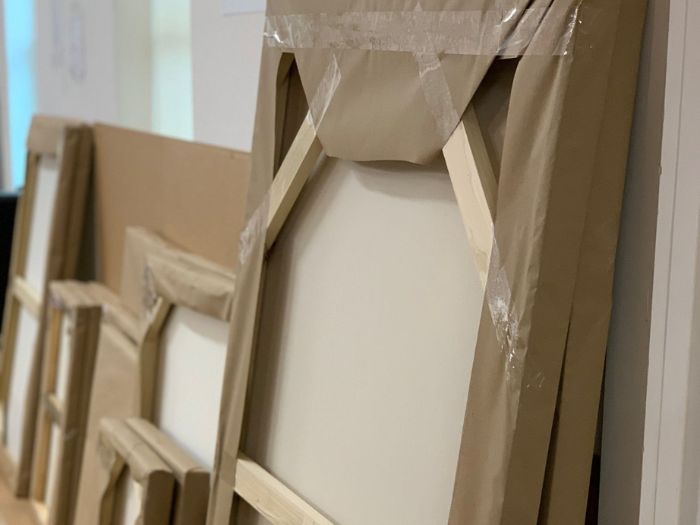
Packed canvases
Handle with care. Always handle your painting with care. Hold the artwork by the frame or edges and prevent touching the surface of the painting. The oil in your fingertips can damage the artwork.
Always have acid-free paper, bubble wrap, corner protectors, foam cushions, etc. on hand. These inexpensive items will protect your painting while in storage, and during moving or shipping.
Packing and shipping framed canvas art requires careful attention to ensure the artwork arrives at its destination safely and in pristine condition. Here’s a step-by-step guide to pack and ship framed canvas art:
1. Gather materials. Before you begin, gather all the necessary materials. You’ll need a sturdy cardboard box slightly larger than the artwork, acid-free paper, bubble wrap, air cushions, packing paper, packing tape, cardboard corner protectors, and a marker for labeling. 2. Wrap the artwork. This step has many layers. Take your time during this step.
Make sure that the frame is secure and there are no loose piece (hanging hardware, wires, etc.) that could damage the art during shipping.
Use acid-free paper to wrap the artwork. This will protect the piece from marks and indentations that could damage it.
Tightly wrap the artwork in cling film. Start from the back of the frame and wrap the cling film around the artwork several times.
Wrap the framed canvas art in several layers of bubble wrap. Take note that the bubbles should be facing away from the surface of the painting. Ensure that the entire surface of the artwork is covered, paying extra attention to the corners and edges, which are vulnerable to damage during transit. Secure the bubble wrap in place with packing tape.
Tip: When packing a very large framed artwork, it’s better to remove the glazing since there’s a greater risk of the glass breaking during transit. Put a clean sheet of cardboard on the painting to protect it.
Packed canvases for shipping
3. Protect the corners. Place cardboard corner protectors over the corners of the framed canvas to provide additional reinforcement and protection against impacts.
4. Prepare the box. Line the bottom of the cardboard box with a layer of packing paper or bubble wrap to cushion the artwork. If shipping multiple pieces, separate them with additional layers of packing material to prevent them from rubbing against each other.
5. Position the artwork in the box. Carefully place the wrapped and protected framed canvas art in the center of the box, ensuring that it is positioned upright and does not touch the sides of the box. Fill any empty spaces with additional packing material, such as bubble wrap or packing peanuts, to prevent shifting during transit.
Tip: Make sure that you’ve filled the box with air cushions and/or insulation foam so the artwork doesn’t move at the center of the box.
6. Seal the box. Once the artwork is securely positioned in the box, seal the box with packing tape. Reinforce the seams and edges of the box to prevent it from opening during shipping.
7. Label the box. Use “Fragile” and “Handle with Care” stickers all around the shipping box. Include the sender’s and recipient’s addresses, as well as any special instructions for the carrier.
8. Choose a shipping method. Select a reputable shipping carrier that offers insurance and tracking services for valuable items. Consider opting for expedited shipping or additional insurance coverage for added peace of mind.
9. Schedule pickup or drop-off. Arrange for the packaged artwork to be picked up by the shipping carrier or drop it off at a designated shipping location. Be sure to obtain a receipt or tracking number as proof of shipment.
10. Monitor shipment. Keep track of the shipment’s progress using the provided tracking number. Notify the recipient once the artwork has been successfully delivered.
Packing a canvas art may take so much of your time, but it will give you and your client peace of mind. Also, remember that the time spent packing your artwork is a fraction of the time you spent creating it.