Are Artist Wood Panels Archival?
If you’ve ever wondered whether a painting will still look beautiful decades or even centuries from now, you’re asking the right question. Creating great art is only part of the process. Choosing the right surface is just as important.
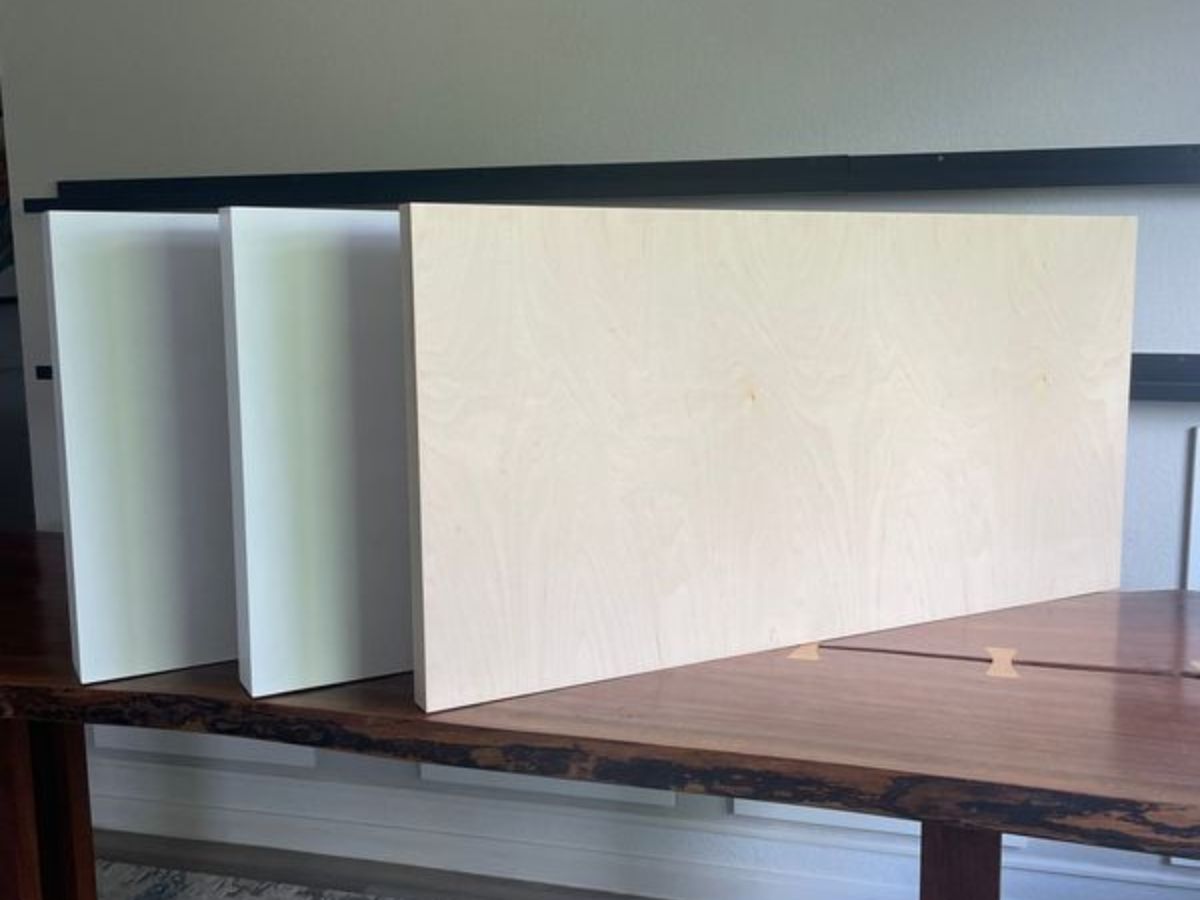
For many artists, wood panels are a top choice because of their strength, stability, and long-term durability. In fact, some of the world’s oldest surviving paintings, such as the “Pitsa pinakes” of Greece dated to the second half of the 6th century B.C., were created on wooden panels, proving that when they’re properly prepared and cared for, they can stand the test of time. Modern conservation research continues to recognize wood panels as a reliable support for long-lasting artwork.