6 Tips for Painting on Large Canvases
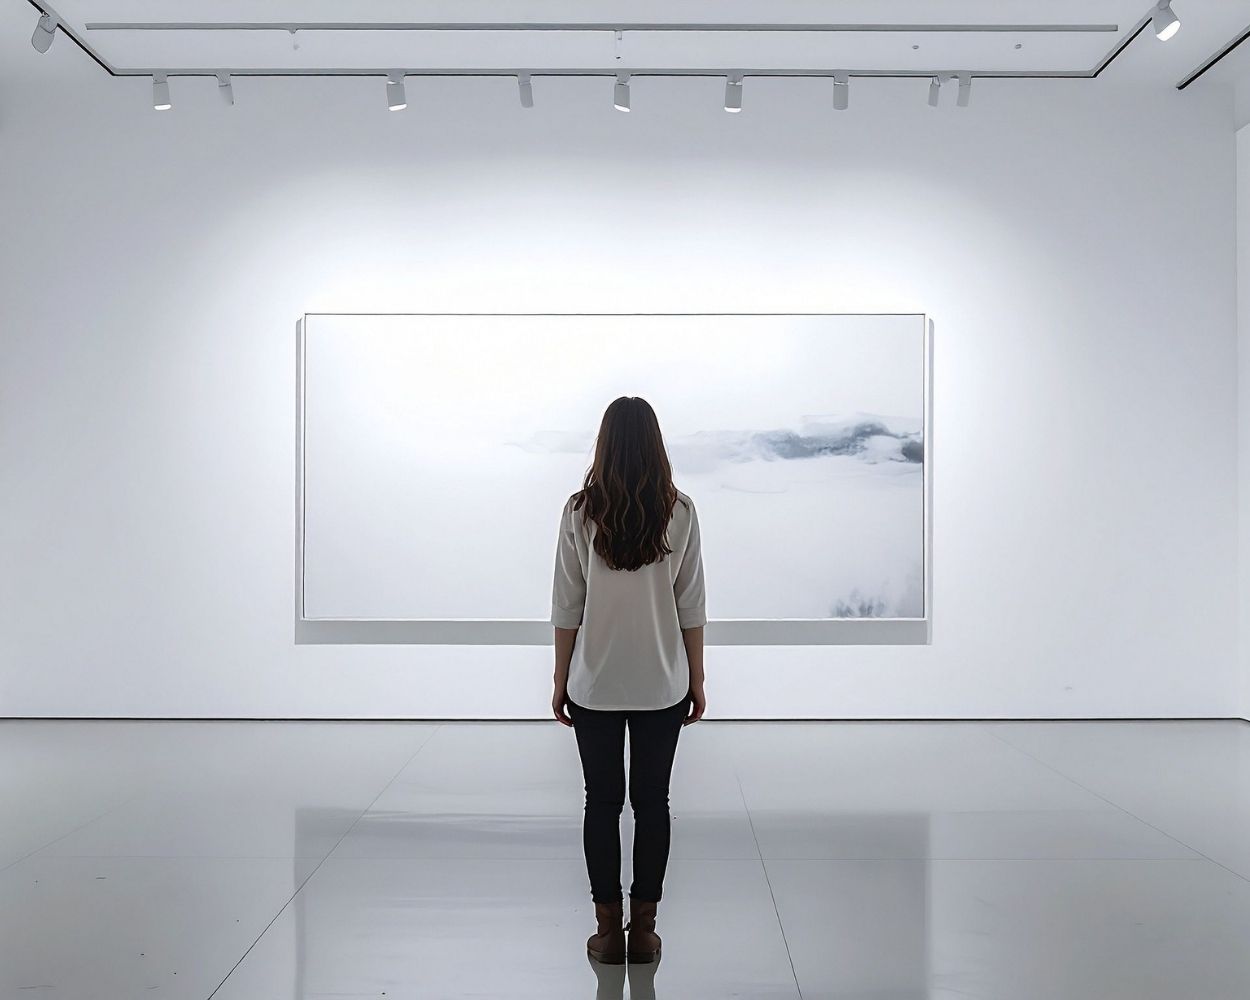
There’s something thrilling about standing in front of a large canvas. The scale invites bold decisions, expressive gestures, and a physical connection to your art that smaller formats simply can’t match. But that sense of freedom can also come with challenges: intimidation, proportion issues, time management, and even fatigue. Here’s a guide to help you approach large canvases with confidence and clarity.