6 Factors to Consider When Photographing Your Paintings
Creating a masterpiece on canvas takes time, skill, and passion. But what good is your stunning artwork if you can’t capture its brilliance on camera? As a proud creator of art, it’s natural for you to show it to the world.
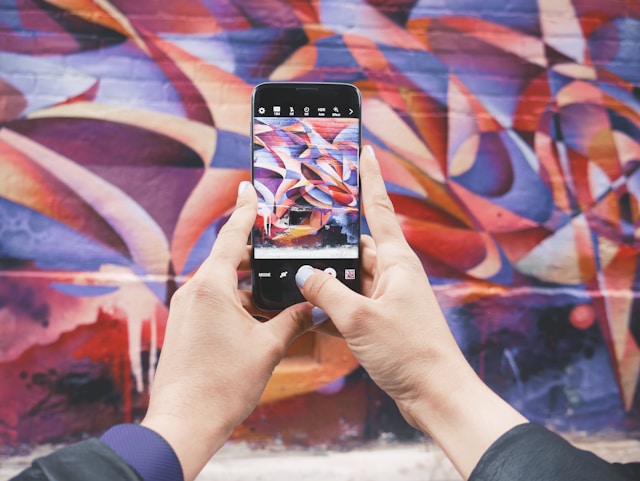
Whether you’re photographing your paintings for personal satisfaction, art shows, or grants, here are some factors to consider to hopefully help you capture the beauty of your work like a pro!
1. Lighting. Like a painting itself, lighting can make or break your photograph. Indirect, natural light is your best friend, so position your artwork near a window or in a well-lit room. Beware of harsh sunlight though—it can cast unwelcome glares and distort colors.
If you’re pressed for time and the weather isn’t cooperating, you can use two artificial lights such as flashlights or table lamps. A simple triangle setup will be useful in reducing shadows on your photos. Place the lights between the canvas and the camera with the lights pointing at a 45-degree angle towards the painting. The camera should be behind the lights.

2. Position. Hang your painting on a neutral colored wall (black, white, gray). Make the center of the artwork parallel to the position of your camera. A tripod is useful to get good shots, especially if you’re photographing several paintings.
3. Composition. Tell a story with your photos. If you’re tired of taking 2-D images of your paintings, try including props (art materials), changing angles, or let someone else take a picture of you working on your artwork. Experiment and see which photos work for you.
4. Background. Your artwork is the star of the show, so don’t let a cluttered background steal its thunder. Clear the space around your painting of distractions—coffee cups, stray brushes, or that rogue sock—and let your canvas art shine in all its glory.
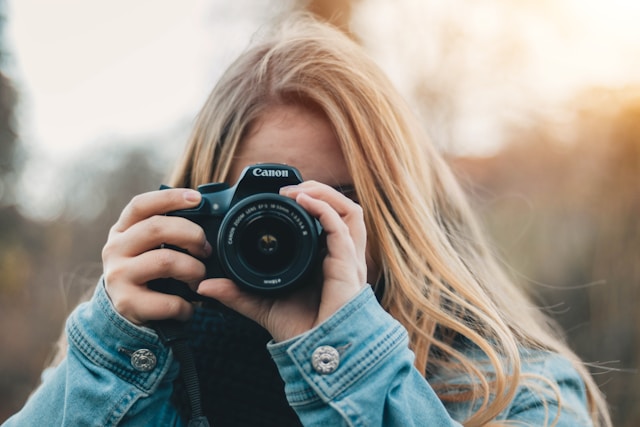
5. Camera settings. Ensure your camera’s focus is razor-sharp on every brushstroke and color gradient. Take your time to adjust the focus manually if needed, and don’t be afraid to zoom in for those intricate details. Your painting’s precision deserves nothing less than crystal-clear perfection.
6. Editing. Taking a photo of your painting doesn’t end once the photo is snapped. If you’re on a budget, there are free and inexpensive photo editing software that you can use to edit your photos. With these programs, you can do minor adjustments, crop the photo, adjust the color and contrast, and remove impurities.
Hope these will help you capture the beauty of your paintings and how you represent yourself professionally. Of course, there are other factors to consider when photographing your paintings, but these six are the basic and are a good starting point.