10 Landscape Painting Tips to Create More Depth, Light, and Impact
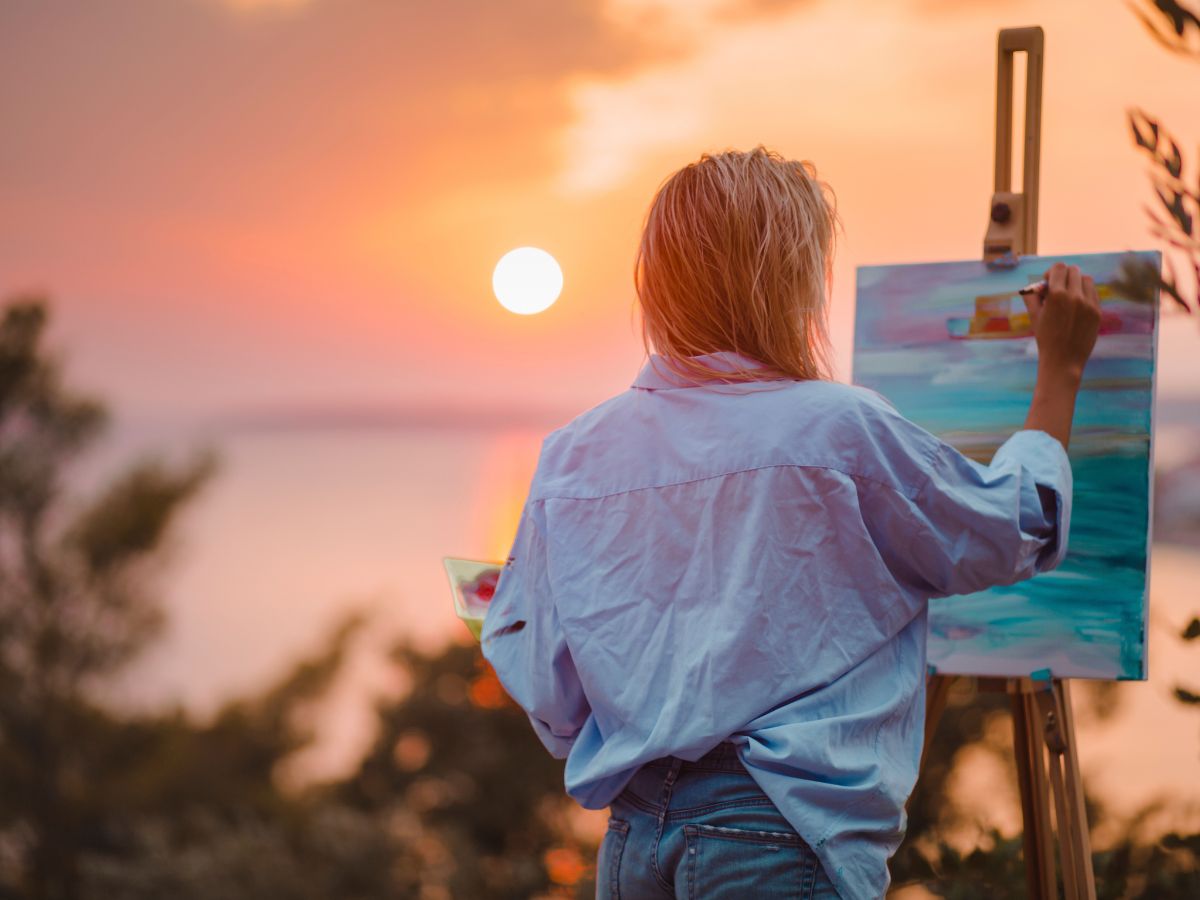
Landscape painting is one of the most rewarding art forms. Whether you’re standing in front of a mountain at sunrise or working from a favorite reference photo, every landscape offers a chance to tell a story through color, light, and atmosphere.
The challenge? Nature is full of detail. Knowing what to include and what to leave out is what separates a good landscape painting from a great one. Here are ten practical tips that will help you paint stronger, more engaging landscapes.