Learn the Oil Painting Technique: Wet into Wet
Also known as Alla Prima (Italian for first attempt), wet-on-wet means you simply paint over wet paint. The goal in this technique is to finish the whole painting before the first paint dries therefore working fast is the key. Here are some things that you need to know about wet-on-wet painting.
• You start the wet-on-wet technique using thinned oil paint for drawing. Then you place spots of colors all over the painting to fill it in because the sketch usually dissolved or over-painted as the painting progresses. The painting can be adjusted slightly with glazes and highlights after it dries.
• Blending colors is easy with wet on wet technique. You can directly place one color onto your canvas, and then add other colors and blend with brush or knife to you desired shade. But you have to make sure that you mix colors rapidly and with clear understanding of color theory and keeping in mind the form that you’re trying paint. Expertise with brushwork is very important to do the trick.
• The beauty of wet-on-wet technique is that it sustains the fresh and spontaneous inspiration that come as you paint. For me it is the most intuitive way to paint. Creating a portrait with the technique will require expertise in mixing colors to match your subject.
• It may require few layers of paint to complete the painting, in which case it is easy to overfix the paints, which can look labored and weak. This is the stage where many beginners give up, but if you press on, you can master wet-on-wet technique and create works with the amazing freshness and spontaneity that only wet on wet can provide.
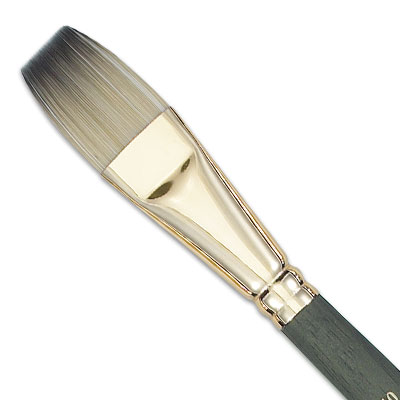
• When working wet-on-wet pull the brush along its length with the handle close to the surface. You get two strokes with a flat bristle brush, one side then the other, look at the brush for any paint it picked up and wipe it. Think of the brush hairs as if they were the fingers on your hand stroking the surface. This method allows wet paint to go over another (wet) color with clean results.
Using this technique have its advantages. One is you don’t need fine drawing skills. Blending is also quite easy in this technique so you don’t need extensive blending of colors. Lastly, your paintings can be completed quickly (about 2 hours to 2 days only) because you have to make sure that you’re working on wet paint.
This technique is quite advanced and requires a bit of painting experience. Using the Wet-on-Wet method, a dedicated practice and experimentation are all that is necessary to achieve masterpieces that you never imagined you can possibly do.
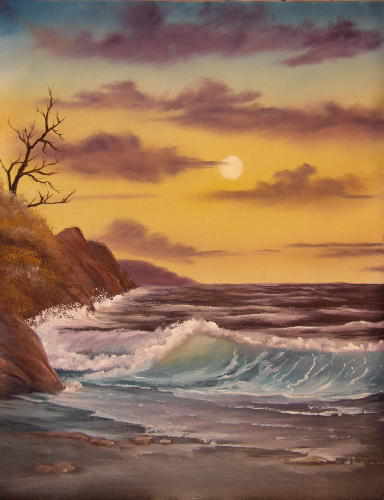
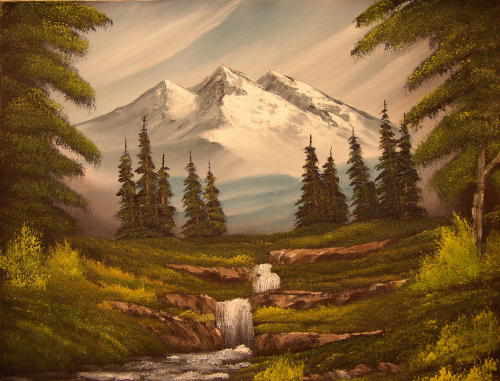
Paintings by Morris Hinson http://www.thumbartsguild.com/artist/mhinson.html