Tagged: canvas painting

How to Clean your Paint Brushes

Canvas-textureAside from canvas, one of an artist’s most important tools is his/her paintbrush. Your paintbrushes are your investment and you have to take good care of them so you can use them for a long time and you get your money’s worth. It’s a waste of money if you just leave your brushes after painting and they end up worn and unusable next time you paint. If you clean your brushes and store them properly, you can lengthen the lifespan of your brushes.

After painting, it’s wise to clean your brushes and store them well. Here are steps on how you can clean your paint brushes.

1. Prepare the things you need. Get your paint thinner, turpentine, or mineral spirits, a small container, and some old newspapers or tissue.

2. Wipe off excess paint from your brush using the newspaper or tissue. Gently squeeze the bristles from the ferrule (metal part of the brush) to the tips. Keep squeezing the brush but not too hard as to pull on the bristles.

3. In a small container, put some thinner, enough to dip in your brush. Rinse the brush to loosen more paint. You can use lukewarm water if you used a water-based medium in your painting. Important: Don’t use hot water since it can expand the ferrule which causes the bristles to fall out.

4. Wipe off excess paint with more newspaper. Squeeze off the thinner from the brush.

5. Wash the brush using a mild soap (liquid soap can also be used). Put soap on the brush and gently create a lather in a container or your palm. Let the soap penetrate the bristles to loosen more paint. Use disposable gloves if you’re concerned about possible absorption of Cadmium into your skin.

6. Rinse and repeat until there’s no trace of coloring coming out of the brush.

7. Shake off excess water and use the newspaper to get most of the water out of the brush.

8. Gently re-shape your brush head to its correct shape using your fingers.

9. Leave the brush to dry at room temperature and store it bristles-up in a jar.

Important:

  • Clean your brushes immediately after painting.
  • Don’t leave your brushes soaking in thinner since it will weaken the glue holding the bristles together.
  • Be patient when cleaning your brushes. Rinse it several times to get off the paint.
  • Use separate brushes for oil painting and water-based mediums.

Image source: About.com

Why Buy Canvas Art Supplies in Bulk?

shipping-blank-canvasesAs a struggling artist, you are always in the lookout on how to get canvas art supplies at less costs but without sacrificing quality of the items. One advice that you can consider is buying in bulk. Carefully choose which art supplies you want to buy in bulk to avoid having too much of an item which would just collect dust in your studio. You may be put off by the upfront cost but here are the advantages of buying wholesale:

1. Less cost per unit. Bulk buying is economical in the long run. If you compute the price of an item bought in wholesale, you will see that it is cheaper than when you buy the same item per piece. Bulk buying means you are not paying for each item’s individual packaging, labels, advertising, etc. This savings adds up money to your wallet and you can get cheaper deals when buying in bulk.

2. Environmentally-friendly. In line with number 1, bulk items lessen the impact on the environment. Manufacturing every piece of art supply takes enormous energy and resources, from packaging to storing. The Environmental Protection Agency revealed that we generate about 80 million tons of waste every year. All the boxes, containers, and cans which we throw end up in landfills, and you can help Mother Nature by buying in bulk since you reduce waste from getting to these landfills.

3. Save time. Bulk buying also means fewer trips to the art store. It can be annoying when inspiration strikes but you can’t start painting because you don’t have all the supplies you need in your studio. You’ll have most of what you need at hand so you not only save your time, you also save gas money and wear on your car. Instead of spending your time in the store, you spend it in engaging in your artistic and creative pursuits.

Tips for buying in bulk:

  • Organize your inventory. List the art supplies which you frequently use (canvas, paints, turpentine, etc.). You can also use this task to free some space in your studio for the items which you will be buying in bulk.
  • Check out art supply stores about their wholesale policies. Inspect the items which you can buy in bulk and see at which store you can get the most savings.
  • If your local art store offers a membership card since you’re buying in wholesale, you might want to consider getting one. This card can give you future discounts and incentives.

Tips for Building a Successful Online Artist Profile

writer

When it comes to building an online business, artists should include in their priorities writing a quality profile. It may seem not as important as creating your canvas art, but if you want to increase your success rate selling your pieces online, then you have to spend some time drafting your profile.

Here are some tips on how to build an impressive online profile:

Tip 1 – Create an engaging profile. Write about some interesting details about your life, focusing on how you were led to the painting business. Tell why you paint, how do you use your paintings as an expression, and write in the first person narrative (I, we, my). If your site visitors can connect with you on a personal level, they are more likely to purchase your art than those who don’t have that kind of connection.

Tip 2 – Edit your profile. Don’t write a long, complicated profile. Read it to a friend first and if he loses interests after awhile, then you’ll know you’ve written a lengthy one. Ask for your close family and friends what they think about your profile and consider their comments.

Tip 3 – Use correct grammar, spelling, and punctuation. There are websites such as SpellCheck.net which you can use to check these things. Don’t post your profile until you’re sure it’s free from errors. It shows that you care about the littlest details and are serious about your business.

Tip 4 – Use effective keywords in your content. Keywords are important in getting high rankings in search engines such as Google and Yahoo! Using the right keywords will help people find you across the web. Include top keywords which attract people who you want to buy your art works. These will drive qualified traffic to your website. The more popular the keyword, the more traffic it will bring you.

marshall_kerry_james
International renown artist, Kerry James Marshall

Tip 5 – Include your best photo as your profile image.  Use a good photo of yourself.  People are visual creatures, especially in the online world. We want to see the person behind a blog or website. Seeing your profile picture lets other people know that you really exist and they will be more comfortable communicating with you if they have a picture in their mind of how you look like. It’s difficult to connect with someone whom you don’t know how he/she looks like. Eventually, you will have the occasion to meet your clients, so they should connect your profile photo with you in person.

Image source: http://mileswmathis.com/ and http://newsgrist.typepad.com/

Shipping Canvas Arts

serv_shippng_banner_01

Shipping your canvas art may be a bit tricky. You have to deal about your work’s safety, security, packaging, etc. If it’s your first time to deliver a piece to a gallery or your customer, here is a list of shipping companies offering several services in packing, transporting, and even storing art pieces. Not all carriers are listed but this list should give you an idea where to start.

Artex Inc. Artex is one of the country’s largest fine art service provider. Founded in 1990, the company employs museum-trained professionals and specialists to provide a comprehensive range of services in art shipment. Artex has offices in Washington D.C., New York, Boston, Fort Lauderdale, and Los Angeles.

Artworks San Diego. Artworks San Diego offers a full range of high quality art handling services. Art specialists are trained to safeguard art pieces and they have contingency plans for almost any problems that may come up while transporting the items.

Atelier 4. Atelier 4 has 20 years in the art shipping industry. Its flagship operation was established in 1989. Atelier 4 manages a 65,000 sq.ft. secure facility with climate controlled storage rooms for individual pieces or entire collections.

Atthowe Fine Art Services. Atthowe Fine Art Services is a third-generation business operating its facilities in Oakland, California. It has custom-designed warehouses which are temperature and humidity controlled. It provides services mainly in California and the western states.

Cookes Crating Inc. Cookes Crating is one of the country’s oldest and most trusted fine arts shipping company. It specializes in crating, shipping, installing, and storing fine art. It serves the art shipment needs of museums, galleries, and collectors for more than 35 years.

Crown Fine Art. Crown Fine Art specializes in the transportation, installation, and preservation of art works. It provides services to museums, art galleries, collectors, and auction houses. The company operates several offices including in the US, UK, Belgium, China, France, Germany, Italy, and the Middle East.

Dietl International. Dietl International offers world-class international logistics solutions for complex shipping situations, including shipping museum-quality art works. Merging with Rock-it Cargo USA, LLC in 2008 strengthened its position in the logistics industry, acquiring additional resources such as in-house Carnet service, additional air and ocean routes, and specialized equipment.

Nippon Express. Nippon Express has transported the world’s most priceless masterpieces including the Mona Lisa and Venus de Milo. The company has professionals in handling, packaging, and transporting these priceless items.

Racine Berkow Associates. Racine Berkow Associates is a global freight forwarder specializing in fine art transport and handling services. It provides services to museums, art galleries, and private collectors. RBA has offices in New York and Washington D.C.

Stebich Ridder International, Inc. Steibich Ridder is headquartered in New York City, co-founded by fine art handling expert Oliver Stebich, and industry veteran Katrin Ridder. The company utilizes the latest technologies and state-of-the-art handling solutions.

Image source: www.crownfineart.com

How to Handle Criticism of Your Art

nytimesinstallationpic-500x225

“When art critics get together they talk about Form and Structure and Meaning. When artists get together they talk about where you can buy cheap turpentine.”

― Pablo Picasso

Creating canvas art opens your world to others. Your work reflects how you feel, what moves you, what inspires you, what experiences you hold dear or not, and more. It’s opening up yourself to the world, and you should be prepared what the world will give back to you.

In the art world, people will say all kinds of things about your work. Some are great, some not so. Especially now that everything’s online, some anonymous person could just give negative criticism to your masterpieces and it can be annoying. These criticisms may even dampen your spirits in continuing your art. But, it shouldn’t be so.

Here are some ideas on how to handle your critics:

1. Don’t react right away. If someone criticizes your artwork, your automatic response would be to attack back. You get angry, defensive, or disturbed when you get criticism and you’ll have the urge to reply instantly. Don’t. Take a few (or more) deep breaths  and read again the comment (if the criticism is done online), or cool down first before saying your reply in person.

2. Ask some questions first. Questions like, Who is this critic? Do you know them? Are they qualified to judge your work? Are they potential buyers? Are they esteemed members of the art community? Or, are they just blabbermouths? See who are criticizing your art and get a little perspective on how they came about the criticism. Even if your critic is not qualified to judge your work, you  still have to consider what they say. If one of your goals is to get wider exposure, then selecting just a few “qualified” critics will not help you reach that goal.

3. Remember that criticism is not always about you. Keeping this in mind will help you become level-headed whenever someone criticizes your art. There are feedbacks which may even help you become better at your craft, so don’t get defensive right away. You can just think that your critic is having a bad day that’s why he overreacted in his comment to your art.

4. Think about the bigger picture. Don’t snap back every single time someone contradicts your work. Get something positive from this negative. Listen to these criticisms and over time, you will figure out a general response of the public to your art. You will see similarities on how people take your art and you’ll learn how to present yourself and your art to everyone’s advantage.

5. The real question to ask is what YOU think about your art. At the end of the day, it’s your work so the criticism worth listening to is yours. What really count are your determination, creativity, and commitment to your art.

Image source: http://hragvartanian.com/

How to Sell your Canvas Art on Consignment

Gorgeous painted pieces aren't the only things canvas is used for.

Artists can sell canvas art on consignment. You may have thought of consigning art but are not clear as to what goes in and out of this arrangement.

Consignment is defined as “an arrangement whereby goods are left in the possession of another party to sell. Typically, the consignor receives a percentage of the sale (sometimes a very large percentage).

When consigning art, you provide your canvas art to a gallery or shop. When the item sells, you get a portion of the retail price and the  rest goes to the consignment venue. Usually, a 30/70 split is agreed upon, where the artist gets 70% of the sale price of the artwork. You can agree to make the split higher, but not higher than a 50/50 split.

The main advantage of consigning art is you can make more profit from it compared to selling it completely. When you sell your art on consignment with a dealer, you can get around 60-70% of the retail price and even as much as 80% or more if there is high demand for your work.

The drawback of consignment is you make money only when your piece sells. Also, the consignment venue is not pressured to sell your work since they didn’t have any investment in it that they need to recoup.

Things to Consider:

Consignment Venue

  • Choose a trustworthy consignment venue which has a good chance of selling your art. Avoid consigning to a venue which will just use your art as free decoration with no intention of selling it.
  • The gallery must have good lighting to emphasize your work.
  • Location is key. Shops along tourist districts can have a better chance of promoting your work to more people.

Consignment Agreement
Here are important details to include in your contract:

  • The consignment commission percentage. Be specific and list the portion which you and the gallery will get.
  • Contact details of both parties.
  • Term of the contract. Specify when you will drop-off the piece to the gallery and when you need to pick it up if it doesn’t sell. It is normal to get the artwork if doesn’t sell within 6 months to a year.
  • The retail price of the piece. Make sure that your paintings are offered at a fair price. It should at least cover all your expenses (e.g. art supplies, rent of studio, etc.).
  • Terms of payment. Define when and how you will receive your payment once the piece is sold. Usually, the artist receives payment within 30 days after the purchase of artwork. Identify whether you want to receive cash, cheque, via PayPal, or bank transfer.
  • Insurance requirements. Either or both you and the consignment venue should have insurance for the items. In case of fire, flood, or any disaster, your artwork will be safeguarded by insurance.

Tip: If you are consigning several items, create a master list of every item that you will leave at the gallery, including its prices.

If you’re not a “sales” person, consignment might work for you. In consigning art, you let other people to promote your artwork and you get your money when it’s sold. It may be time consuming at first, especially if you consign to several shops, but after to drop-off your artworks, you can continue creating more paintings.

Choosing the Right Canvas Size for your Painting

untitled-1937-4_Pablo-Picasso
Untitled 1937 4 By Pablo Picasso

“The artist is a receptacle for emotions that come from all over the place: from the sky, from the earth, from a scrap of paper, from a passing shape, from a spider’s web.”
– Pablo Picasso

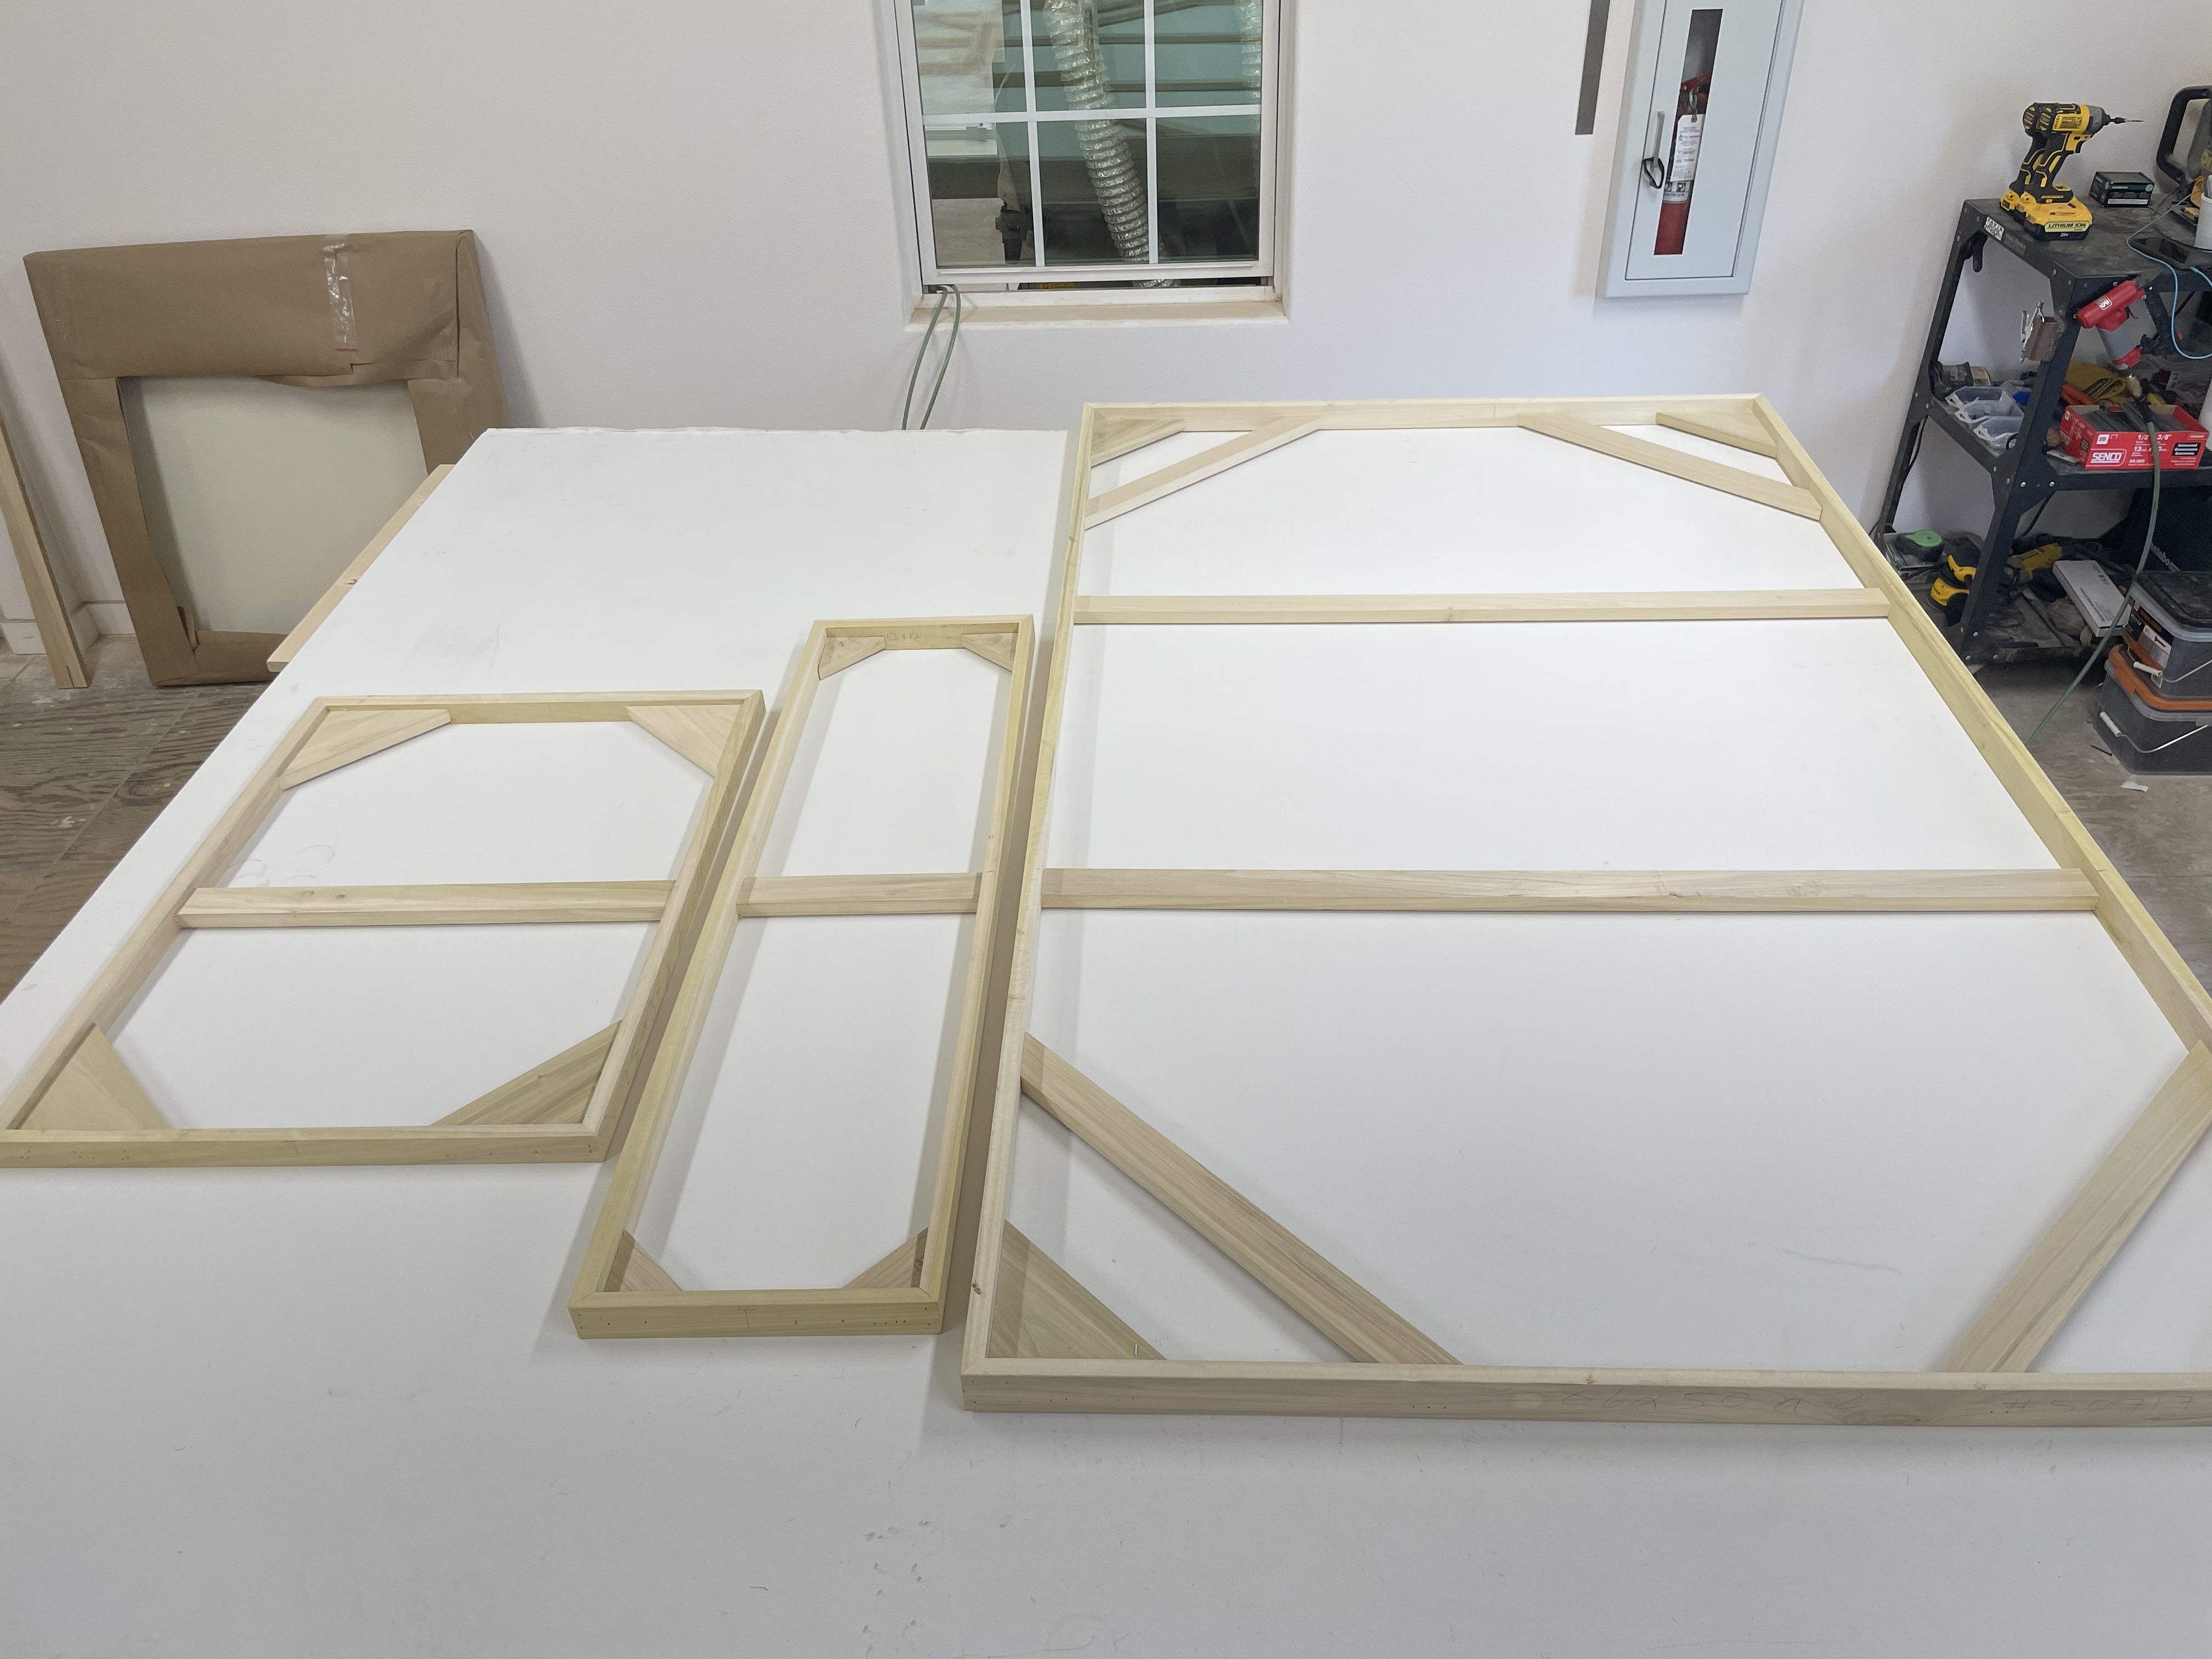
Local art suppliers offer a wide range of sizes for canvases. This may intimidate amateur artists and overwhelm them with the variety of choices in a store. You can paint on any size of canvas but you need to know the canvas sizes available. One advantage of using standard canvas size is that its frame is readily available in a store. You don’t have to pay extra to get a custom-sized frame.

To be able to select the perfect canvas size for your painting, here are some information about canvas sizes. Artists use the height x width measurements when specifying the dimensions of a canvas or frame.

Here are the common canvas sizes (in inches):
Small sizes
5 x 7
8 x1 0
9 x 12
11 x 14
12 x 16

Middle sizes
16 x 20
18 x2 4
20 x2 4

Large sizes
24 x 30
24 x 36
30 x 40

If you’re just starting to paint, try using the 18 x 24 canvas size. It has the right size and proportion for a beginner. Experienced artists may opt to use the 30 x 40 size since it is large enough for a professional painting.

Landscape painter Stapleton Kearns suggests using six stock sizes when painting. You can choose two sizes from each category and you can buy premade frames from your art retailer. It’s easy to purchase and store these frames in your home so whenever you’ve finished with a painting, a frame is readily available for it.

If you want to use a different size of canvas, custom-sized canvas is also available. There is no stopping you from creating your art beyond the limits of standard canvas sizes. Your art supplier can provide you the canvas you need based on your requirements.

Aside from standard size canvases, CanvasLot provides custom-built and hand-stretched canvas at an affordable cost. If you need a huge canvas, whatever your specific needs, they can provide it. A custom-made canvas does not need to cost you an arm and leg. Many art students and children buy their art supplies from CanvasLot since they offer an excellent range of products at a discount.

Image source: Picasso Paintings

How to Varnish a Canvas Art

red_cherry_tree

Varnishing a canvas art may be a confusing subject among artists. Varnish serves as a protection of your painting from pollution, scratches, UV rays, and other contaminants. It also brings out the colors and brilliance of your painting.

In oil painting, varnish gives the painting the same gloss level and it protects the piece from dust and other pollution in the atmosphere. In acrylic painting, as your acrylic film is reaching the final dry state, the few evaporating water molecules leave micro-pores on the film, leaving the film tacky to the touch when fully dry. The porous acrylic film accumulates dust and dirt and the best way to protect the painting is by varnish.

A high-quality varnish offers superb quality, remove-ability, and easy and even application. Varnish a painting when it is completely dry. It takes an oil painting a minimum of six months or longer for it to fully dry, depending on the thickness of the film. For an acrylic painting, it will dry between two and a few weeks, again, depending on the thickness of the film.

Steps:

1. Check if the surface of the painting is clean. Use a lint-free cloth to gently swipe the painting and make sure that no moisture can get on the painting, brush, or the container.

2. Use a 1″ to 4″ varnishing brush. A wide brush is a must so you won’t miss any spot.

3. Place the painting flat on the table so you can varnish horizontally.

4. Dip the brush in the varnish and wipe off the excess on the lid of the container.

5. Apply a thin coat of the varnish in long, even strokes. Stroke back and forth across the painting until the varnish becomes tacky. A little varnish goes a long way. Inspect the varnish and see if there are any bubbles. If there are, even them out immediately.

6. Once you’re done in an area, leave it until you’re done varnishing all the surface of the painting. If you missed a spot, allow the varnish to dry completely and apply another coat of varnish.

7. When done, lean the painting against a wall and put a protective plastic film “tent” to protect it from dust. To test if the varnish is dry or not, touch the edge of the painting to see if it’s still tacky.

Varnish dries at different rates, depending on the weather. In cool, dry weather, varnish dries overnight, while it takes longer to dry in warm, humid weather.

Tips:

  • Always varnish the painting in one go. If you varnish part-by-part, you’ll end up with lines between the parts you’ve varnished.
  • Look for dust-free workplace so dust will not get into the varnish while you’re applying it.

Image source: EBSQ

How to Frame a Canvas Art

The Canvas Lot facilities keep a huge store of standard pieces in stock, but can also produce custom sizes in days.

Framing a canvas painting allows you to hang and display the art piece while protecting it. A frame can help your audience focus on your artwork when they are beautifully displayed in the showroom or even your home. Framing a painting on canvas can be a daunting task to many. There are lots of information out there on framing but here is a detailed way to frame a canvas art.

Materials Needed:
Go to your local art supply shop to get these materials.

  • Mat – A mat should overlap the edges on the painting to serve as a border between the print and the frame, and between the print and the glazing panel. Mats are available in pre-cut form in most art supply stores but they can customize the size of the mat upon request. Mats are available in different colors and are usually 4- and 8-ply thick. I would suggest using a white mat since colored mats tend to fade.
  • Backing board – A backing board should be acid-free. Use a backing board that is the same size as the outside dimensions of your mat.
  • Adhesives – Use acid-free adhesives such as a brushed on adhesive or spray adhesive. You can also use a mounting film, or mounting tape.
  • Glazing panel – It can be glass or acrylic. There are also plain and UV-protected panels.
  • Frame – There are many frames available in your local art supply store which are made of wood, plastic, or metal.

Steps:

  1. Measure the length, width, and depth of the canvas. Use these measurements when buying your framing supplies.
  2. Draw the borders inside your backing board.
  3. Apply the adhesive to the backing board.
  4. Put your canvas print over the backing board, using the borders as your guide.frame-15
  5. To make sure that you’ve positioned your print correctly, lightly position the mat over the print. If you are satisfied with the position, remove the mat.
  6. Use a clean piece of paper and apply pressure to bond the print to the backing board. Remove the paper and check again the alignment of your print and backing board.
  7. While waiting for the adhesive to set, clean your glazing panel. You can use an anti-static cloth to remove miniscule marks, oils, dust, finger prints, etc.
  8. Put the glazing panel inside the frame, followed by the mat, and then the mounted print.
  9. Secure the frame and canvas with the clips at the back of the frame. Most frames come with a pre-attached bracket so you can readily hang it.

Image from here.

Canvas Painting for Beginners

Canvas-textureSchool break is near and students now have all the free time in the world to do anything they want. Instead of wasting your time in front of the TV or laptop, why not do something productive this summer? This summer, dip your fingers in canvas painting. You may think you don’t have the talent and money to do painting but with the right knowledge, you can start this creative activity. The Internet is full of helpful tips and information, and even videos, on how to start canvas painting. If budget is your problem, there are many local art supply retailers offering art supplies at a discount.

Before you start on that first brush stroke, you first have to know the various tools required in canvas painting.

Types of Canvas
You first have to have a canvas to be able to start painting. Two of the most common material for a canvas are cotton and linen which are available in different qualities and color. Both canvas are available primed or unprimed. For beginners, choose the cotton canvas since it is less expensive than linen and get the primed version so you won’t have the trouble of priming it at home. Primed canvas may cost a bit more than the unprimed one but you don’t have to mix, apply the sizing and ground. Ask your art supplier about the perfect canvas for your painting.

Types of Paintbrushes
Try experimenting with different paint brushes. For oil and acrylic painting, bristle and sable brushes are recommended. Bristle brushes have harder bristles than sable. Use different shapes of brushes to see which brushes suits your painting style. For amateurs, use large-sized brushes to help you focus on the whole painting and less on the fine details of your piece. Use the small brushes when you’ve had practice and you’re confident with your painting skills. Also, start with the cheap brushes first.

Acrylic Paintoil-paint-palette
Acrylic paint is recommended for beginners since it is easy to use, dilute, clean up, and affordable. If you’re not sure which shades of paint to buy, here are some suggestions for a basic palette. These paints are available from high end acrylic brands.

  • Burnt Sienna
  • Burnt Umber
  • Napthol Crimson (red) or Cadmium Red
  • Yellow Ochre or Cadmium Yellow
  • Pthalo Blue or Ultramarine Blue
  • Pthalo Green
  • Ivory or Mars Black
  • Titanium White
  • Titanium Buff

Other Materials
Mediums
Mediums are used to thicken or thin the oil. You have to take time in using mediums to know which suits best for the painting you have in mind.

Paint Palettes
Paint palettes are available in different materials such as wood, plastic, or metal. Paper is easier to use since you can just throw each sheet after use.

Painting knives
Painting knives are used for mixing the paint, and for some artists, for painting as well.

Images are from here and here.