What Type of Paint Is Best for Canvas?
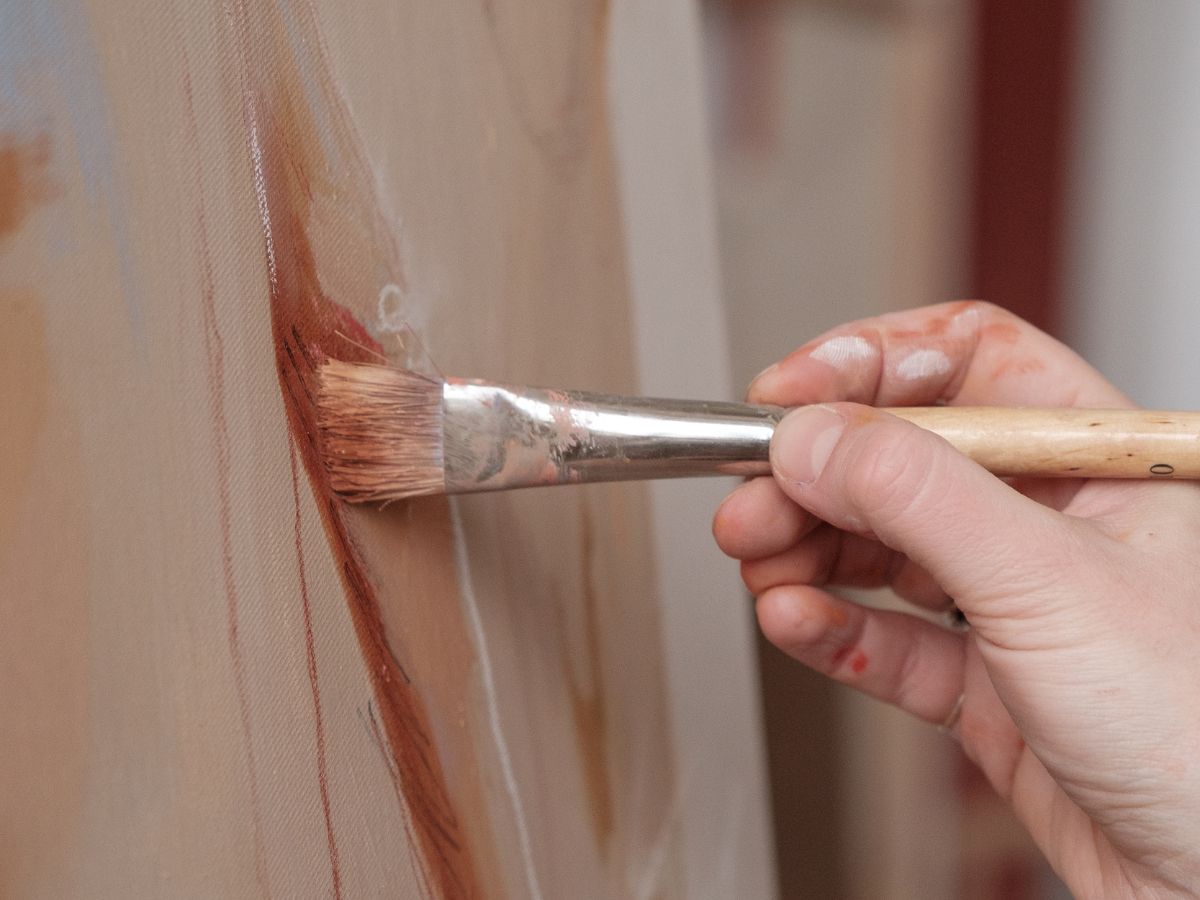
Canvas has been a favorite painting surface for centuries, and for good reason. It’s lightweight, durable, and holds paint well when properly primed. But one question comes up again and again in studios and classrooms: what type of paint actually works best on canvas?
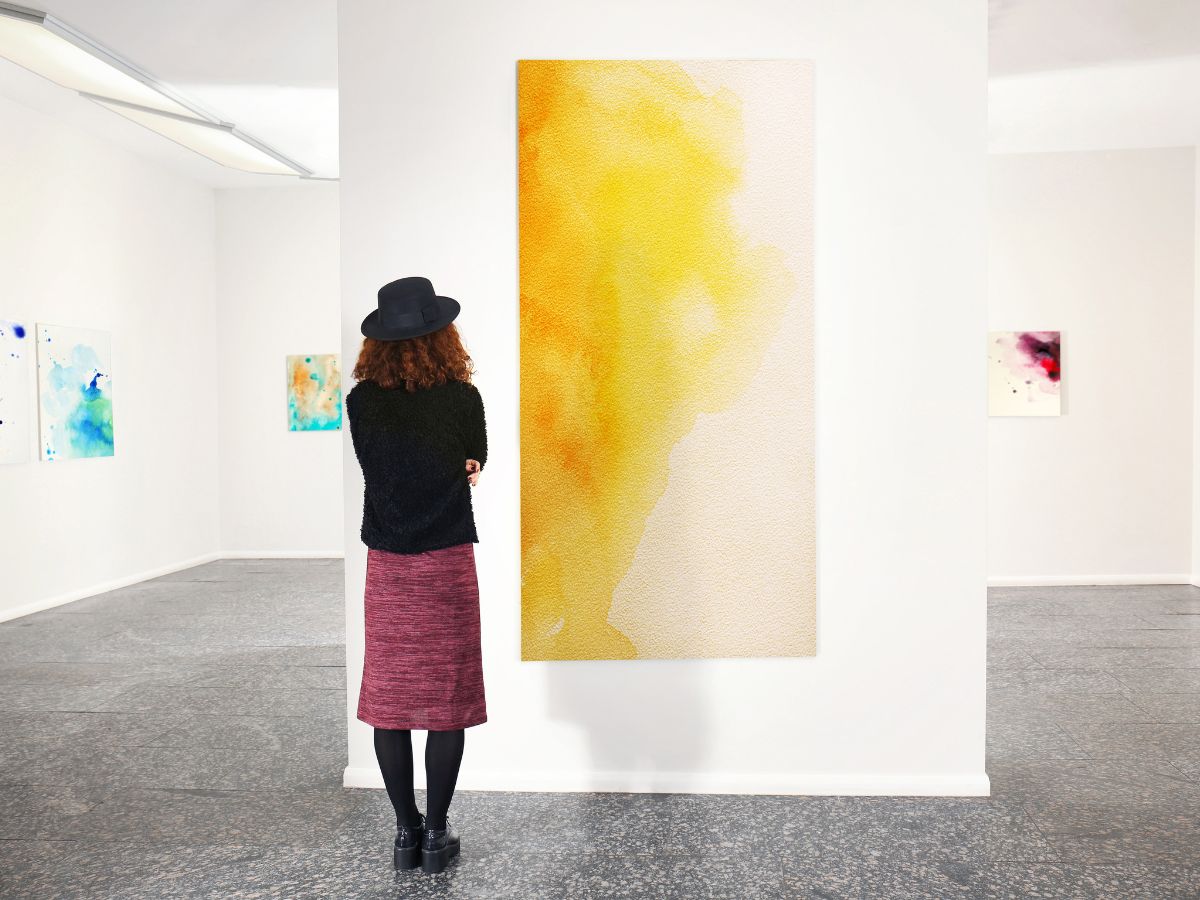
The short answer is that several types work well. The real choice depends on how you like to paint and what kind of results you want.