Canvas Textures Explained: Smooth vs. Rough
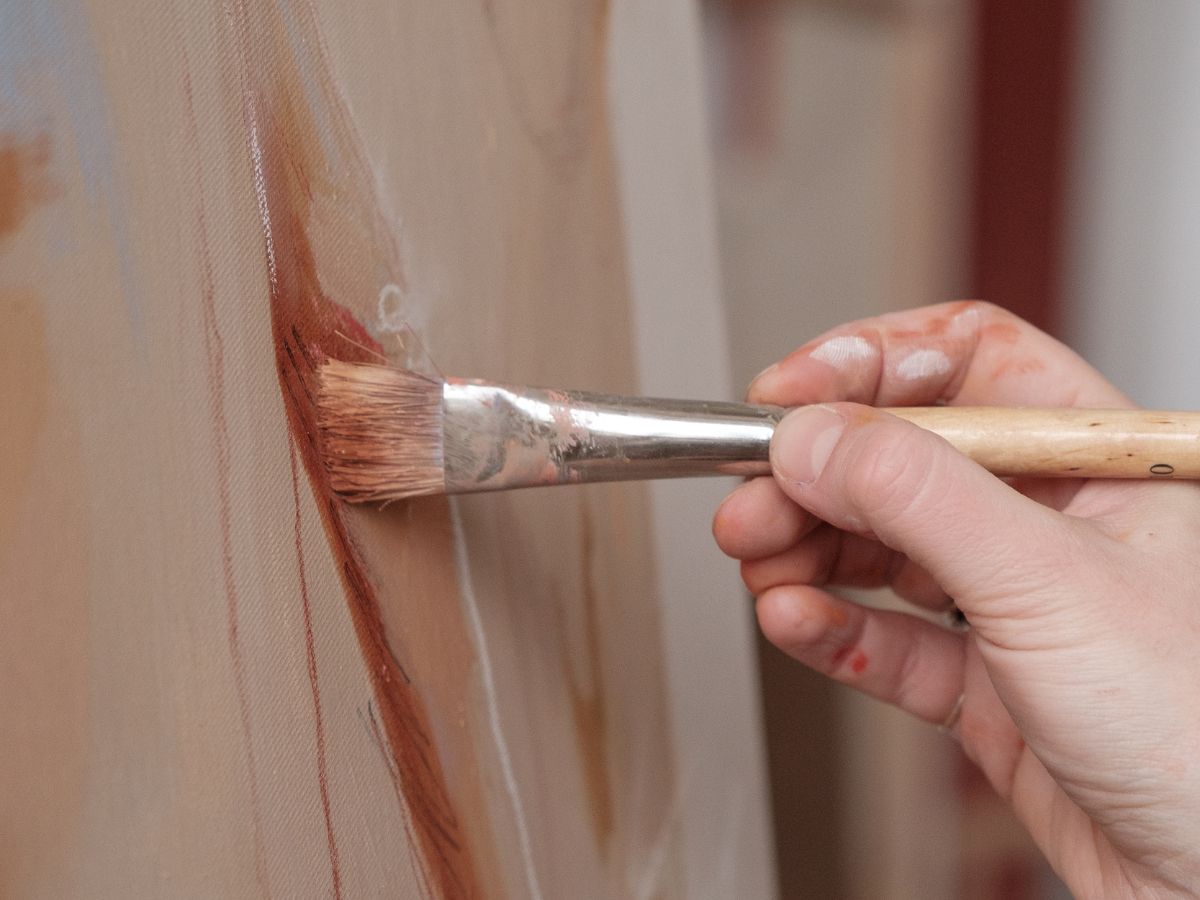
As an artist, the canvas you choose serves as the foundation of your masterpiece. One critical aspect to consider is the texture of the canvas, which can significantly influence your painting’s outcome. Here’s what you need to know between smooth and rough canvas textures and how each can impact your artistic expression.