Best Painting Mediums for Custom Wood Panels
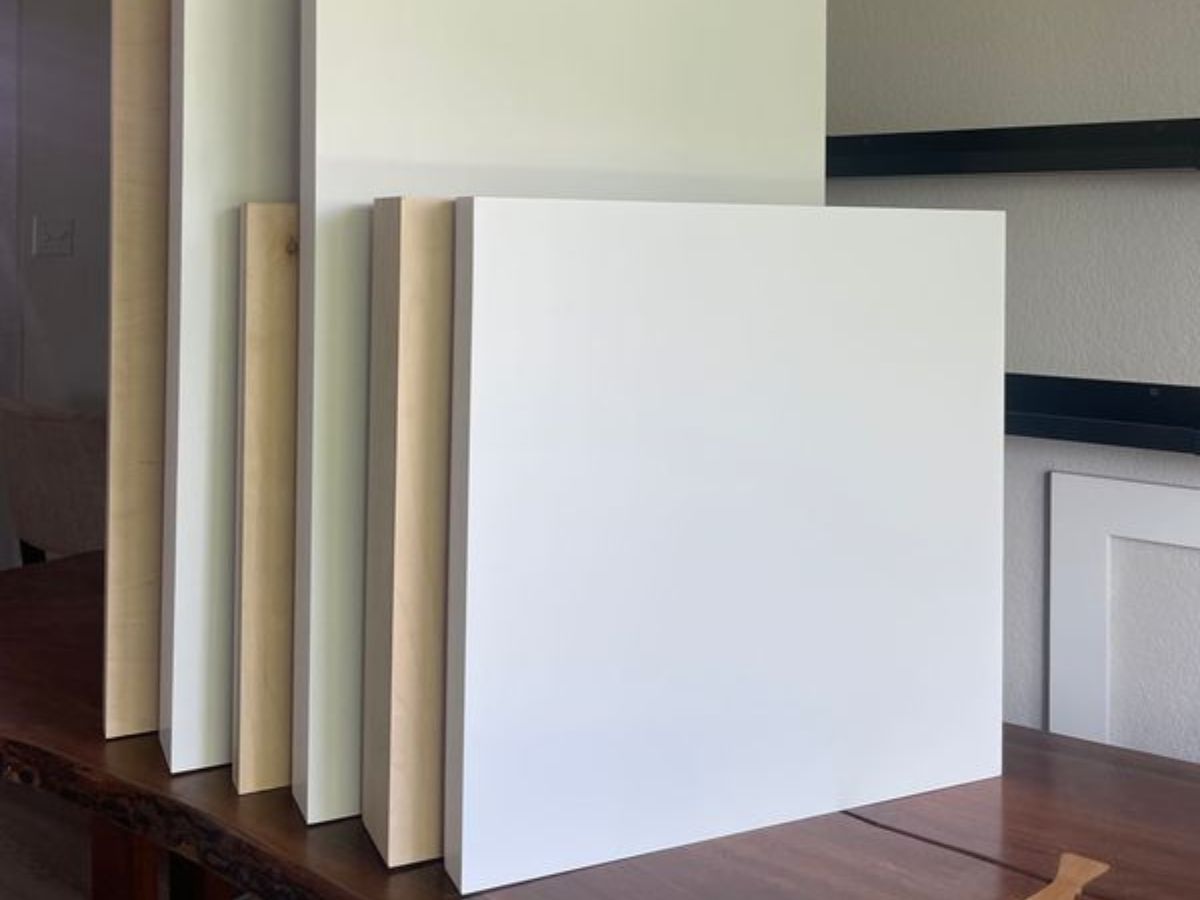
Painting on custom wood panels gives you a solid, long‑lasting surface and opens up creative possibilities. Here’s a clear, artist‑to‑artist guide on the best mediums to use and why they shine on wood.
Painting on custom wood panels gives you a solid, long‑lasting surface and opens up creative possibilities. Here’s a clear, artist‑to‑artist guide on the best mediums to use and why they shine on wood.

When you buy painting canvases straight from the manufacturer—like CanvasLot—you gain advantages you won’t get from middlemen or big-box retailers.

Introducing children to canvas painting offers a unique opportunity to nurture their creativity and self-expression. Using custom-sized canvases can make art projects more engaging and tailored to young artists’ needs. Here are some great ideas for teachers and parents to inspire children:

Painters, mixed media artists, and muralists often explore diverse techniques and materials, making them well-suited to teach others. By offering workshops and tutorials, you can diversify your income while fostering a community of creativity. Here’s how to establish yourself as an educator in this field:

The art world is evolving rapidly, influenced by global challenges, technological advancements, and shifting collector interests. For painters, staying relevant in today’s market means staying informed and adaptive to these changes. Here’s how painters can navigate and thrive in 2025.

Brush techniques are the backbone of a painter’s craft, enabling artists to bring their visions to life with precision and flair. Whether you’re an aspiring artist or an experienced professional, refining your brushwork can elevate your art to new heights. From achieving smooth gradients to creating dynamic textures, mastering essential brush techniques is key to unlocking your creative potential.

Finding and connecting with your ideal audience is crucial for your growth and success as an artist. By combining creativity and strategy, you can consistently attract the right people who resonate with your work. Here are fun and effective methods to achieve this.
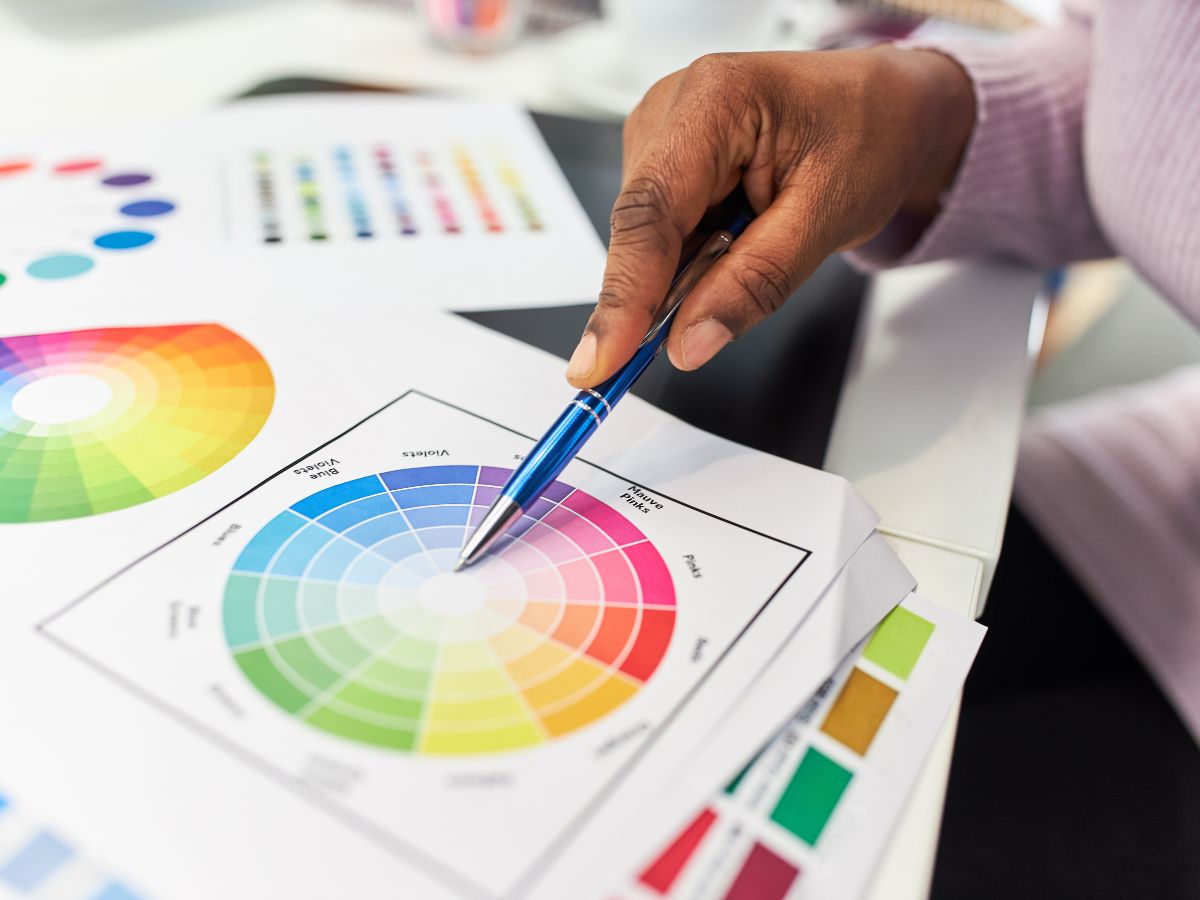
Color theory is an essential foundation for any artist, enabling a deep understanding of how colors work together to evoke emotion, convey meaning, and create a lasting impact. By mastering color theory, artists can strategically incorporate bold color choices to elevate their work and create pieces that resonate with viewers on a different level.
Every type of damage in a watercolor painting has different procedures in order to clean and restore them. These procedures cannot reverse color fading but it can help prevent and stop further fading. Here are some tips that you can do for each type of damage.
Water Damage
• Gently remove the painting from the frame and separate the watercolor from the glass frame immediately after it has become saturated. Mold also begins to form after saturation. Don’t leave the image in place pressed against the glass because the image will be bonded permanently to the glass.
• Lay the watercolor on a flat, dry surface. Leave the artwork untouched until completely dry. Lay the artwork on a towel, blanket or on dry grass in the yard.
• Mist the front and back of the watercolor with a light coating of spray Lysol. Do not substitute with a chemical that contains bleach. The damage incurred from the bleach is irreversible. Wait for the mold to dry out and become dormant. You will notice that the mold will become powdery.
• Brush the mold off of the watercolor lightly with a clean, dry, soft-bristled paint brush.
• Put the painting back into the frame.
Dirt and Debris
• Break a loaf of bread in half. Grab a handful of the white inner portion of the bread. Roll the dough into a ball.
• Scrub the dough gently against the watercolor painting.
• Replace the dough as the piece you are working with gets dirty.
• Brush the bread crumbs off of the watercolor using a clean, dry, soft-bristled paint brush. Make sure that all bread crumbs have been removed from the painting.
Fade Prevention
• Instead of using an ordinary glass, use a UV3 coated Plexiglas. This will reflect the UV rays that cause the color to fade.
• Move any watercolor artworks away from direct sunlight. Artwork with the UV3 Plexiglas will not prevent all UV rays from damaging the color in the painting. Direct sunlight can harm the color and raise the temperature surrounding the painting that can fade the colors.
• Avoid hanging watercolor paintings where the temperature of the artwork would rise above 70 degrees Fahrenheit. Avoid hanging on outside walls that are not properly insulated, over fireplaces or near furnace grates and windows with direct sunlight.
• Replace all florescent lighting with incandescent light bulbs. Do not use direct lighting of any type on a watercolor.
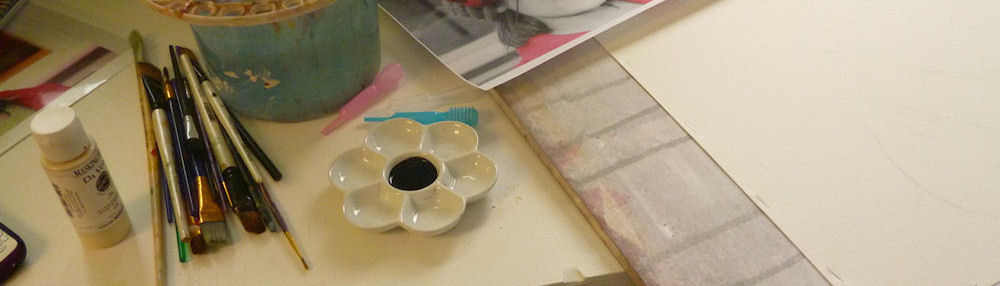
Image source: www.paintingdemos.com
Framing a watercolor painting is different from framing an oil painting on canvas. Know the purpose why you‘re framing your artwork and that is to display it in the best way and to protect it with a frame, mat and glass. Here are some easy steps and tips on how you can frame your own watercolor painting.

Materials
Aside from glass, you need to protect the painting with a mat and backing (usually foam core), which should be acid free and archival, to prevent your painting from turning yellow overtime. Use a double mat because it looks better. You also need some acid-free cloth tape to attach the painting to the mat. The mat keeps the painting from touching the glass, which is very important. If you opt not to use a mat, then you need to put a spacer between the glass and the painting so they don’t touch.
Sizing
You have three options for acquiring mats and frames. The cheapest way is to buy a pre-cut mat and pre-made frame. Alternatively, you can purchase the equipment to cut your own mats, and even buy parts to assemble your own frames. Eventually you can save money by cutting your own mats, if you do enough of them, although I’ve found the mat material to be expensive unless bought in bulk. Finally, you can simply order what you need from a framer.
Frame
Finally, you need a frame. In general, the larger the painting, the wider the frame molding can be, but it’s all a matter of taste. Do, however, consider how the end result will look when you’re selecting molding. You don’t want to either overwhelm or underwhelm the artwork.
 Assembly
Now that you have everything you need to frame your painting, you can now start assembling. Here’s how.
1. Wipe glass and make sure not to leave finger prints before placing in the frame.
2. Prepare you pre-cut mat and you can stack them inside the frame since they are thin. You can triple or double the matting with different colors if you want.
3. Surface could be plain paper, linen, silk, even leather, rice paper, can be textured and patterned.
4. Most mats are only available with a white core (the tiny part that shows when a bevel opening is cut). But a handful of mats do come with black core, green, red and yellow.
5. A common form of decoration on non cloth mats is the “French Line” or “French Panel”. These are lines drawn in ink or paint forming a rectangle around the opening. Could have several lines.
6. It is best to buy Acid Free mats. An acidic mat will fade and leak into the art work, causing “mat burn”, light brown marks.
7. So you have the matt, now attach picture with non acid tape to the mat. Place on glass.
8. Put the foam board, hold in place with framing points (look like small metal arrows).
9. Turn over, look at art work before inserting point in frame and across top of the foam board.
10. Lay the paper back attached to back of frame covering top to bottom, side to side (called dust cover).
11. Drive in fastners into back of frame, about 1/3rd down from top. String wire between fastners.
Image source: www.mimenta.com