How to Use Gesso on a Canvas
Gesso? What is it?
Most beginners in painting may be unfamiliar with the word “gesso.” It’s a highfaluting term that could leave a novice dumbfounded. But, don’t fret. In this post, I’ll try to shed light on this and hopefully, we can understand what gesso is all about.
Encyclopaedia Britannica defines gesso (pronounced ‘jesso’) as:
“a fluid white coating, composed of plaster of paris, chalk, gypsum, or other whiting mixed with glue, applied to smooth surfaces such as wood panels, plaster, stone, or canvas to provide the ground for tempera and oil painting or for gilding and painting carved furniture and picture frames.”
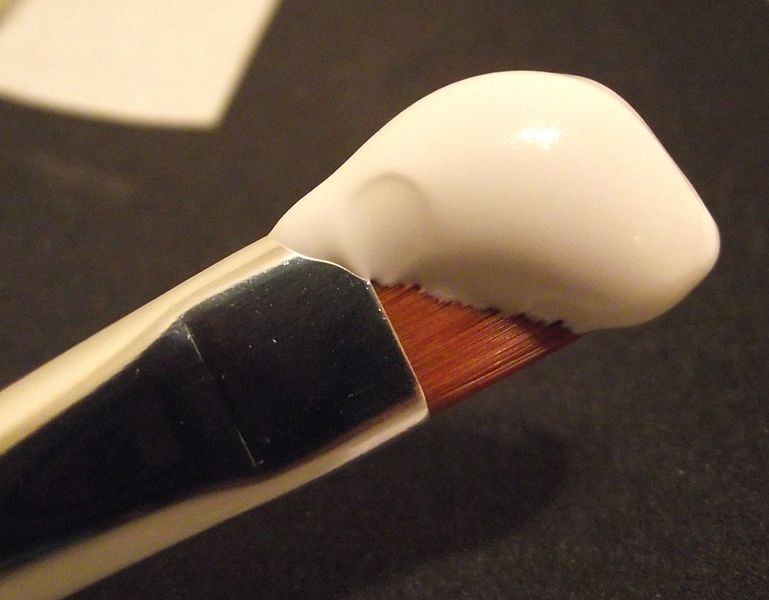
Basically, gesso is a substance used to prepare or prime a canvas before you can use it in painting. It was traditionally used by oil painters so the oil paints would adhere to the canvas. Gesso is used to protect the canvas fibers, smoothen the surface, and give flexibility to the canvas.
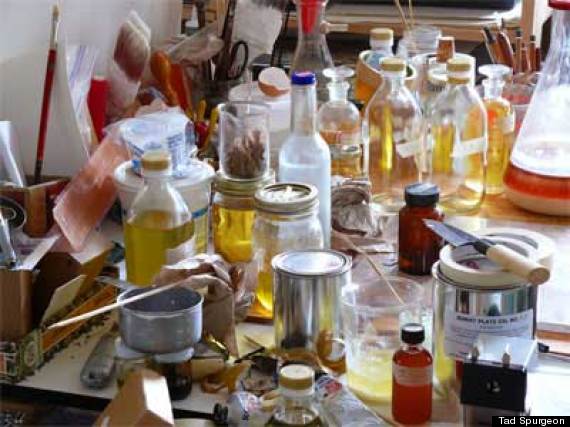
Is there a difference between an oil gesso and an acrylic gesso? Yes, their ingredients. Traditional oil gesso, also called glue gesso, contains an animal glue binder (usually rabbit-skin glue), chalk, and white pigment. Acrylic gesso is made of an acrylic polymer medium (binder), Calcium carbonate (chalk), a pigment (Titanium white), and chemicals for flexibility and longer life.
Acrylic gesso doesn’t contain glue since acrylic paints is not corrosive, unlike oils. The glue in the glue gesso is absorbed by the fibers of the canvas which protects it from the corrosive nature of oil paints. Many artists use acrylic gesso because of its versatility, quick drying time, convenience, flexibility, and ease of use. Some artists claim that it can be used as ground when painting in oil but some argue that the flexibility of the acrylic gesso will cause the oil paint to crack over time.
An acrylic painter could choose not to use acrylic gesso if he wants the staining effect of acrylic paints on canvas. For beginners, it’s better to prime the canvas first, or use a pre-primed canvas since you are still practicing your painting skills. CanvasLot offers pre-primed canvas in various sizes so you won’t go into the trouble of priming your canvas.
If you are a beginner in oil painting, you can use acrylic gesso but just make sure that the canvas has been properly sized. If you are creating a portrait, or planning to create a masterpiece or something like an heirloom to your family, it’s better to use the oil gesso since the oil paint will stick better to it than to an acrylic.
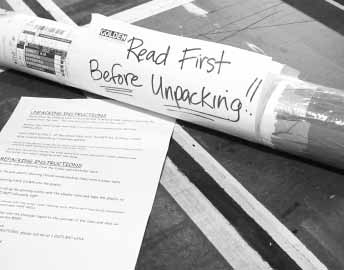
You can buy acrylic gesso in most art supplies shops and it is available in artist quality and student quality. As with other art supplies, the artist quality acrylic gesso is more expensive and has higher quality than the student gesso. For priming a canvas, use the artist quality gesso.
Image source: www.wikipedia.org


 by Rembrandt")
 by Francisco Goya")
 by Vinvent van Gogh")
 by Edward Hopper")
 by René Magritte")