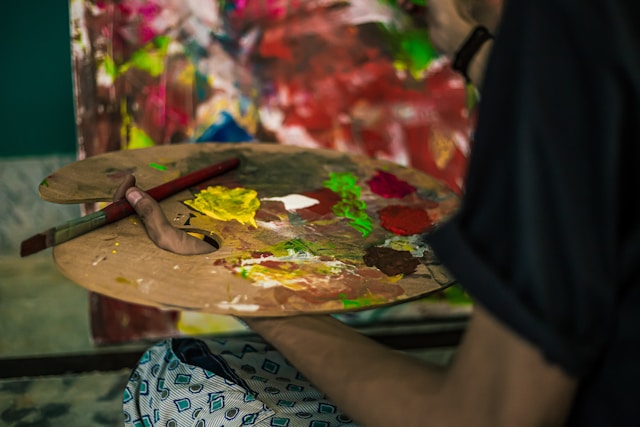
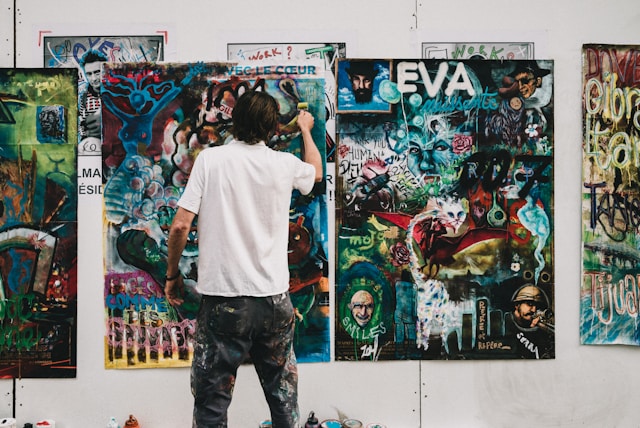
Expert Canvas Care Tips: Keeping Your Artworks in Tip-top Shape
A canvas requires proper care and maintenance to ensure your paintings stand the test of time. Whether you’re an aspiring artist or an avid collector, understanding how to protect and preserve your canvases is important.
In this article, we’ll list essential canvas care tips, covering storage, cleaning, and protection against environmental factors.
1. Storage Solutions:
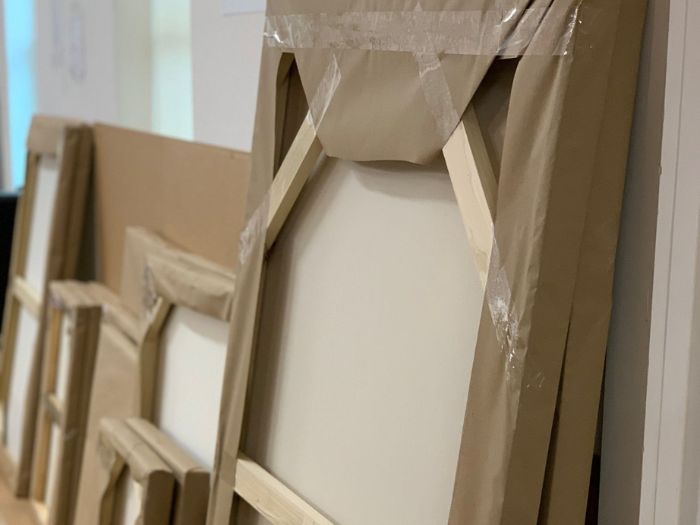
When not displaying your canvas paintings, store them vertically in a cool, dry place away from direct sunlight and extreme temperatures. Avoid stacking canvases to prevent pressure marks and warping. Consider storing them in acid-free boxes or wrapping them in acid-free paper to shield against dust and environmental pollutants.
2. Humidity Control:
Maintaining consistent humidity levels is crucial for canvas preservation. Fluctuations in humidity can cause canvases to expand and contract, leading to warping and cracking. Invest in a hygrometer to monitor humidity levels in your storage space, aiming for a range between 40% and 60%. The ideal temperature for storing art is around 70 °F to 75 °F during summer and 65 °F to 70 °F during winter.
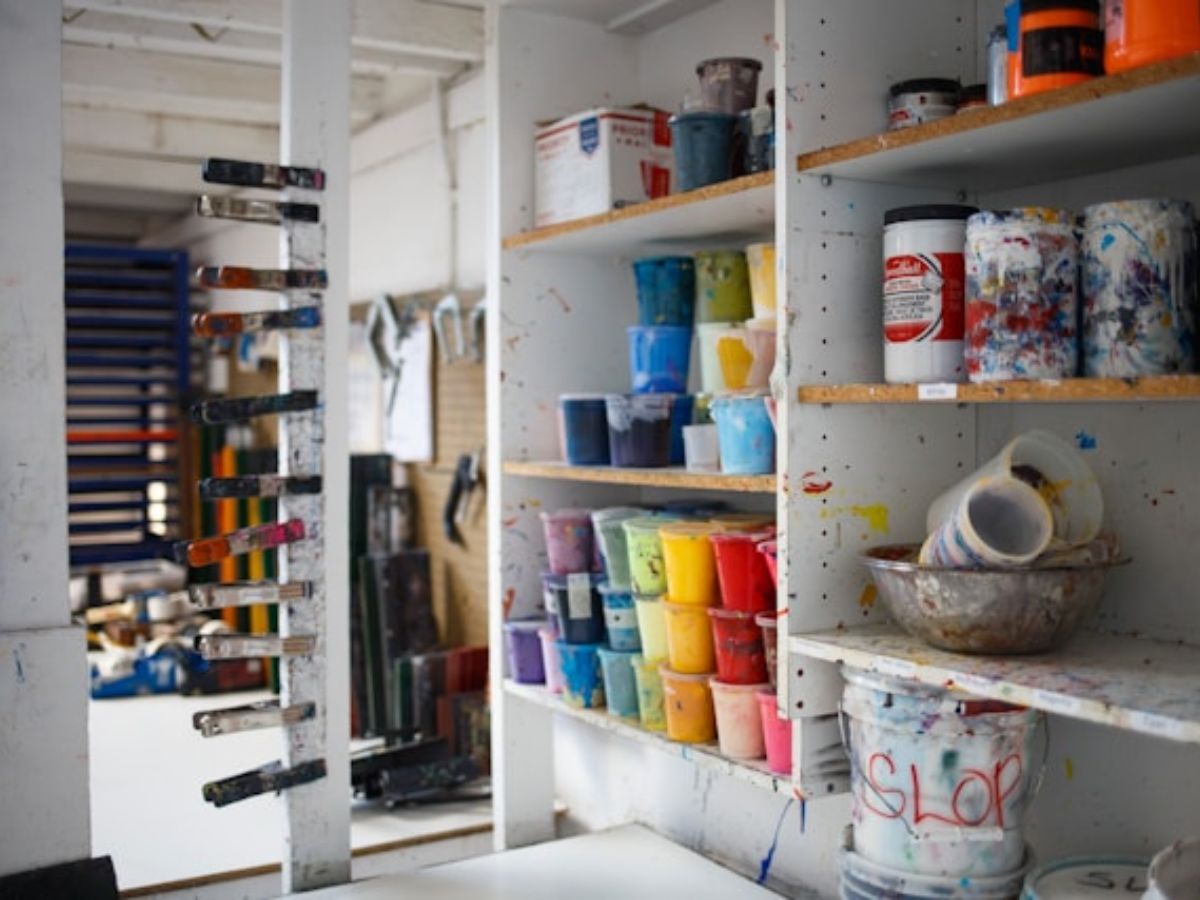
3. Cleaning Techniques:
Regular dusting is key to preventing buildup and preserving the integrity of your canvas paintings. Use a soft, lint-free cloth or a clean, dry paintbrush to gently remove surface dust. Avoid using water or cleaning solutions unless absolutely necessary, as they can damage the canvas and alter the paint.
4. Handling Precautions:
When handling canvases, always use clean hands or wear cotton gloves to prevent transferring oils and dirt onto the surface. Support the canvas from the back when moving it to avoid putting pressure on the stretched fabric. Be cautious of sharp objects and rough surfaces that could puncture or scratch the canvas.

5. UV Protection:
Exposure to ultraviolet (UV) light can cause fading and deterioration of canvas paintings over time. Display your pieces away from direct sunlight or install UV-filtering glass or acrylic panels on frames to mitigate UV damage. Consider rotating your displayed artworks periodically to ensure even light exposure.
6. Framing Considerations:
Proper framing not only enhances the presentation of your canvas paintings, but also provides added protection. Choose frames made from archival-quality materials to prevent acid migration and deterioration. Ensure the frame fits the artwork snugly without applying excessive pressure on the canvas.
7. Pest Prevention:
Protect your canvases from potential pest infestations by keeping storage areas clean and free of food debris. Consider using pest deterrents such as lavender sachets or cedar blocks to repel insects. Regularly inspect your artworks for signs of pests, such as holes or droppings, and take appropriate measures if infestation occurs.
8. Professional Consultation:
For valuable or delicate canvas paintings, consider consulting a professional conservator for expert advice on preservation and restoration. Conservators can assess the condition of your artworks, recommend specialized treatments, and provide guidance on long-term care strategies to ensure their longevity.
Proper canvas care is essential for preserving the beauty and integrity of your artworks for future generations to enjoy. By implementing these tips, you can safeguard your canvas paintings and maintain their beauty for years. Remember, a little proactive care goes a long way in ensuring the longevity of your cherished artworks.
Get Your Canvas from CanvasLot
CanvasLot provides high-quality canvases for painting. Our canvases are already pre-primed with acid-free acrylic gesso and is ready to be painted on. You can get canvases in standard sizes, or if you need a specific size, we’re ready to custom-size it for you.


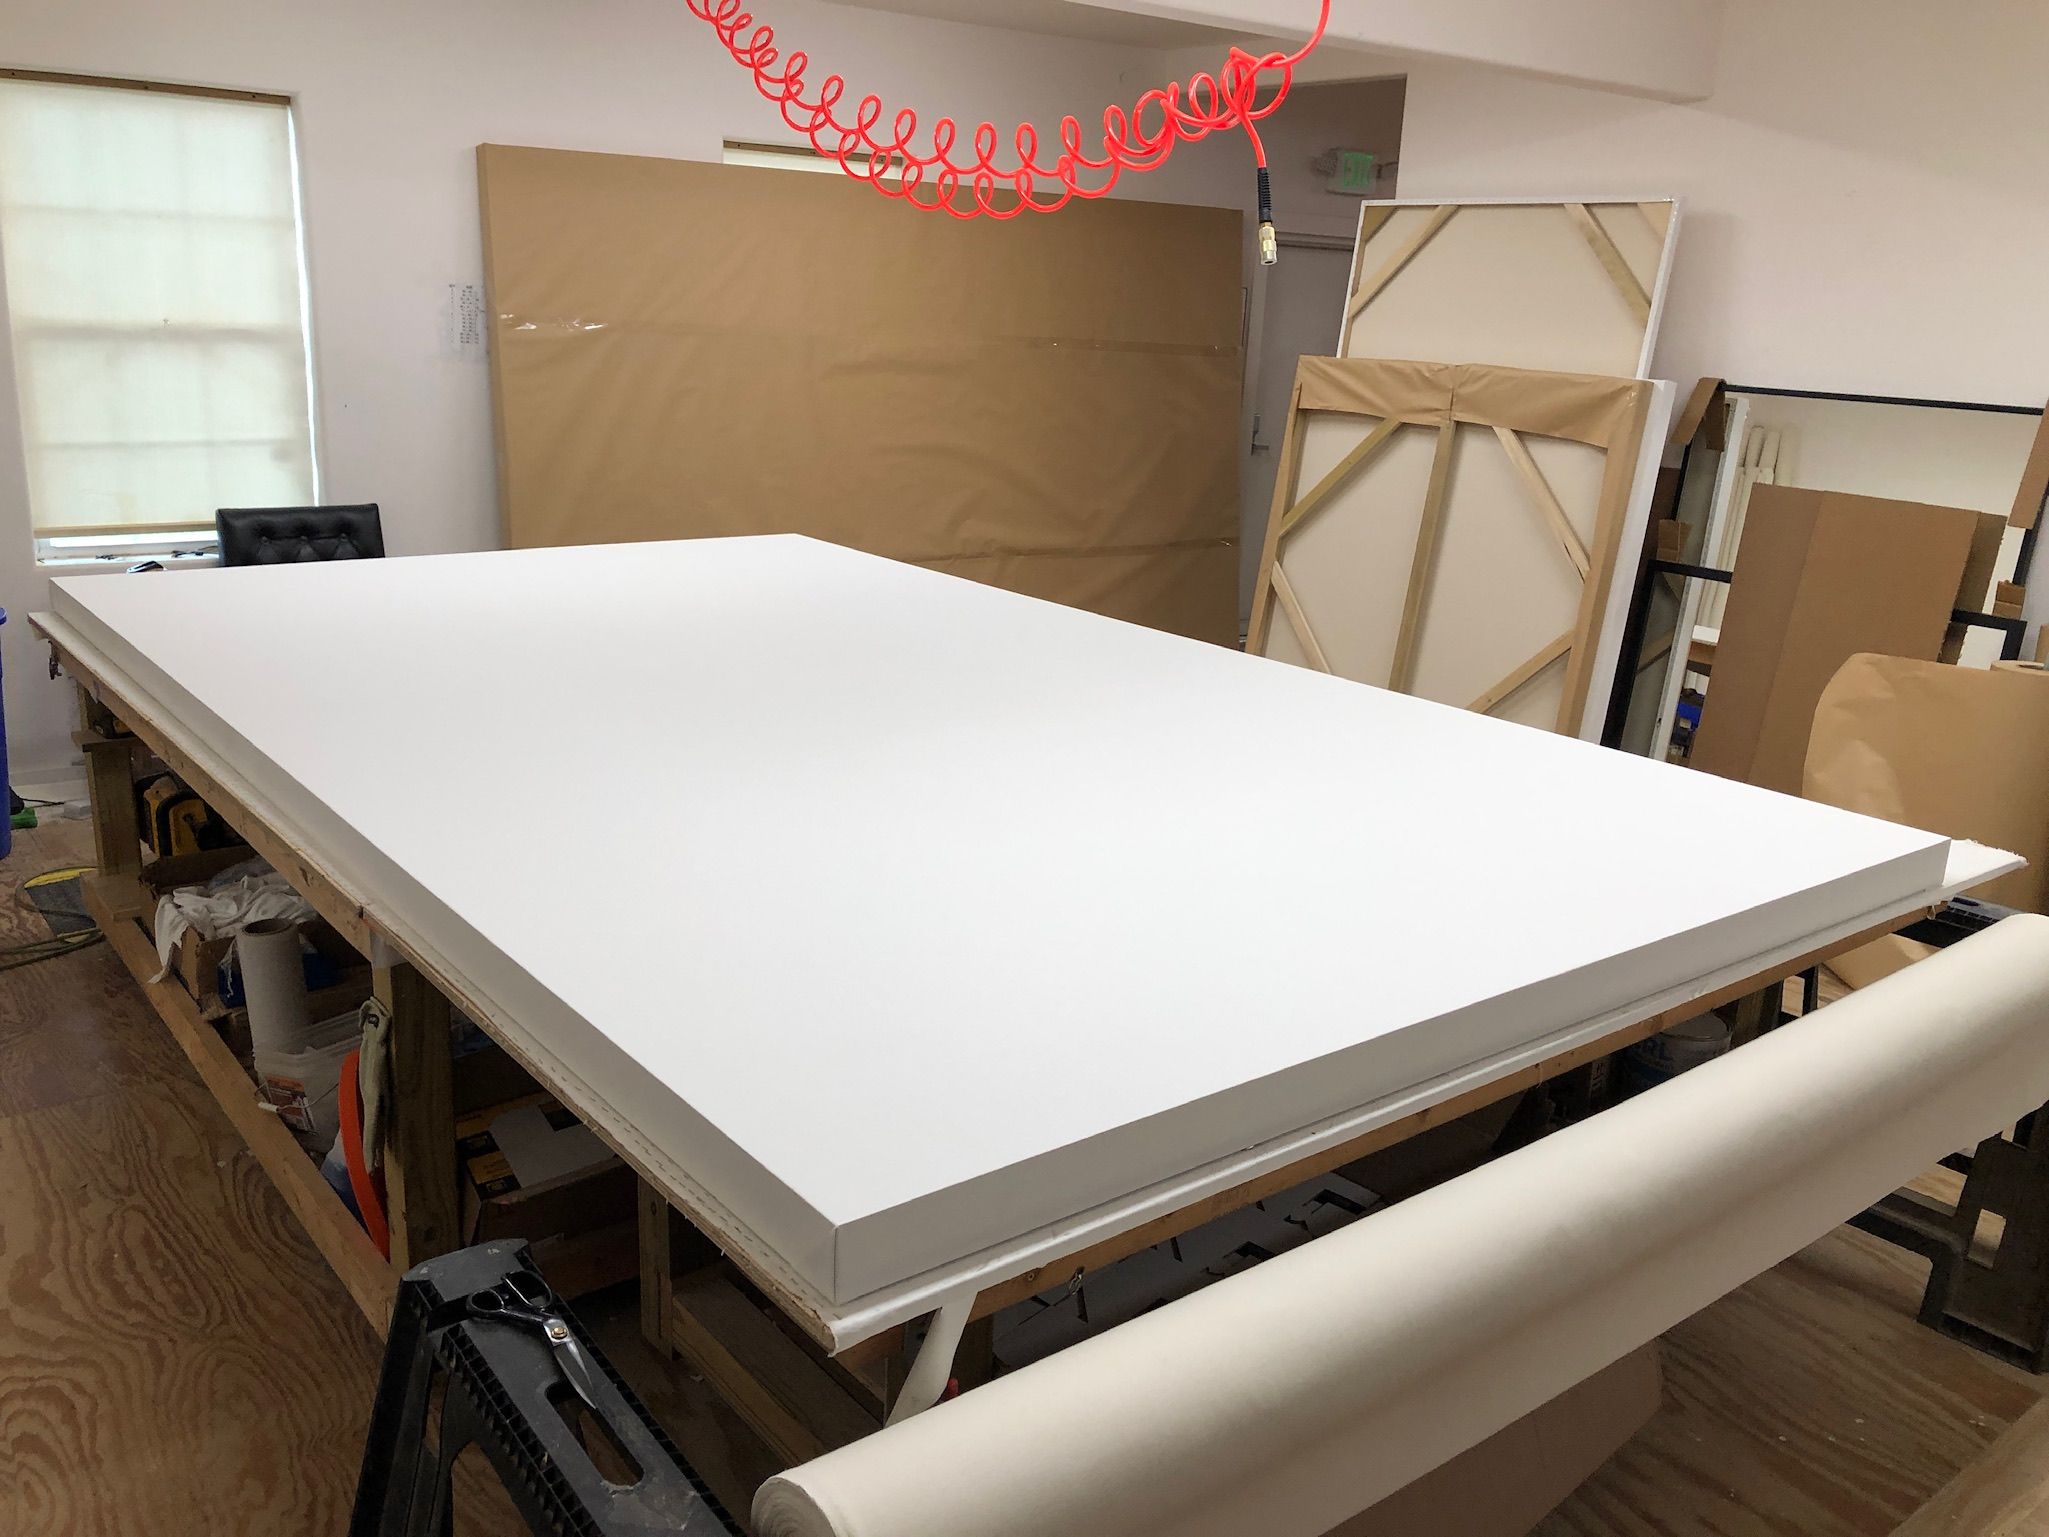 For newbies, a 12-ft canvas offers a big space for experimentation. Mistakes can be part of a grand artwork and can give lessons to the budding artist. Explore techniques and embrace the freedom of creating art on a large canvas.