Diptych – A painting or carving consisting of two panels.
Enamel – When painting, used upon a ground of metal, porcelain, the colours afterward being fixed by fire.
Fine Art – Generally used to describe art that has been created purely as an aesthetic expression to be enjoyed for its own sake (as opposed to applied arts or decorative arts or design). The viewer must first search for the intent of the artist in order to fully appreciate, identify or relate to the artwork.
Fixative – A solution, usually of shellac and alcohol, sprayed onto drawings of pencil, chalk and pastels, to prevent their smudging or crumbling off the support.
 Foreshortening – The diminishing of certain dimensions of an object or figure in order to depict it in a correct spatial relationship. In realistic depiction, foreshortening is necessary because although lines and planes that are perpendicular to the observer’s line of vision (central visual ray), and the extremities of which are equidistant from the eye, will be seen at their full size, when they are revolved away from the observer they will seem increasingly shorter. Thus for example, a figure’s arm outstretched toward the observer must be foreshortened–the dimension of lines, contours and angles adjusted–in order that it not appear hugely out of proportion. The term foreshortening is applied to the depiction of a single object, figure or part of an object or figure, whereas the term perspective refers to the depiction of an entire scene.
Fresco – The art of painting on freshly spread plaster before it dries, or in any manner.
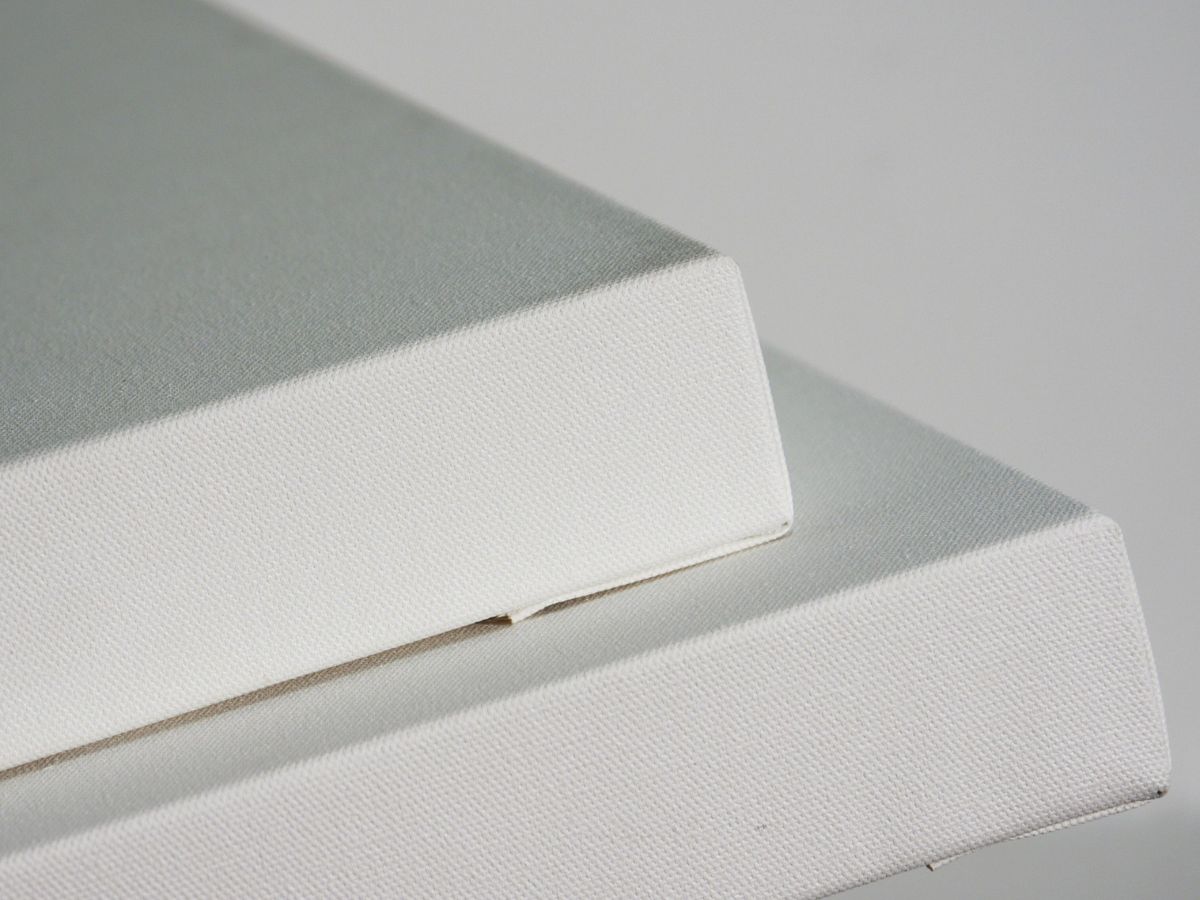
Gesso – A white ground material for preparing rigid supports for painting. made of a mixture of chalk, white pigment, and glue. Same name applied to acrylic bound chalk and pigment used on flexible supports as well as rigid.
Glaze – A very thin, transparent coloured paint or glossy finish applied over a previously painted surface to alter the appearance and colour of the surface.
Gold leaf – Very thin leaves of real gold that are burnished onto an object such as a wooden frame that has been coated with several layers of other material in preparation. The process is expensive because of the use of precious metal.
Gouache – A watercolour executed by using opaque watercolours mainly for illustrations.
Grisaille – Chiaroscuro painting in shades of gray imitating the effect of relief.
Gum Arabic – The binder used in watercolor and which is made from the gum of the Acacia tree (in the past commonly associated with Arabia, in recent decades also found in the West).
Harmony – The unity of all the visual elements of a composition achieved by repetition of the same characteristics.
Hatching – A technique of modeling, indicating tone and suggesting light and shade in drawing or tempera painting, using closely set parallel lines.
Iconography – Loosely, the “story” depicted in a work of art; people, places, events, and other images in a work, as well as the symbolism and conventions attached to those images by a particular religion or culture.
Idiom – The style of a particular artist, school or movement.
Illustration – A general term used for a drawing or an original work of art.
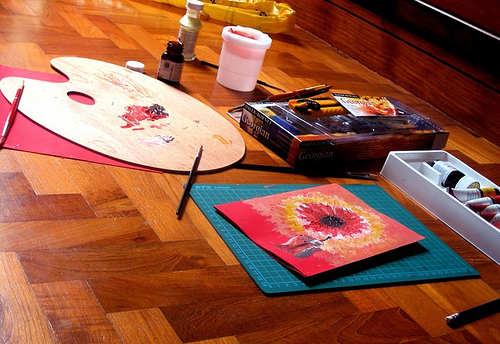
Knife – A painting knife may be utilized for the application of paint, whereas a palette knife is primarily utilized for mixing and blending the paint on the palette.
Lacquer – A varnish consisting of a solution of shella in alcohol, often used for varnishing metals.
Licensing – The act of selling a license to reproduce an artist’s work for a specific purpose. There are licensing agents who specialize in negotiating deals with makers of porcelain, giftware, stationery etc. Artists should be aware of the difference between selling a license and selling their copyright in a work.
Linear Perspective – A method of depicting three-dimensional depth on a flat or two-dimensional surface. Linear perspective has two main precepts: 1. Forms that are meant to be perceived as far away from the viewer are made smaller than those meant to be seen as close 2. Parallel lines receding into the distance converge at a point on the horizon line known as the vanishing point.
Mannerism – A deliberate simulation or exaggerated display.
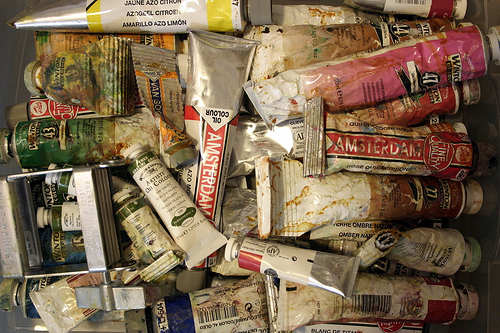
Medium – Used to describe either the material used to create a work of art (such as oil, acrylic, pencil, water-colour, charcoal, stone, cloth or other material); the liquid with which pigment or an existing oil paint is mixed to create or modify the paint, or an expressive art form.
Mixed Media – Used to describe art that uses more than one medium (such as a work that combines paint, natural materials and man-made materials) to create a single work of art.
Monochrome – Painting done in a range of tints and tones of a single colour.
Montage (Collage) – An artwork comprising portions of various existing images such as photographs or prints and arranged so that they join, overlap or blend together to create a new image or artwork in its own right.
Mural – A painting that is applied to a wall surface.
Neutral – Having no hue – black, white, or gray; sometimes a tannish colour achieved by mixing two complementary colours.
Numbered – A numbered print is designed to show the limit or size of a print edition. The number is generally placed over the size of the edition. For example 12/500 indicates that the print is number twelve out of an edition of 500.
…to be continued
Image source: www.guidetooilpainting.com