Painting on wood panels brings smooth surfaces and stability—but only if you prep them correctly. Follow these clear, practical steps to ensure your artwork lasts.
Why Proper Prep Matters
- Protects wood from moisture and chemicals. Without sealing, oils and tannins can bleed into paint, causing discoloration over time.
- Prevents warping and cracking. Sealing and priming helps wood resist humidity shifts that cause cupping or surface cracks.
1. Surface Prep: Clean & Sand
- Remove dust and debris with a soft brush or cloth.
- Lightly sand with 180–220 grit sandpaper to open pores and smooth edges.
2. Seal the Panel
- Apply a barrier coat like Golden GAC 100®, shellac, or clear acrylic medium. This blocks stains and stops paint sinking into wood.
- Let it fully dry, then lightly sand. A second coat adds extra protection.
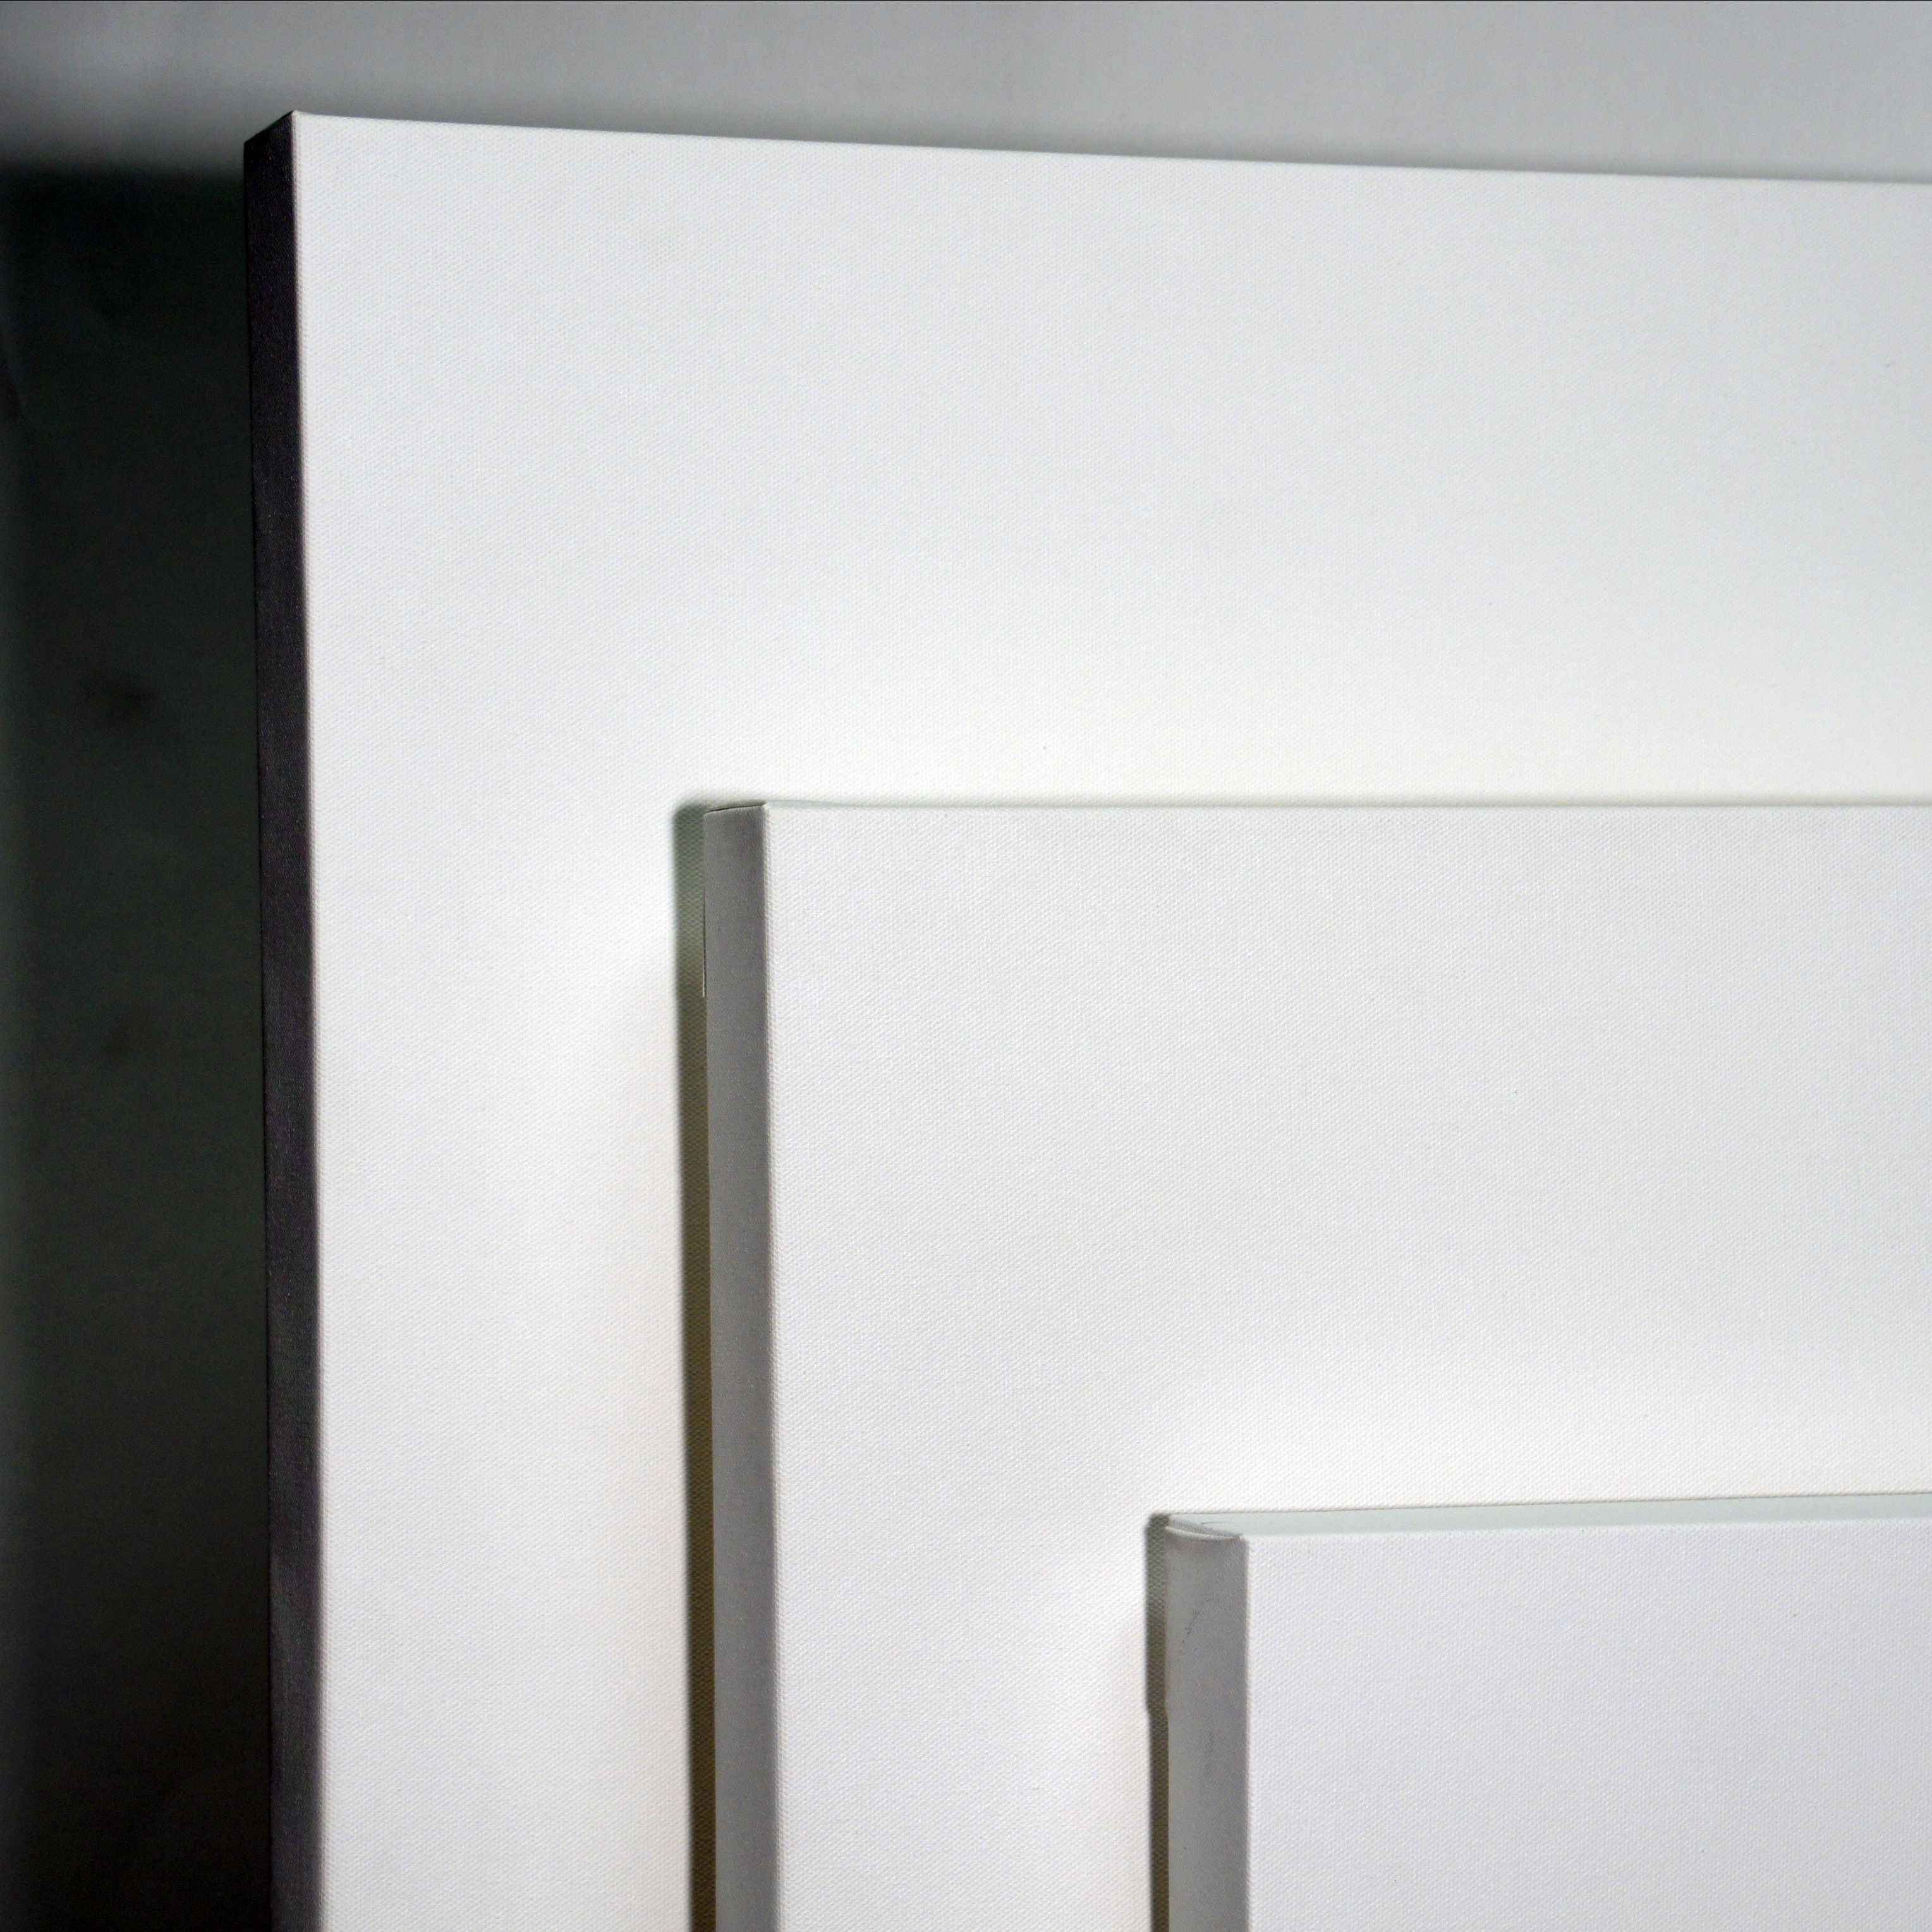
3. Prime with Gesso
- Apply two thin coats of acrylic gesso, sanding lightly between.
- Gesso gives you a clean, stable surface that grips paint well.
4. Final Touches
- Ensure all edges and the panel’s reverse side are sealed to prevent moisture-related warping.
- After the last coat dries and is sanded smooth, your panel is ready. No need to rush into painting.
Studio-Ready Tips
- Use quality sealers. Water-based acrylics avoid yellowing and odor problems.
- Sand between layers. This helps prevent rough spots and peeling.
- Prep multiple panels at once. Gives you painting-ready supports when inspiration strikes.
Prepping your wood panel right builds a strong foundation for paint layers and protects your artwork’s future. Whether acrylics, oils, or mixed media, this method ensures clean, professional results.
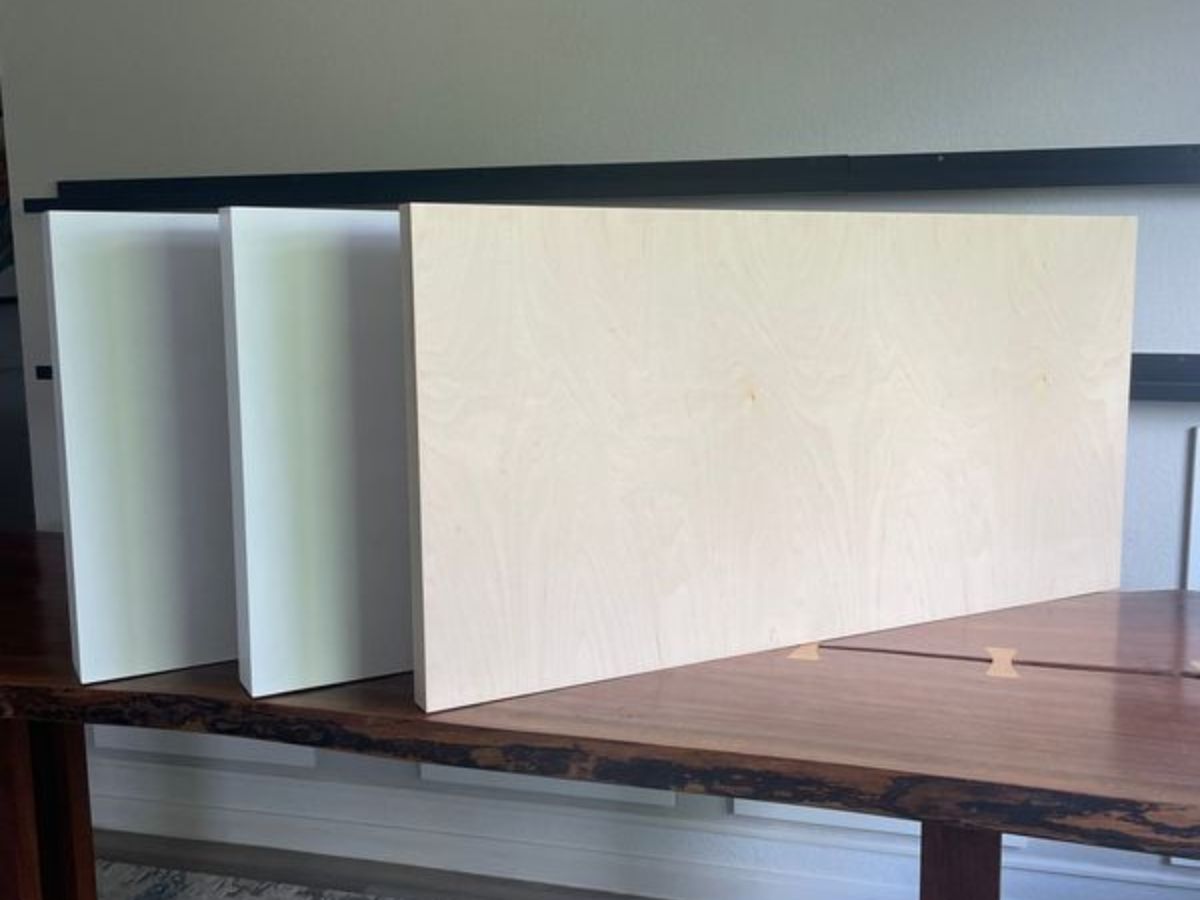
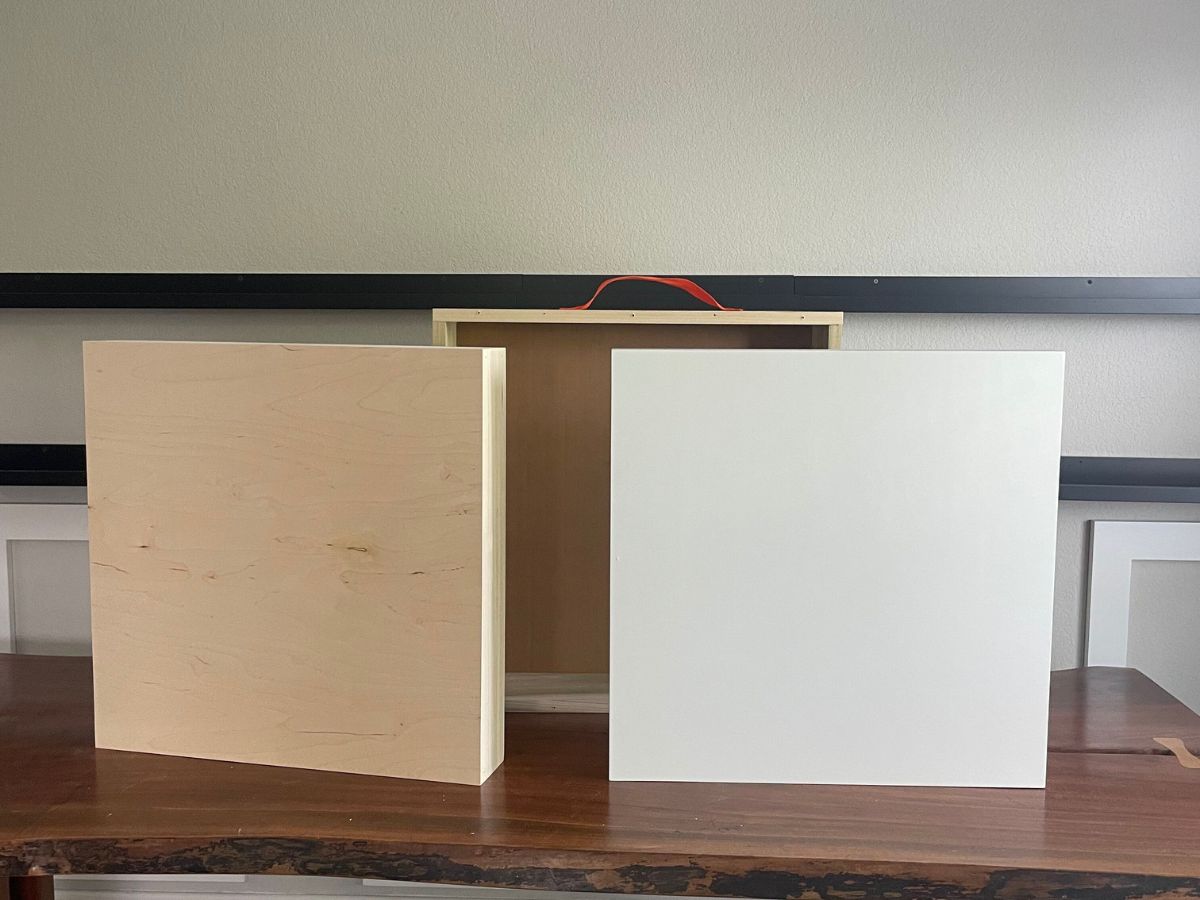
Where to Buy Custom Wood Panels?
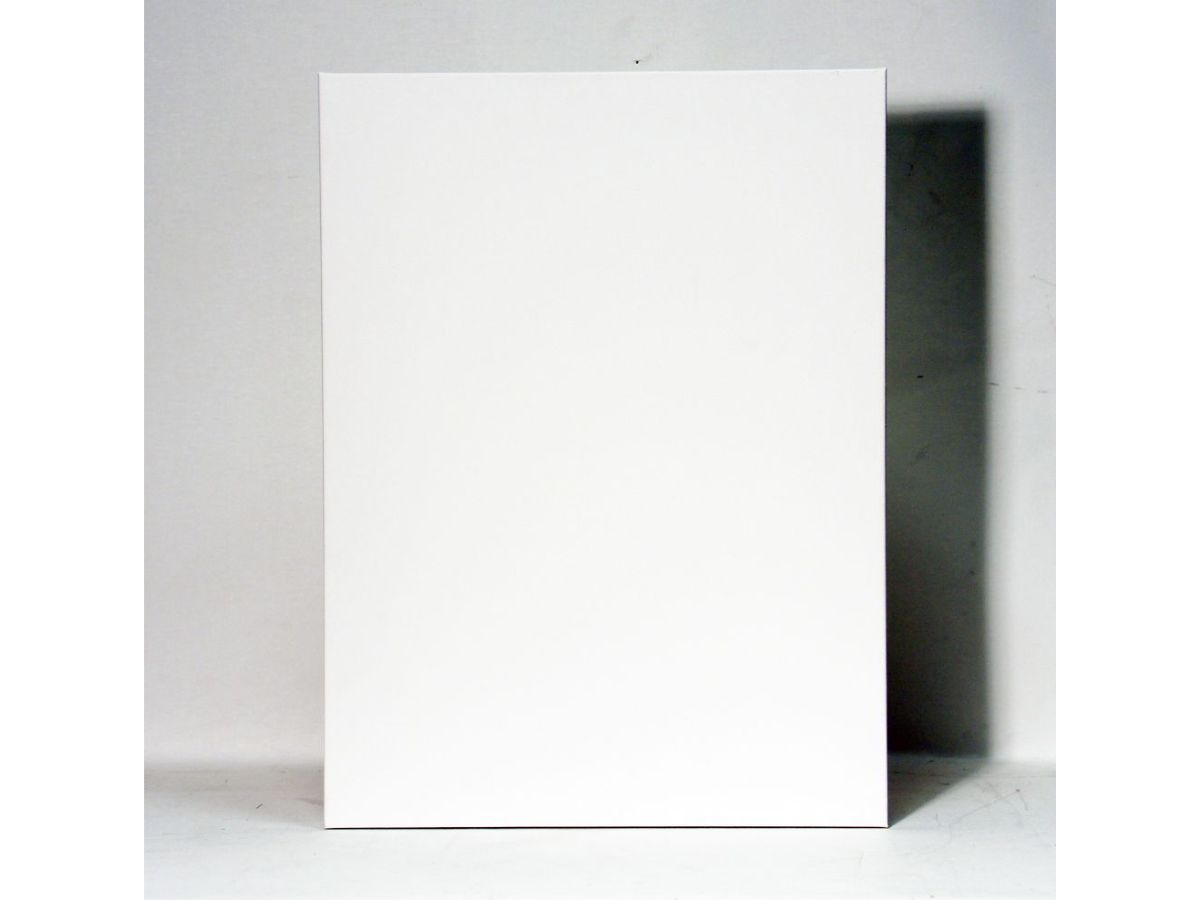
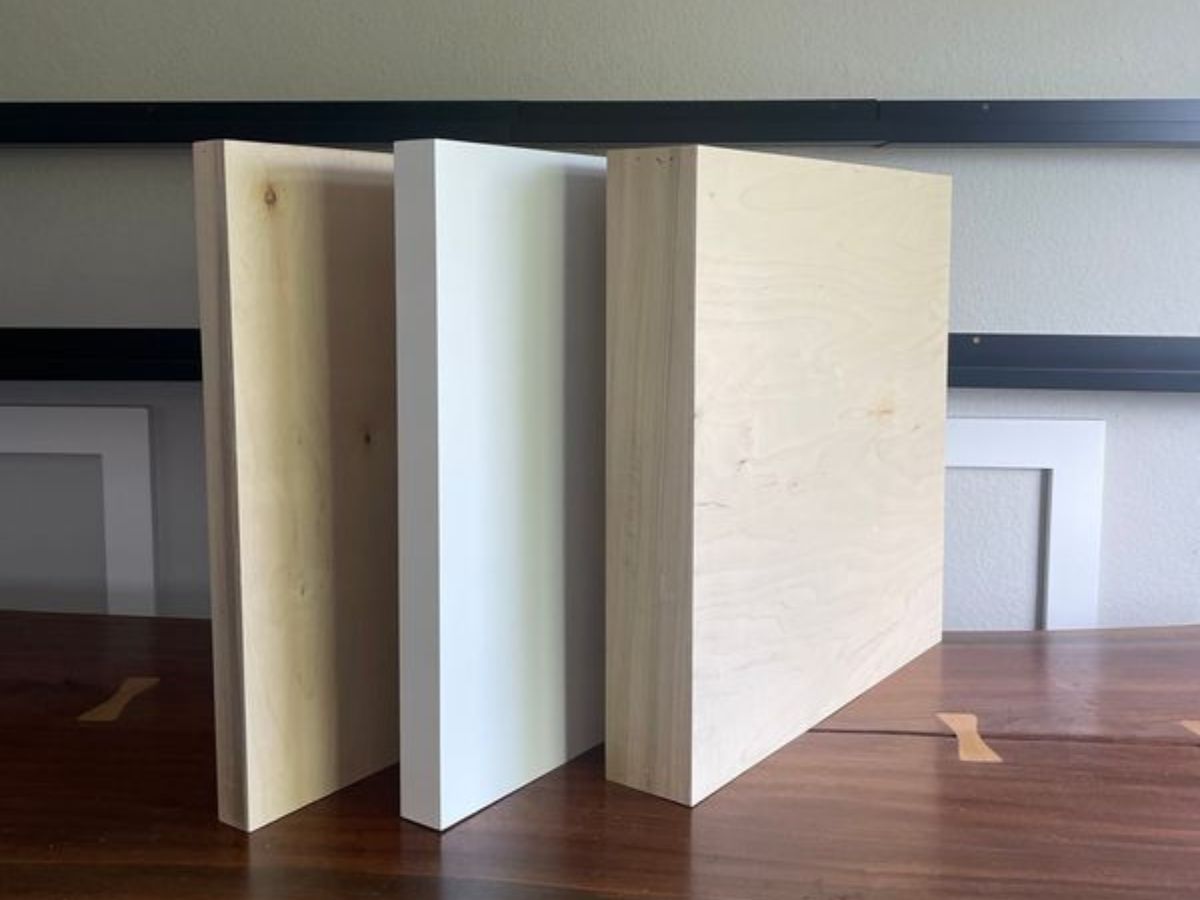
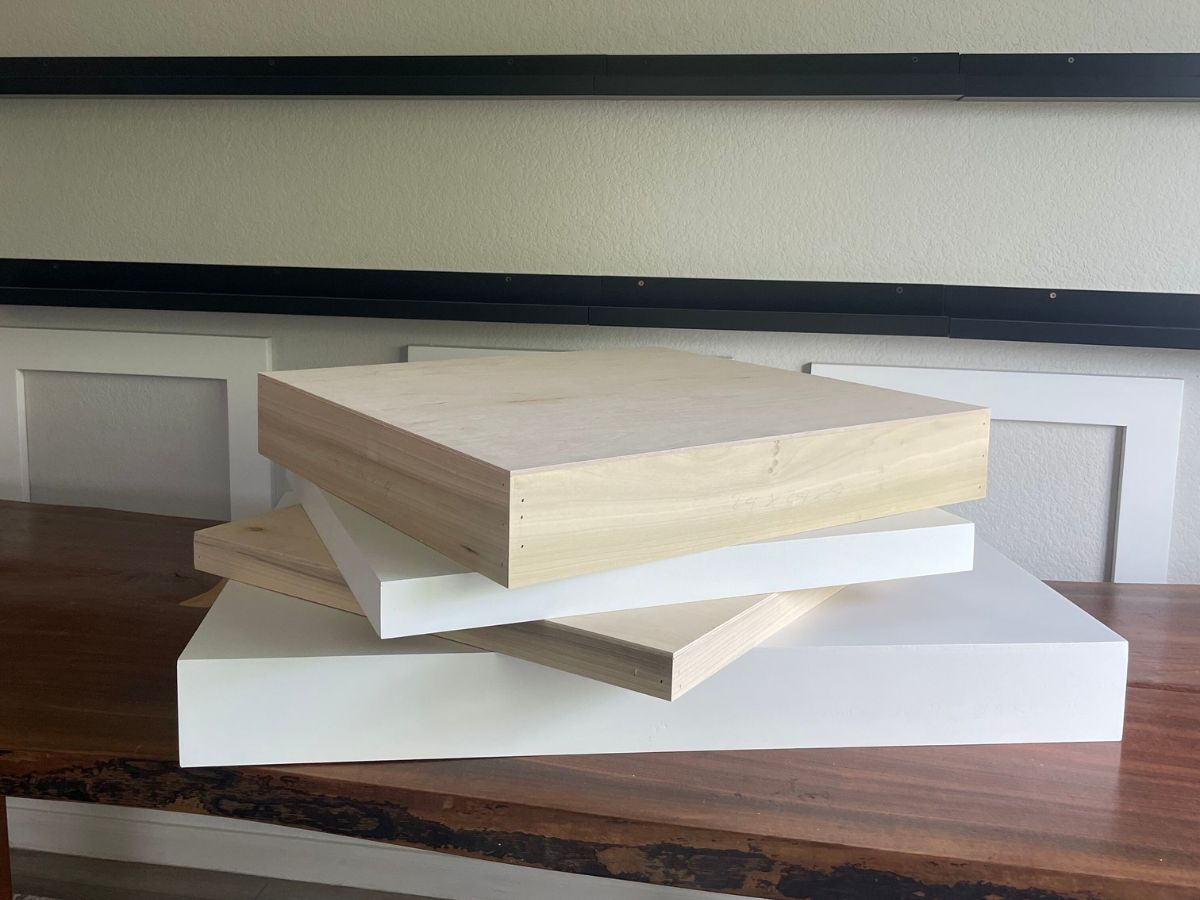
CanvasLot offers custom wood panels for artist. You can order the standard un-finished wood option or the sanded and primed with double layer of white gesso. Order online and we’ll deliver your custom wood panel right at your doorstep.