Sealing Techniques for Wood Panels
Many painters are trying to move toward painting on artist wood panels for their rigid surfaces, stability and clean edges. But here’s the part many skip: sealing the wood properly.
If you don’t seal a wood panel, you’re setting yourself up for discoloration, poor adhesion, and long-term structural issues. Let’s walk through what actually works.
Why Sealing Wood Matters
Wood is porous and organic. It absorbs moisture, oils, and binders from paint. Over time, this can cause staining, yellowing, or even cracking in oil paintings. In conservation studies, oil migration into raw wood has been shown to weaken the paint film and compromise longevity.
Sealing creates a barrier between the wood and the paint layers. It stabilizes the surface and makes everything that follows more predictable.
.jpg)
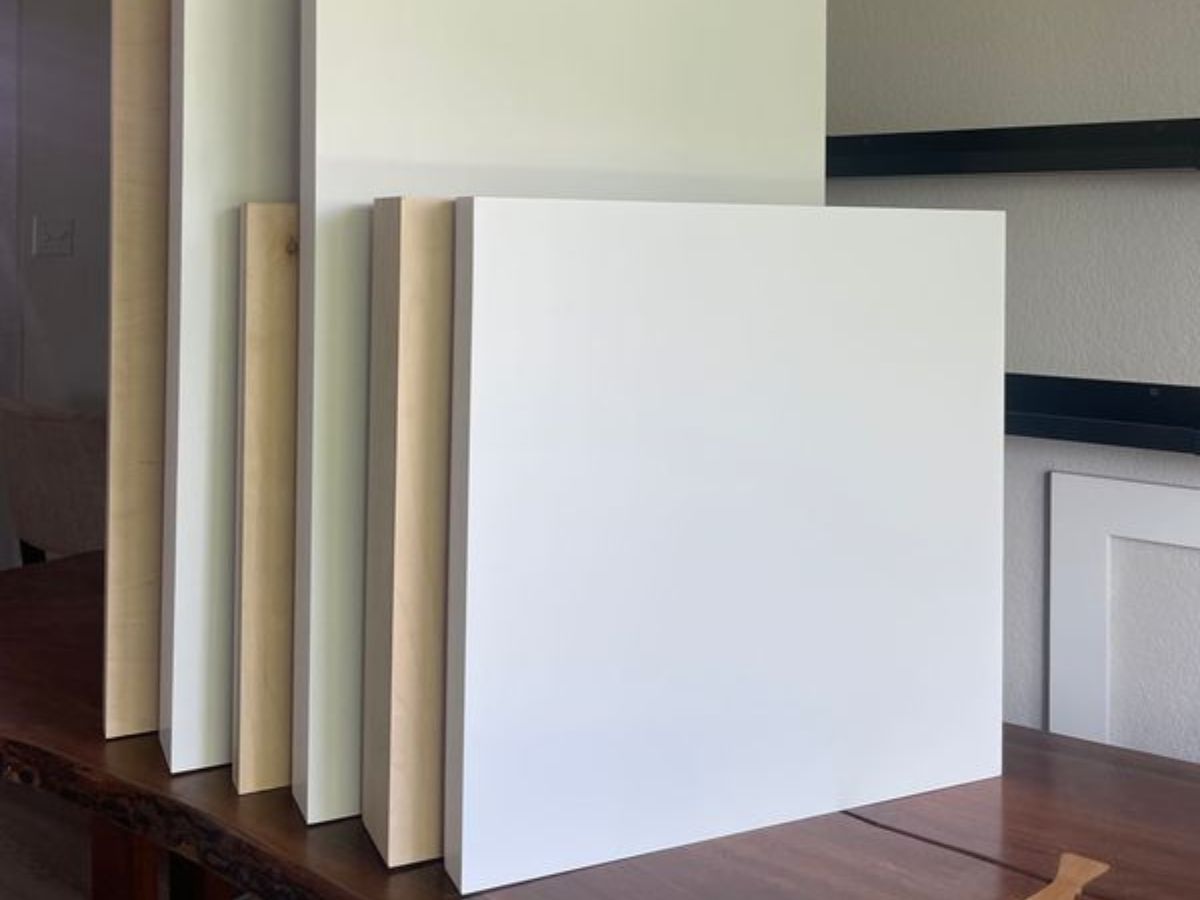
Step 1: Choose the Right Panel
Start with a quality panel. Common choices include birch plywood, hardwood panels, or medium-density fiberboard (MDF). Many artists prefer birch plywood for its smooth grain and stability.
Make sure the panel is dry, clean, and lightly sanded. Wipe away dust before applying anything.
Step 2: Apply a Sealer (Size)
The first layer is not gesso. It’s a sealer, sometimes called sizing. This layer blocks moisture and prevents oils from penetrating the wood.
For acrylic painters, an acrylic medium or polymer sealer works well. Apply a thin, even coat with a brush or roller. Let it dry fully.
For oil painters, traditional options include acrylic polymer size or specialized oil-compatible sealers. Some artists still use rabbit skin glue, but modern conservation advice often favors stable acrylic polymer sizes because they’re less sensitive to humidity changes.
Apply at least one coat. Two thin coats are better than one heavy one.
Step 3: Prime With Gesso
Once sealed, you’re ready to prime. Gesso creates tooth and prepares the surface for paint adhesion.
Acrylic gesso is the most common choice for both acrylic and oil painters today. Apply thin coats with a wide brush or roller, sanding lightly between layers for a smoother finish.
Two to three coats are standard. For ultra-smooth work like detailed portraiture, some artists apply up to five coats, sanding between each.
If you want texture, skip the sanding.
Step 4: Don’t Forget the Edges and Back
One of the most overlooked steps is sealing the entire panel, including edges and the reverse side. Wood expands and contracts with humidity. Sealing only the front can create tension over time.
A thin coat of sealer on the back helps balance moisture absorption and increases stability.

Common Mistakes to Avoid
- Painting directly onto raw wood
- Using thick, uneven sealer layers
- Skipping sanding when a smooth surface is needed
- Forgetting to seal edges
Each of these shortcuts can cause problems later.
Sealing wood panels isn’t complicated, but it is essential. Think of it as structural preparation. A properly sealed panel gives you better adhesion, truer color, and long-term durability. It takes a little extra time up front. But if you care about how your work ages, it’s time well spent.