How to Photograph Your Artwork for Online Display
Online art galleries and portfolios are the thing of today in terms of getting the word out about your art. Showcasing your artwork online needs to approximate the real thing and having good quality images of your artwork is a must. As an artist, you also need to keep visual records of your work—and whether you plan on selling your art right away or keeping it for years, you should always have up-to-date images ready to share.
Position your artwork almost perfectly upright
Put your artwork against a wall where it can stand on its own. It is not recommended that you lay your painting on the floor because it will be difficult for you to take a steady shot and you’ll block your light source that will create a shadow on your picture. When you take the photo, remember to tilt the camera slightly down to match the angle that the artwork is leaning – this will help minimize distortion of the original image.
Make sure that you have a sufficient, indirect natural light
Bring your artwork and your camera to a spot that’s full of bright light. Natural light is best. If the sun is too bright directly, bring your piece to a slightly shady area that’s still quite bright. If you’re forced to use artificial lights, get them as bright as possible, and reflect the light off of a white wall, poster board or another light surface to avoid over exposed parts in your photo. Look out for shadows, as well. If you use a flash, try taping a single sheet of toilet paper over it so it’s not so harsh.
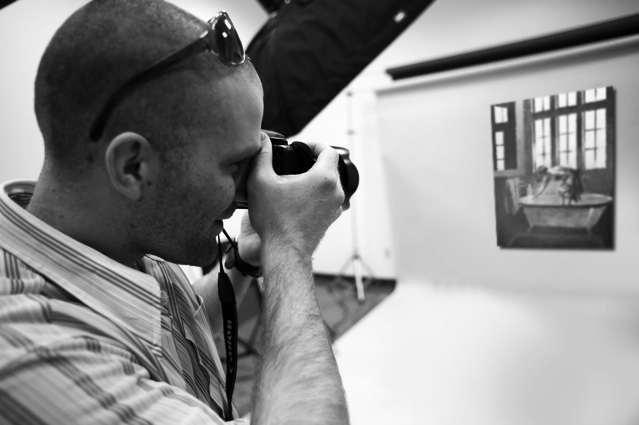
Take a picture of your artwork
When you’re taking your photo, look at it directly from the front, so that the edges of the piece are parallel with the edges of the viewfinder. This keeps everything correctly proportioned.
Use a tripod so you won’t have to worry about hand shake or instability, and you can take time to frame your shot perfectly. If you don’t have a tripod, you can use anything that can hold your camera and your hands in place like a table or a box.
Avoid too much post processing
I f you think that your photo needs editing, then, you may do so. You may bring them up in Photoshop or whichever photo-editing software you use. You can remove some imperfections like cropping out the background and adjusting the contrast to approximate the real image. Do not overdo your editing. Remember that you want to post an image of your actual artwork not an edited version of it.
Image source: www.adcfineart.com