How to Prime a Canvas
Canvases come unprimed and pre-primed. Priming prepares the surface, ensuring better adhesion of the paint, a smoother finish, and increased longevity. Whether you’re a seasoned artist or a beginner, understanding how to prime your canvas properly is essential.
Here’s a guide to help you master the art of canvas priming.
Why Priming is Important
Priming your canvas serves several functions:
- Improves adhesion. Primed surfaces allow the paint to stick better, preventing it from flaking or peeling over time.
- Prevents absorption. Raw canvas can absorb paint, leading to wasted materials and uneven application. Priming creates a barrier, ensuring that the paint stays on the surface.
- Enhances durability. A properly primed canvas is more resistant to environmental factors, such as humidity and temperature changes.
- Provides a smoother surface. Priming fills in the weave of the canvas, offering a more even texture for painting.
Choosing the Right Primer
Acrylic gess is the most common primer used by artists. It’s water-based, quick-drying, and easy to apply. Acrylic gesso is versatile, suitable for both acrylic and oil paints.
Step-by-Step Guide to Priming Your Canvas
Materials Needed:
- Raw canvas (pre-stretched or canvas roll)
- Acrylic gesso
- Wide, flat brush or foam roller
- Sandpaper (optional)
Step 1: Prepare Your Workspace
Lay down protective coverings to prevent any spills or splatters. Ensure you have good ventilation.
Step 2: Stretch Your Canvas (If not pre-stretched)
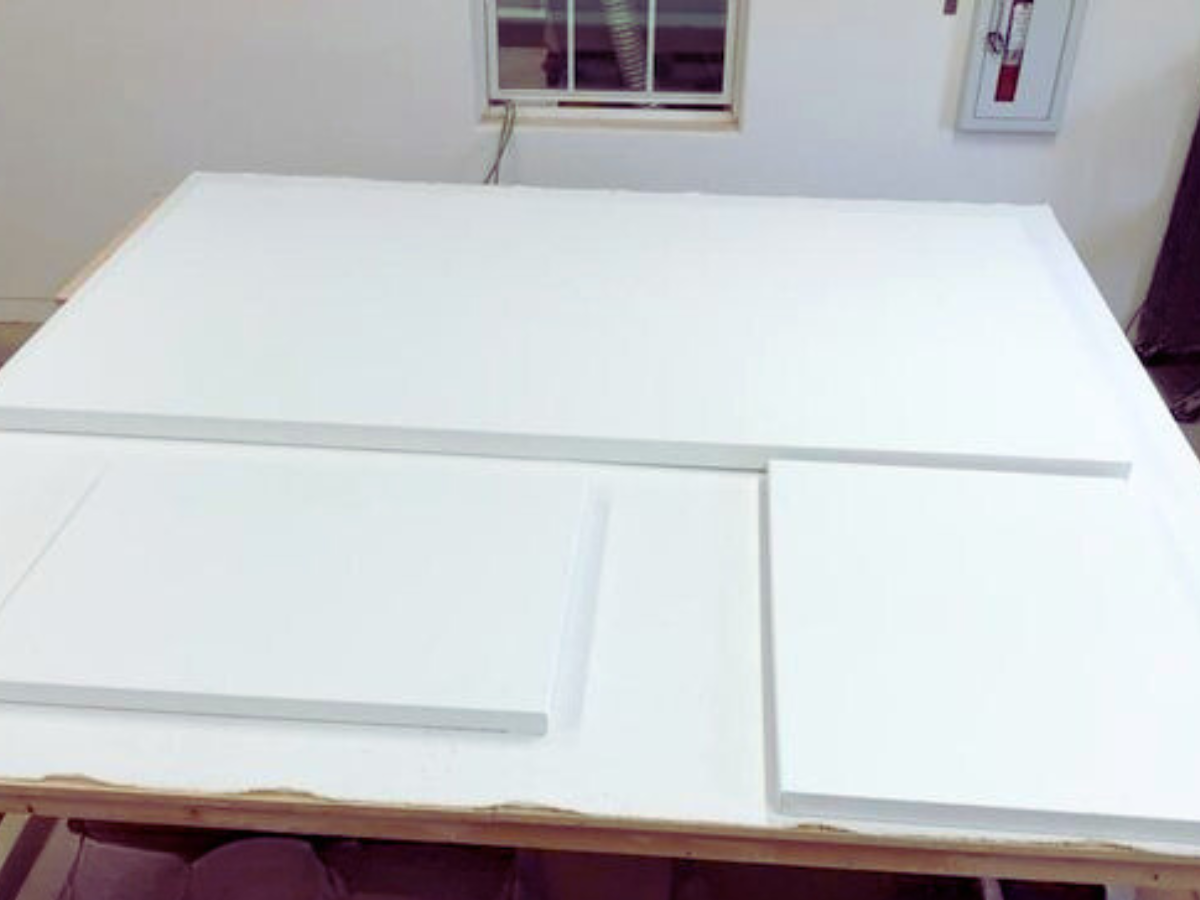
If you’re using a canvas roll, stretch it over a frame and secure it tightly. This step is crucial for ensuring a smooth and even surface. Canvas stretching is a delicate balance between having a canvas that will not tear or sag later.
Step 3: Apply the First Coat of Primer
Using a wide, flat brush or foam roller, apply the first coat of gesso or primer. Start from the top and work your way downwards in long, even strokes. Ensure the primer is applied thinly and evenly to avoid drips and uneven texture.
Step 4: Let it Dry
Allow the first coat to dry completely. Acrylic gesso typically dries within 30 minutes to an hour.
Step 5: Sand the Surface (Optional)
For an extra smooth finish, lightly sand the surface with fine-grit sandpaper once the primer is dry. This step is optional but can be beneficial for detailed work.
Step 6: Apply Additional Coats
Turn your canvas 90 degrees so your strokes will be perpendicular to the direction of the first coating of primer. Apply a second coat of primer, following the same process. Two to three coats are usually sufficient, but you can add more if needed for a smoother surface.
Step 7: Final Drying
Allow the final coat to dry completely before starting your painting. Ensure the canvas is fully dry to prevent any issues with paint adhesion.
Practical Tips for Priming
- Stir the primer. Always stir your primer before use to ensure an even consistency.
- Use quality brushes. Invest in good-quality brushes or rollers to avoid loose bristles and achieve a smooth application.
- Work in a clean area. Ensure your workspace is free of dust and debris to prevent imperfections in the primer.
- Test the primer. If you’re unsure about the primer’s compatibility with your paint, test it on a small section of the canvas first.
Properly priming your canvas is a fundamental step that sets the foundation for your artwork. By taking the time to prepare your surface correctly, you can enhance the quality, durability, and overall appearance of your paintings.
Did You Know?
CanvasLot offers 100% cotton canvas and double primed with acid-free acrylic gesso ready to be painted on. Order online or call us today at 1-512-910-7333 (Austin, TX), Mon – Fri: 9am to 5pm (Central Time) and we’ll deliver your canvas right at your doorstep.