How to Fix Common Problems in Wood Panel Painting
Painting on wood panels can feel solid and reliable compared to canvas. No bounce, smooth surface, great for detail. But wood has its own personality, and if you don’t prep or handle it right, it will push back.
Here’s how to deal with the most common problems.
1. Warping Panels
Warping is one of the biggest frustrations. You finish a piece, step back, and notice the panel has a slight curve or twist. This usually happens because wood absorbs moisture unevenly. Paint, gesso, and even humidity in the air can cause one side to expand more than the other.
Fix:
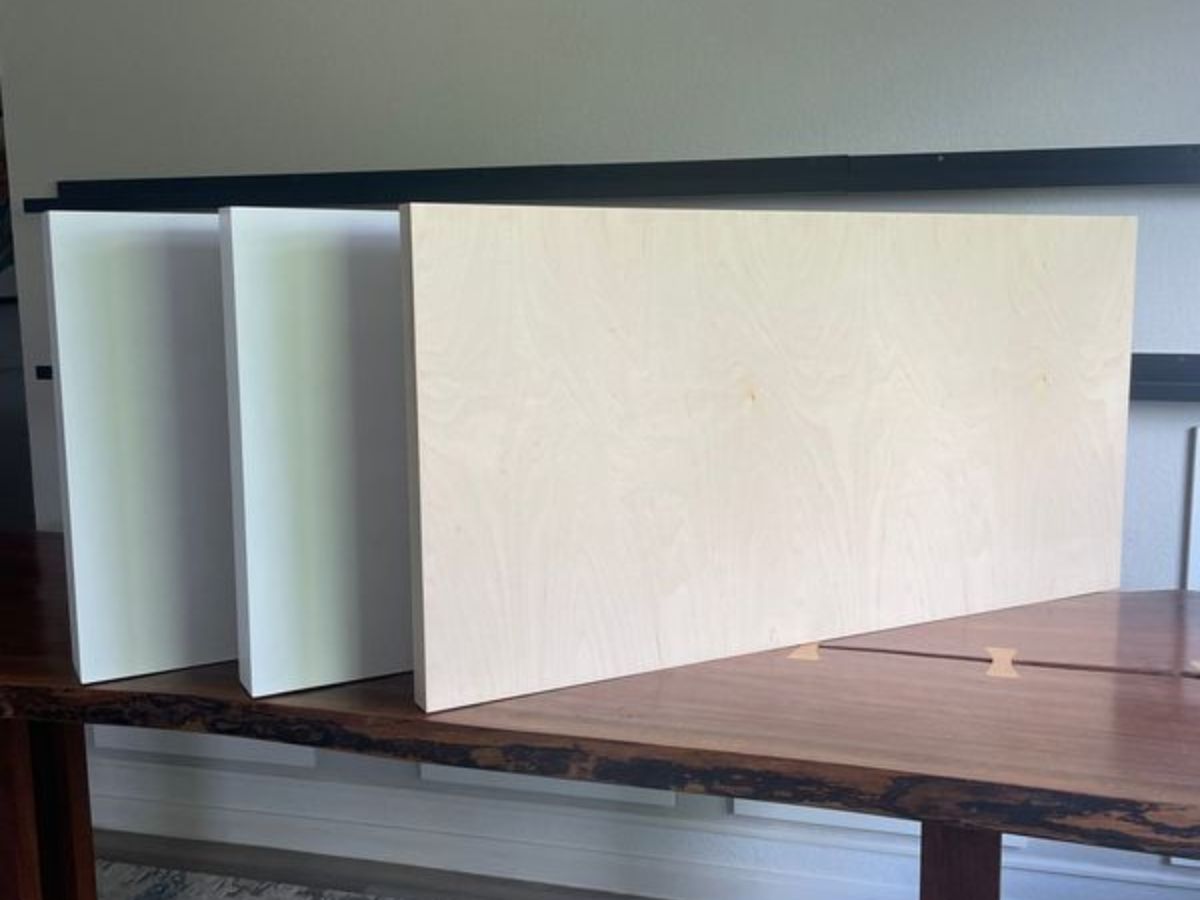
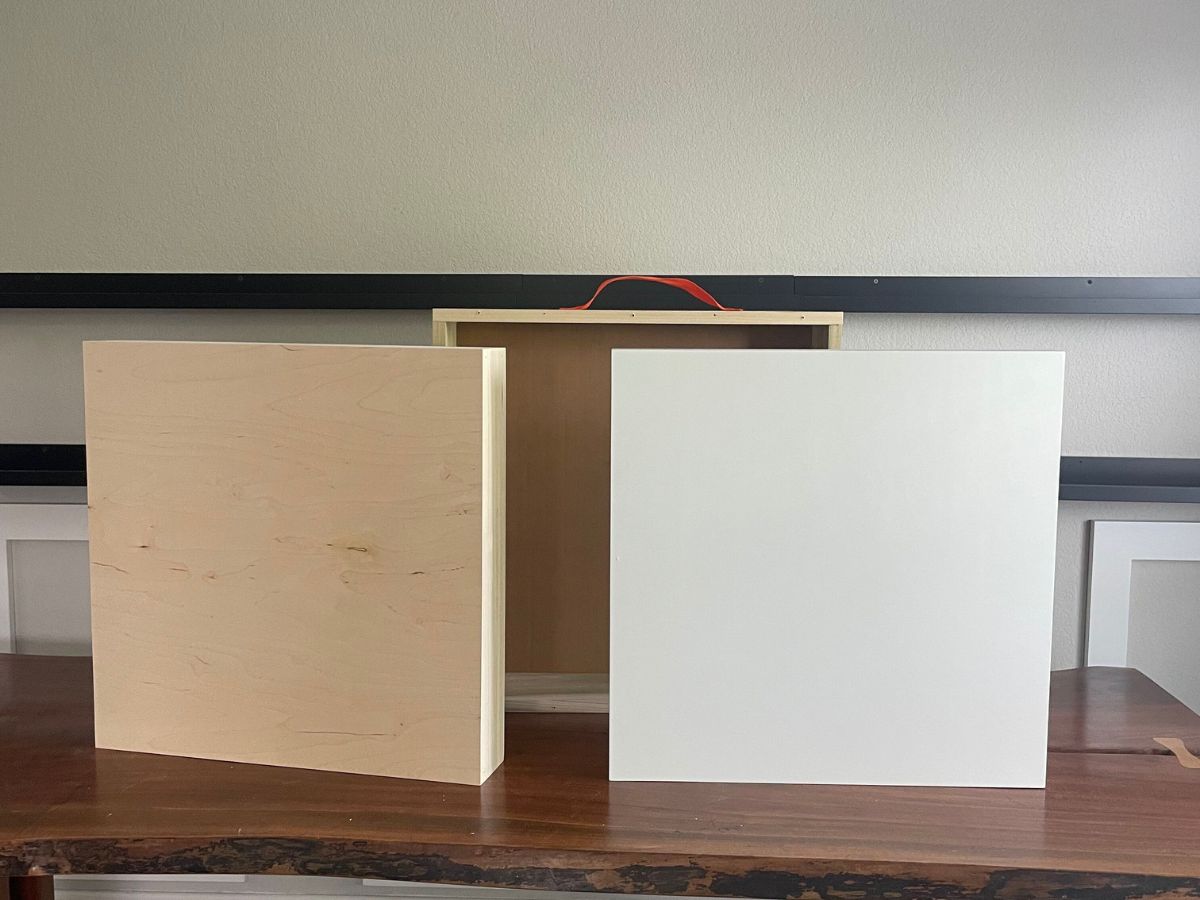
Seal both sides of the panel, not just the front. Apply gesso or a sealant evenly across the surface, back, and edges. If you’re working on a larger piece, consider using cradled panels or adding a brace to the back for stability.
If a panel is already warped, lightly misting the back and weighting it flat can help, but prevention is more reliable than repair.
2. Poor Paint Adhesion
If your paint feels like it’s sitting on the surface instead of bonding, or worse, peeling, the issue is almost always prep. Raw wood is porous but uneven. Oils and resins in the wood can also interfere with adhesion.
Fix:
Always prime your panel. Use a proper gesso or acrylic primer, and apply at least two to three thin coats, sanding lightly in between. This creates a stable, slightly toothy surface that paint can grip.
Skipping this step might save time upfront, but it usually costs you later.
3. Visible Wood Grain Showing Through
Sometimes you want the grain. Sometimes it completely ruins the smooth look you’re going for. If you can see texture or lines bleeding through your paint, your surface isn’t fully prepped.
Fix:
Build up your ground. Apply multiple layers of gesso and sand between each coat until you get the smoothness you want. For ultra-smooth finishes, some artists use a fine sanding block or even wet sanding.
If you prefer a middle ground, let a bit of grain show but keep it consistent across the panel.
4. Cracking Paint Over Time
Cracks usually come from a mismatch between rigid and flexible layers. Wood doesn’t move much, but paint layers can still react to temperature and humidity changes. Applying thick paint over an unstable or poorly primed surface increases the risk.
Fix:
Work in controlled layers. Let each layer dry properly before adding the next. Avoid overly thick applications unless your materials are designed for it.
Also, make sure your panel is properly sealed before you start. A stable base reduces stress on the paint film.
5. Discoloration or Staining
Yellowing or dark patches can show up months later, especially with lighter colors. This often comes from tannins in the wood bleeding through.
Fix:
Use a sealing layer before gesso. An acrylic medium or dedicated wood sealer can block these compounds. Then apply your gesso on top.
If staining has already happened, you may need to sand back and reseal. It’s frustrating, but it’s the only clean fix.
Wood panels reward good habits. Most problems come down to prep and patience. Seal it properly, build your surface carefully, and respect the material. Once you get that workflow down, wood becomes one of the most dependable surfaces you can paint on.