
How to Address Warping in Wood Panels
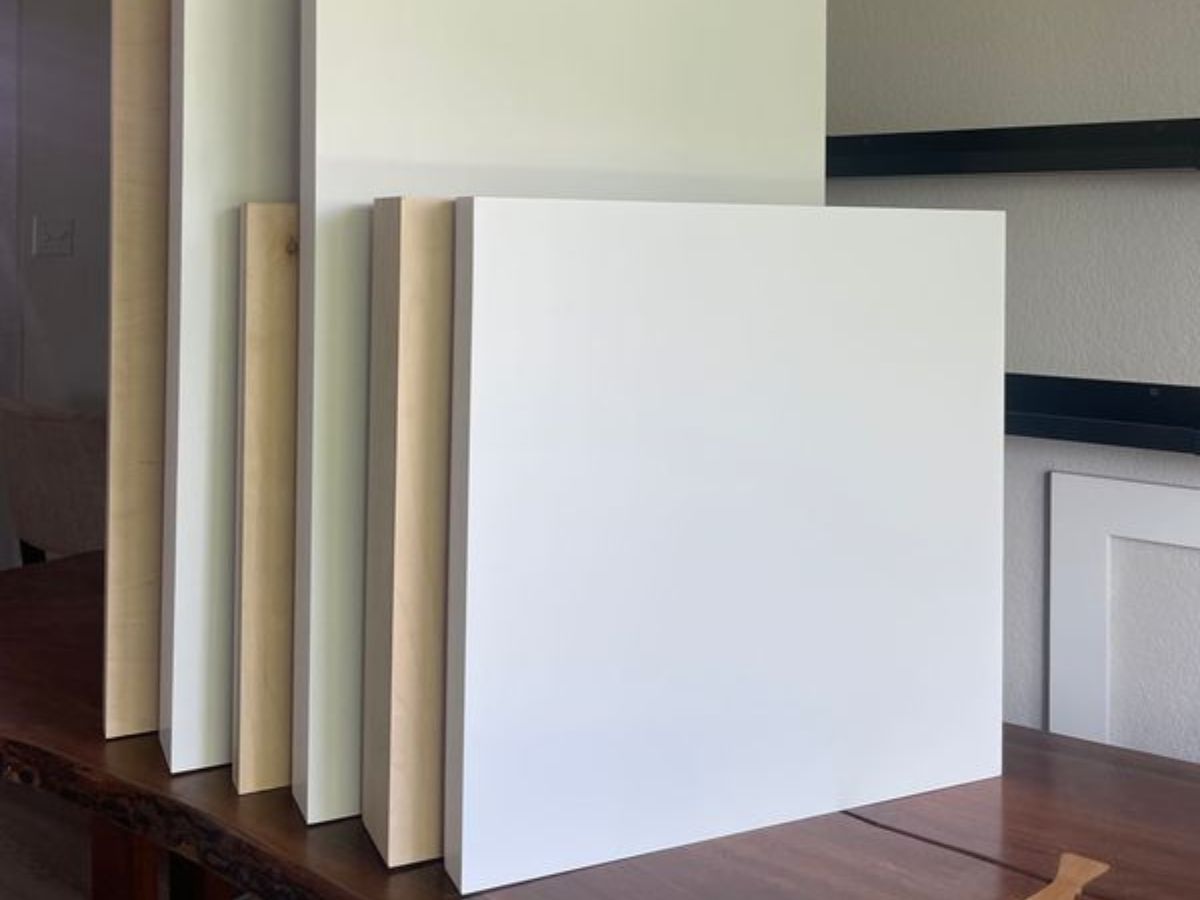
Wood panels are a favorite support for artists because they are rigid, durable and great for fine detail. But unlike canvas, wood responds to moisture and humidity by expanding and contracting. When that movement isn’t balanced, the panel can warp. Here’s how you can prevent warping and address it when it happens.
Why Wood Warps in the First Place
Wood is hygroscopic, which means it absorbs and releases moisture depending on the air around it. When one side of a panel gains or loses moisture faster than the other side, it creates uneven tension and the board bends or cups. This is a common issue if the back of the panel is unfinished and the front is painted or sealed, or if the panel sits in an environment with fluctuating humidity levels.
Prevent Warping Before You Paint
1. Seal All Surfaces
One of the most effective ways to prevent warping is to seal every side of the panel–front, back and edges–before you paint. A thin, even coat of acrylic medium, shellac or primer on all sides slows moisture exchange and helps the wood expand and contract evenly.
Many artists focus only on sealing the front where the paint goes. That unbalanced sealing lets moisture move more freely from the back, which leads to warping. Make sealing a ritual. Do it right and your panel will stay flat much longer.
2. Use Quality Materials and Construction
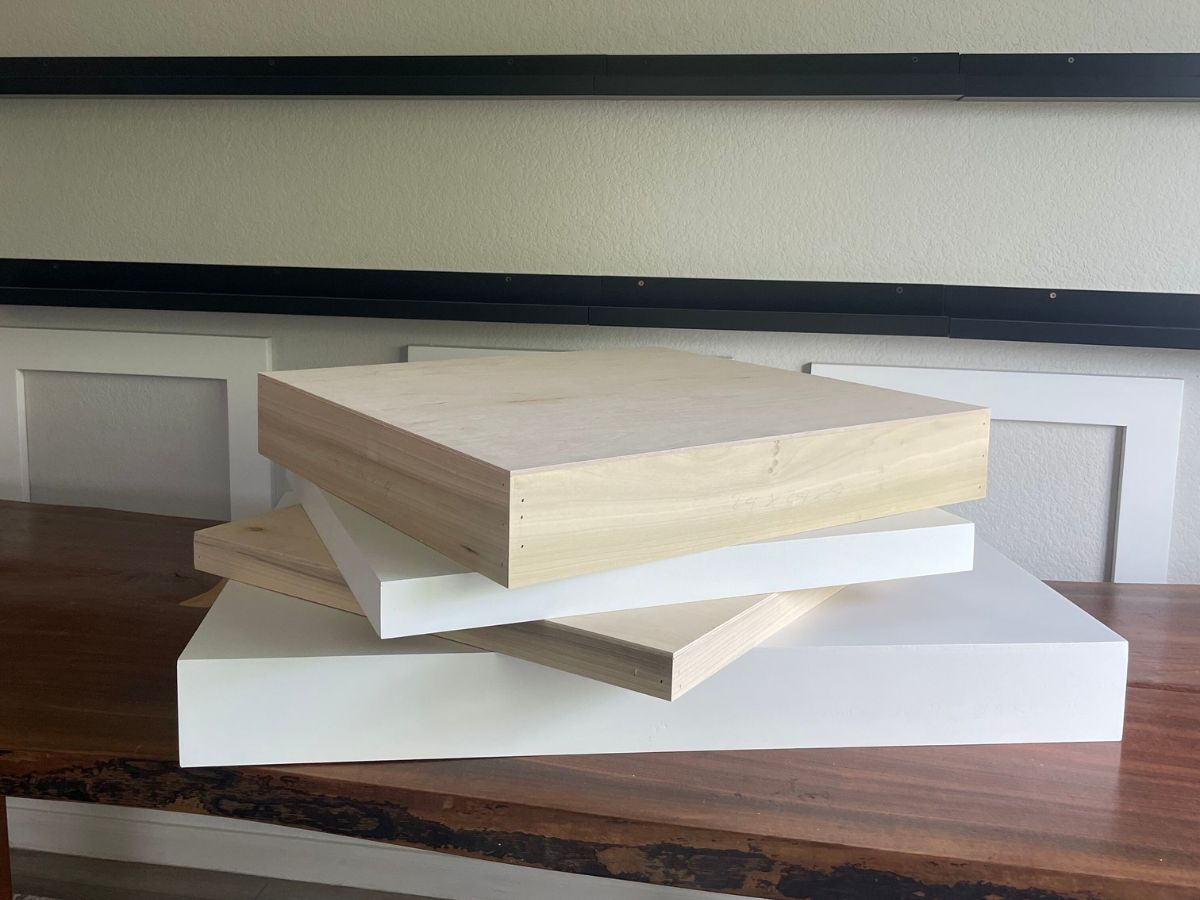
Panels made from thicker plywood, stable hardwoods like birch or maple, or engineered woods designed for art supports resist warping better than thin, cheap boards. Quality also matters when assembling panels. Good wood glue and tight joints reduce internal stresses in the wood that can show up as warps later.
If you build your own panels, let the wood acclimate to your studio for at least a week. This gives it a chance to settle into its moisture balance before you start sealing and painting.
3. Control Your Environment
Wood reacts to humidity swings. Keeping your studio around a stable relative humidity, roughly 40-60 percent, and a steady temperature reduces expansion and contraction. Avoid storing paintings in basements or near heat vents, where conditions swing widely.
What to Do if Your Panel Starts to Warp
1. Add Backing Support
If a panel is already bowing or cupping, one simple step is to add support on the back. A cradle or battens help keep the wood from warping further by reinforcing it. Cradles have been used historically to stabilize panel paintings and allow slight movement while keeping the panel flat.
For larger panels, using high-quality plywood or cross-grain bracing can make a noticeable difference in stability. This doesn’t fix warping that’s already severe, but it reduces movement in the future.
2. Rebalance Moisture Exposure
Sometimes just sealing the back and sides of an already painted panel (if feasible) can help flatten it over time. Artists say that balanced finishes on both sides help wood “settle” back into a flat shape as it gains or loses moisture evenly. This isn’t a guaranteed fix, but it’s worth trying before drastic measures.
3. Avoid Extreme Fixes Without Expertise
Conservators use specialized techniques to flatten historic panel paintings, sometimes under controlled humidity conditions, but these are risky for everyday art practice. Sudden or dramatic reshaping can crack paint or weaken the panel. When in doubt, focus on prevention and gentle adjustments.
Warping isn’t a death sentence for your art, but it is a sign that wood and moisture aren’t balanced. The best defense is smart prep: seal all surfaces, choose stable materials, and keep your studio environment stable. If warping begins, adding support and balancing moisture exposure are your safest next steps.
Good panel care doesn’t just keep your surface flat, it protects your time, materials and creative investment for years to come.