Acrylic Pouring for Beginners: Step-by-Step Guide
Acrylic pouring is a mesmerizing art form that combines creativity with science. Perfect for beginners, it involves mixing acrylic paints with a pouring medium to create fluid, abstract patterns on a canvas. This guide will walk you through the basics of acrylic pouring and help you start your artistic journey.
What is Acrylic Pouring?
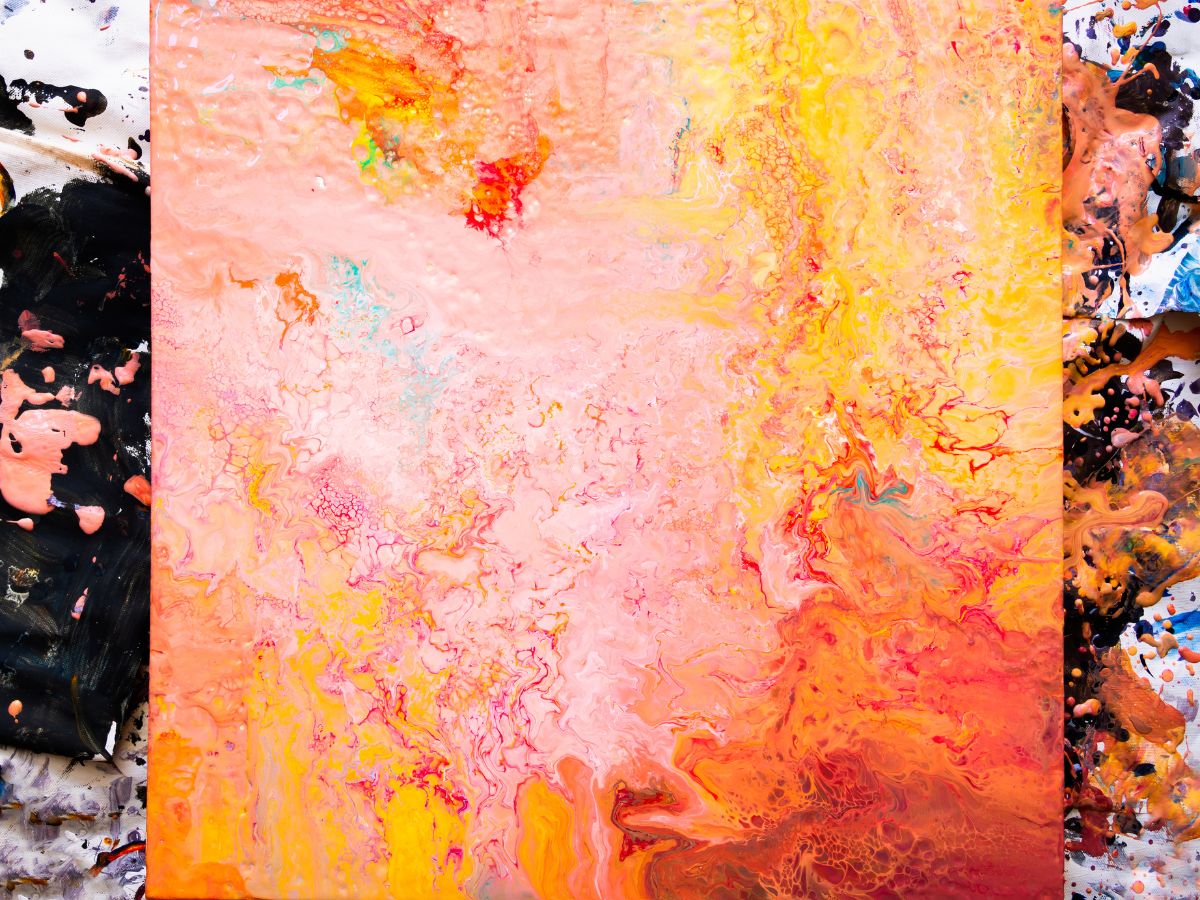
Acrylic pouring, also known as fluid art, is a technique where paints are thinned and poured onto a surface, creating vibrant, flowing designs. The process relies on gravity, surface tension, and the viscosity of the paint mixture to produce intricate patterns like cells, marbling, or streaks.
Tools and Materials You’ll Need:
- Acrylic Paints
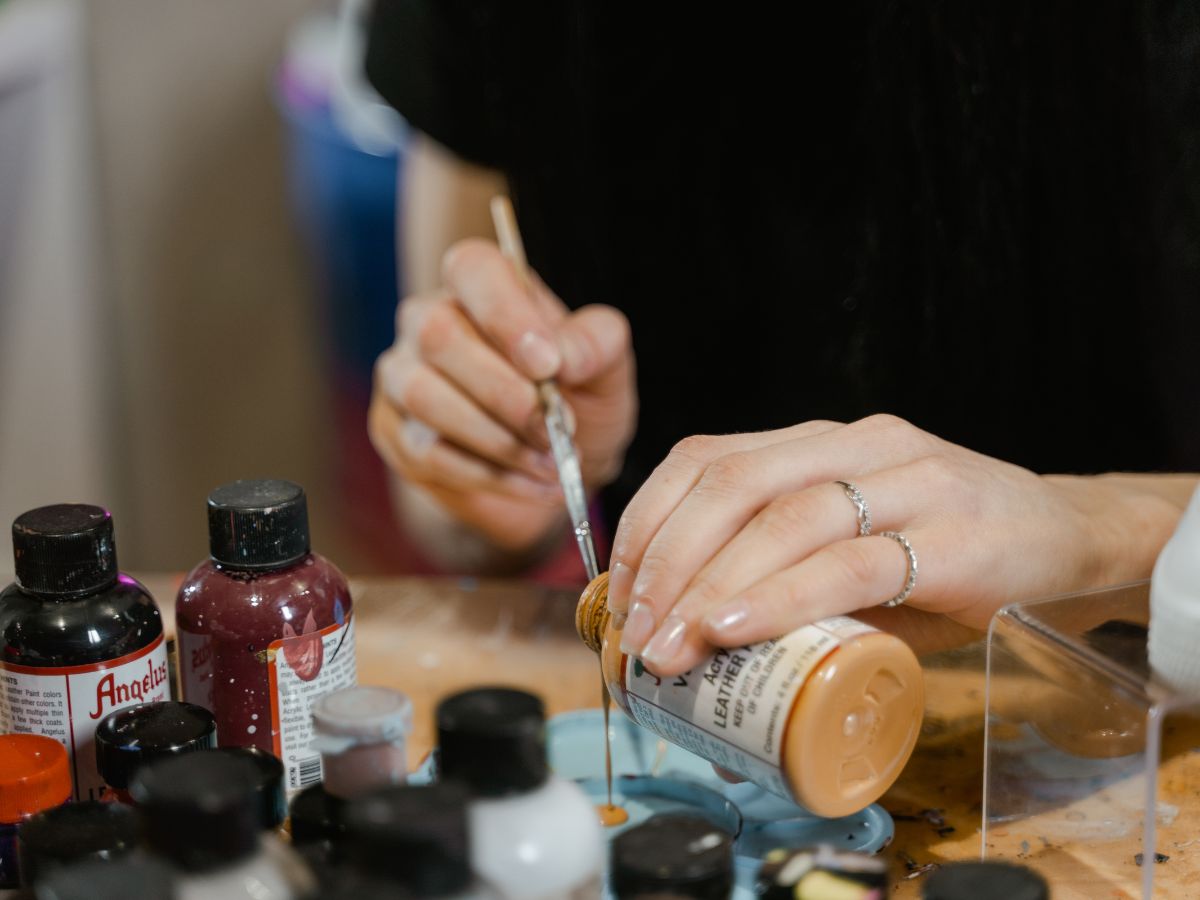
Choose high-quality paints for better consistency and color vibrancy. Start with a few primary colors to mix your own palette. - Pouring Medium
Essential for thinning the paint without diluting its pigment. Popular options include Floetrol, Liquitex Pouring Medium, or DIY mixtures using glue and water. - Canvas or Substrate
Stretched canvas, wood panels, or tiles work well. Ensure the surface is clean and prepped. - Plastic Cups and Stir Sticks
For mixing paint and medium. Use separate cups for each color. - Torch or Heat Gun
Helps eliminate air bubbles and creates “cells” in the paint. - Protective Gear
Wear gloves and use a drop cloth to keep your workspace clean.
Basic Techniques for Beginners:
- The Dirty Pour
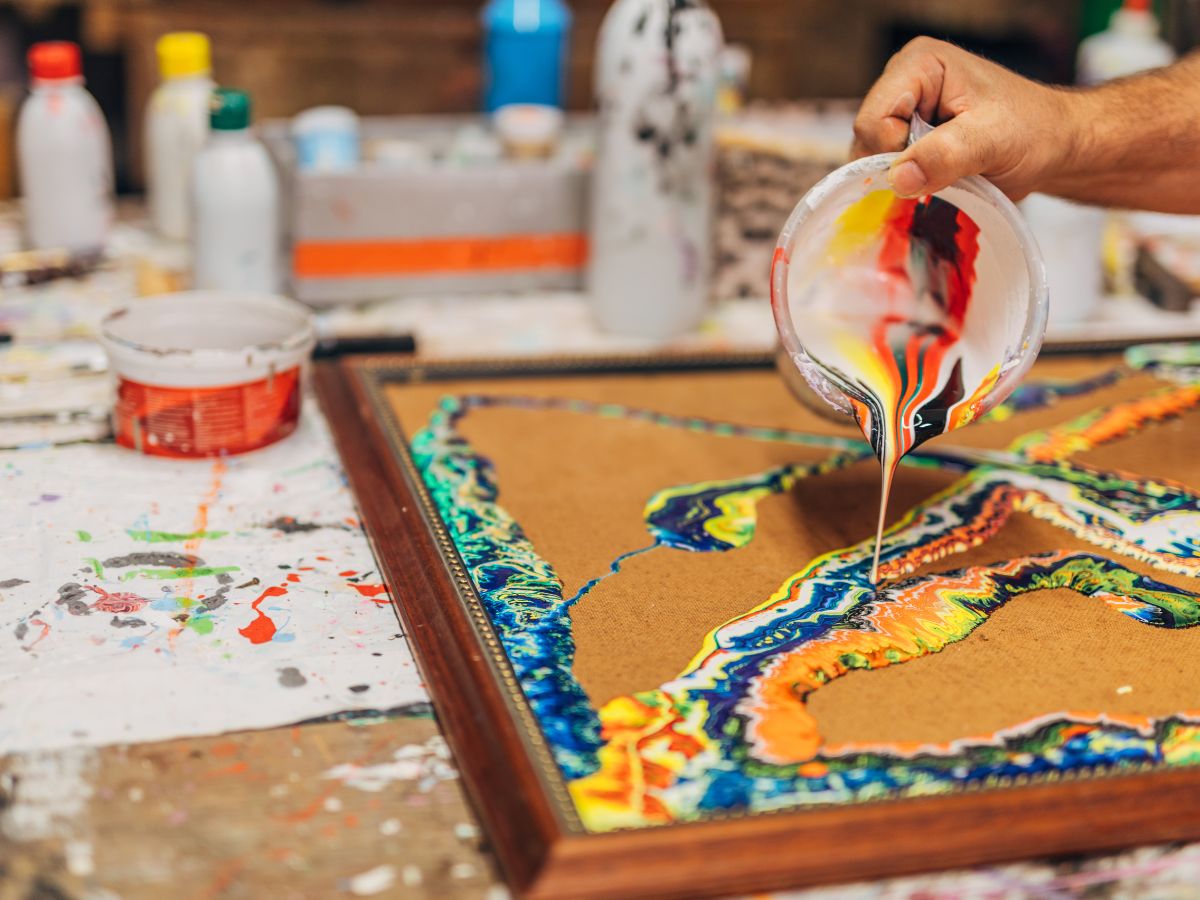
Mix each paint color with the medium in separate cups. Layer the colors into one cup without stirring, then pour the mixture directly onto the canvas. - Puddle Pour
Pour individual colors onto the canvas in puddles, one at a time, and tilt the canvas to allow the colors to flow. - Swipe Technique
Apply paint to the canvas, then use a tool (like a palette knife or paper towel) to swipe across the surface, creating unique blending effects. - Flip Cup Method
Layer paint in a cup, place it upside down on the canvas, then lift the cup to release the paint and tilt the canvas for patterns.
Tips for Stunning Results:
- Consistency is key. Aim for a honey-like consistency in your paint mixture. If it’s too thin, colors will run together; if too thick, they won’t flow.
- Experiment with additives. Add silicone oil or alcohol drops to encourage cell formation.
- Work quickly. Acrylic pouring is a fast-paced process—be prepared to tilt and adjust the canvas immediately after pouring.
- Let it dry properly. Allow the canvas to dry flat in a dust-free environment for 24-48 hours.
Troubleshooting Common Issues:
- Paint cracks when dry. This may occur if the paint is too thick or drying conditions are inconsistent. Add more pouring medium or adjust the environment.
- Colors muddy together. Use fewer colors and avoid overmixing.
- No cells forming. Experiment with additives or adjust the viscosity of your paint.
Acrylic pouring is a rewarding way to express your creativity while producing eye-catching artwork. With practice, you’ll master techniques that make your pieces stand out, paving the way for your unique artistic style.

