Creating an efficient and practical paint palette is an essential skill for art students. A well-organized palette helps manage colors effectively, enhances the painting process, and can significantly improve the overall quality of the artwork.
Here’s a guide on how to make a paint palette tailored for art students.
1. Choosing the Right Palette
The first step in making a paint palette is selecting the right type of palette. There are several options available, each with its own advantages:
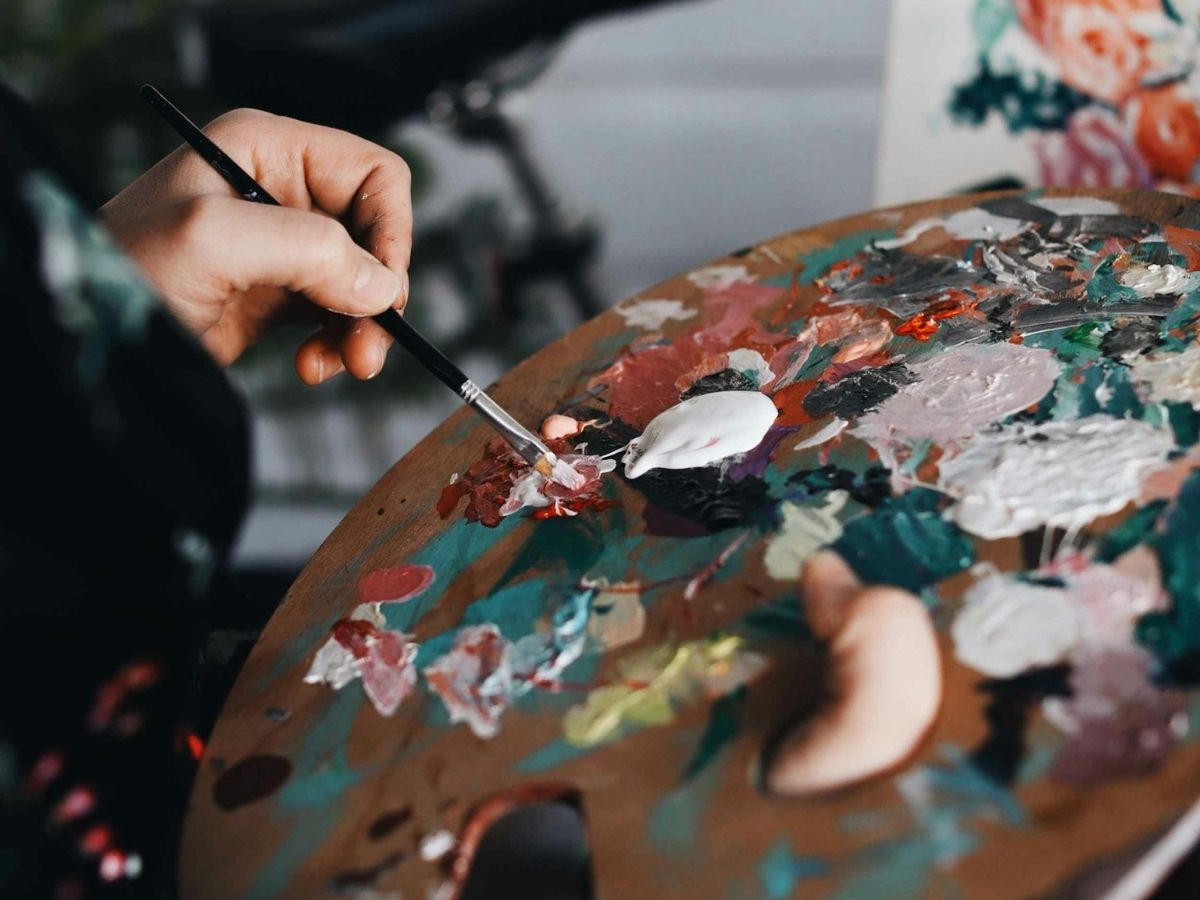
- Wooden palettes – Traditional and durable, wooden palettes are ideal for oil painting. They develop a natural patina over time, which can be beneficial for mixing colors.
- Plastic palettes – Lightweight and easy to clean, plastic palettes are suitable for all types of paint, including acrylics and watercolors.
- Glass palettes – Glass palettes are easy to clean and provide a smooth surface for mixing colors. They are especially useful for oil and acrylic paints
- Disposable palettes – Made from palette paper, these are convenient for quick clean-up and are perfect for students who prefer not to spend time on cleaning.
2. Organizing Your Palette
Here’s how to set up your palette for optimal use:
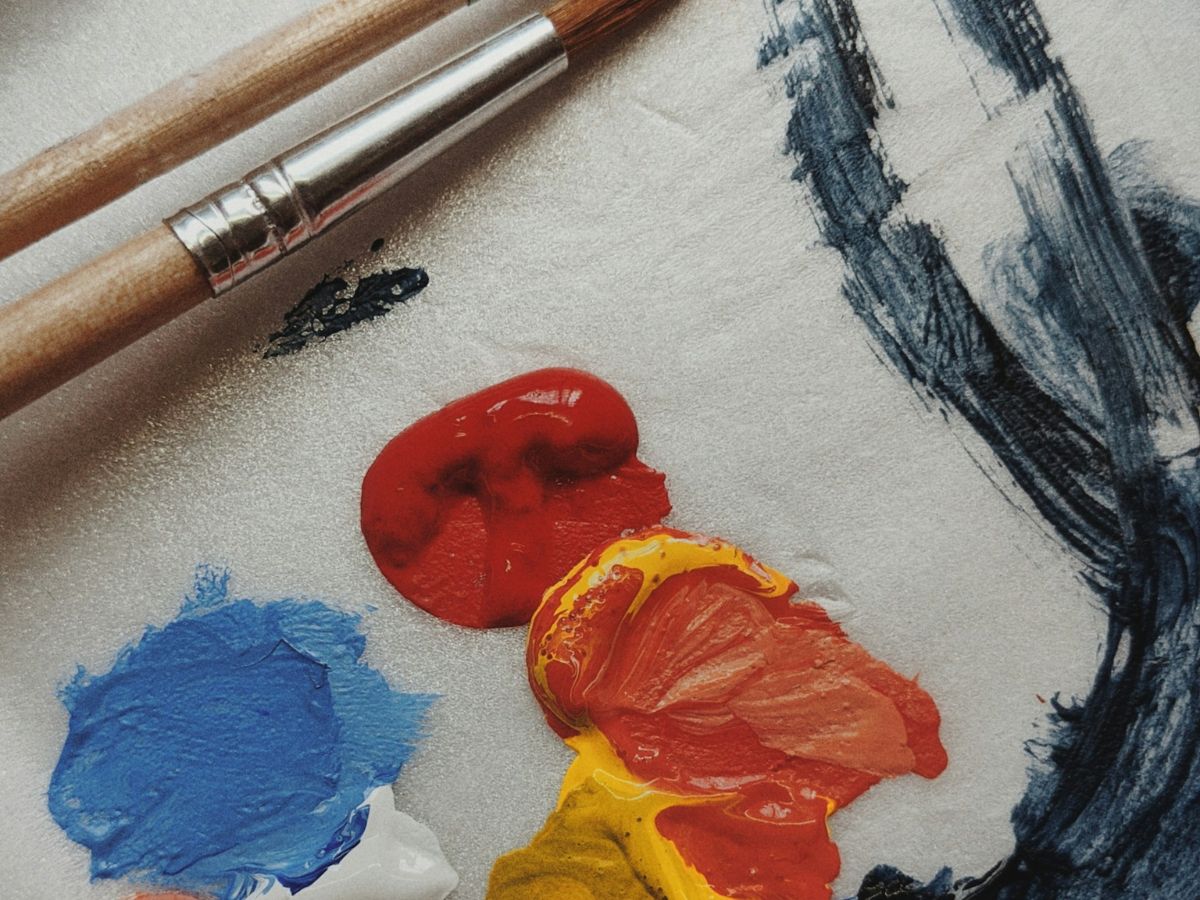
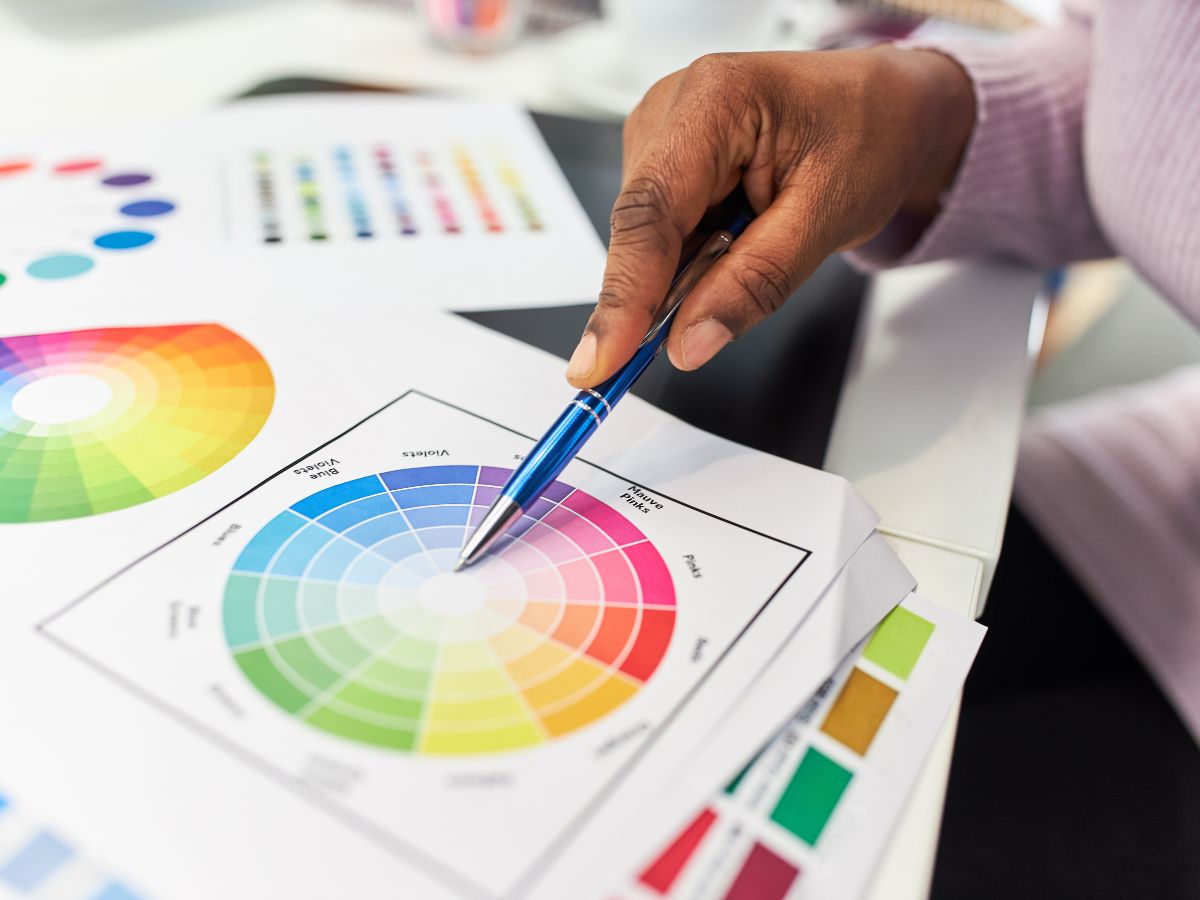
- Arrange colors logically. Arrange your colors in a way that makes sense to you. A common method is to place colors in a circular arrangement, similar to a color wheel. Place the primary colors (red, yellow, blue) first, followed by secondary and tertiary colors.
- Leave mixing space. Ensure there is enough space in the middle of the palette for mixing colors. Crowded palettes can lead to muddied colors and make the painting process less efficient.
- Keep neutrals handy. Place white, black, and any neutral colors you use frequently in an easily accessible spot. These are often needed for mixing tints, shades, and tones.
3. Preparing Your Palette for Use
Before you start painting, prepare your palette to make the most out of your painting session.
- Clean your palette. Make sure your palette is clean and free of any dried paint. A clean palette helps in mixing pure and vibrant colors.
- Dispense small amounts of paint. You can always add more if needed, but it’s easier to avoid waste and keep your palette organized this way.
- Use a palette knife to mix colors instead of a brush. This keeps your brushes clean and prevents unwanted mixing on the brush itself.

4. Mixing Colors Efficiently
Efficient color mixing is key to a successful painting experience. Here are some tips:
- Understand color theory. A basic understanding of color theory helps in mixing the desired hues, tints, shades, and tones.
- Mix colors gradually to achieve the perfect hue. Start with a small amount of the darker color and slowly add the lighter color.
- Test your mixes. Test mixed colors on a scrap piece of paper or canvas before applying them to your artwork. This helps ensure the color is exactly what you need.
5. Maintaining Your Palette
Proper maintenance of your palette extends its lifespan and keeps your colors vibrant.
- Clean regularly. Clean your palette immediately after each painting session. For acrylics and watercolors, warm water and soap work well. For oils, use a palette knife to scrape off excess paint and wipe the palette with a cloth soaked in a solvent like turpentine or mineral spirits.
- Store properly. Store your palette in a dry, cool place. If you’re using a glass or wooden palette, make sure it’s stored in a way that prevents cracking or warping.
Making and maintaining a paint palette is a fundamental skill for art students. By choosing the right palette, organizing your colors, preparing it properly, mixing efficiently, and maintaining it regularly, you can enhance your painting experience and produce better artwork.


