How to Varnish an Acrylic Painting: Step-by-Step Guide for Artists
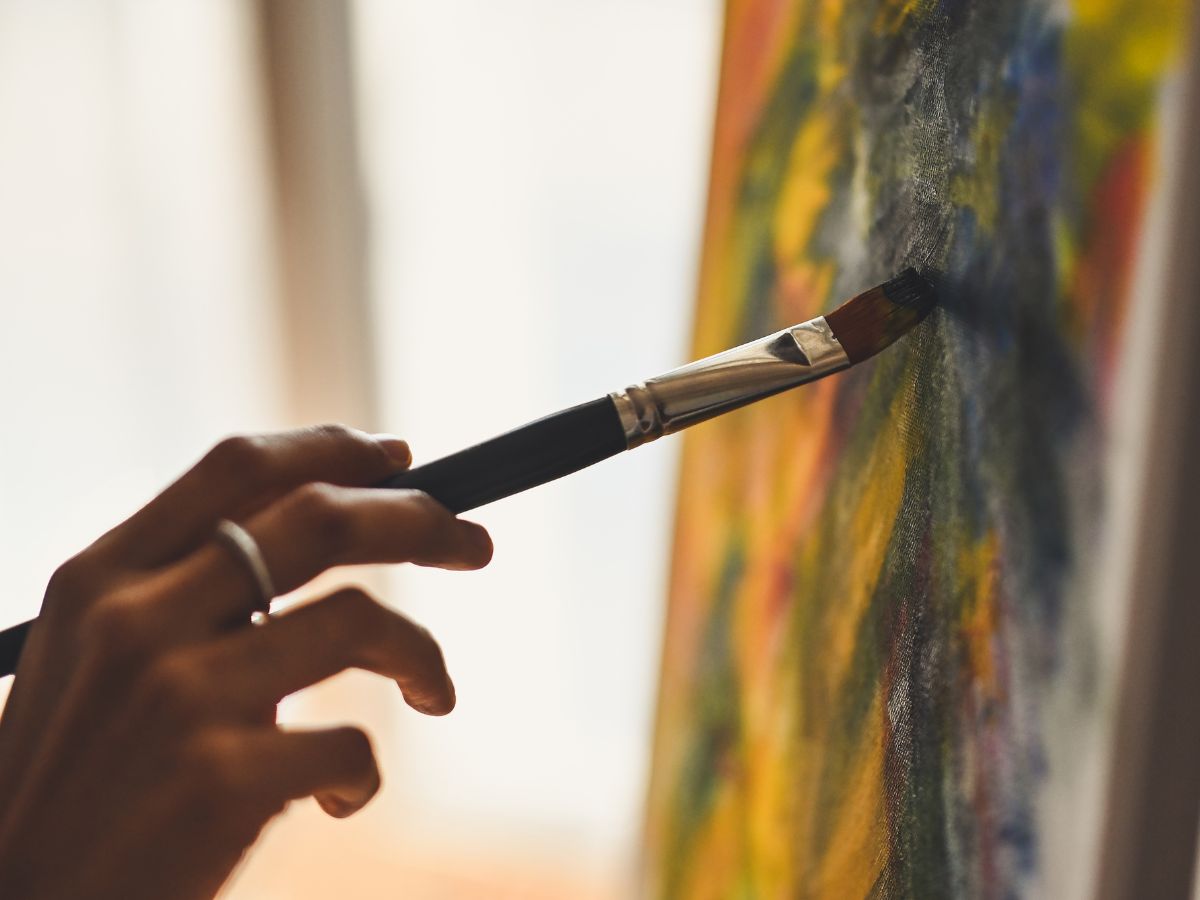
Varnishing an acrylic painting is an essential final step that protects your artwork and enhances its appearance. A varnish not only provides a protective barrier against dust, dirt, and UV rays but also helps to even out the painting’s finish, making the colors look richer and more vibrant. Whether you’re a seasoned artist or new to painting, this guide will walk you through the process of varnishing an acrylic painting successfully.
Why Varnish Your Acrylic Painting?
Acrylic paint, while durable, can still be vulnerable to damage over time. Varnishing seals the surface, protecting it from environmental factors that could degrade the paint. Varnish also prevents fading by blocking harmful UV rays, ensuring your painting maintains its original colors. Also, applying varnish can enhance the texture and depth of your work, giving it a professional finish.
Materials You Will Need:
- Varnish – Choose between a gloss, matte, or satin finish. Gloss varnish gives a shiny look, while matte creates a soft, muted finish. Satin offers a balance between the two.
- Varnish brush – A flat, wide synthetic brush works best.
- Soft cloth – For dusting the painting.
- Clean surface – Lay your painting flat on a table or easel.
Step-by-Step Varnishing Process
1. Make sure that the painting is fully dry. Acrylic paint dries quickly to the touch, but before varnishing, it’s important to ensure it’s completely dry underneath as well. Wait at least a week after completing your painting to varnish.
2. Clean the surface. Use a soft, dry cloth to gently remove any dust or particles from the surface of your painting. Any debris left on the painting will be sealed in once the varnish is applied.
3. Choose the right varnish. There are various types of varnishes, and your choice will depend on the desired effect. Gloss varnish provides a high-shine finish and makes colors appear more vibrant. Matte varnish, on the other hand, softens the colors and reduces reflections. Satin varnish offers a balance between gloss and matte.
4. Prepare the varnish. Varnish can settle in the bottle, so stir it gently (avoid shaking to prevent bubbles). Pour a small amount into a container, so it’s easier to work with.
5. Apply the varnish. Dip your brush into the varnish, removing excess on the edge of the container. Apply the varnish in thin, even strokes across the surface of your painting, working in one direction. Start from one side and move to the other without overworking the varnish. If you brush over the same area too many times, it can create uneven patches or bubbles.
6. Let the varnish dry Allow the varnish to dry completely before applying additional coats. Follow the manufacturer’s recommendations for drying times. A minimum of two coats is recommended for adequate protection, especially if using a matte finish, as it can appear cloudy with only one coat.
7. Add additional coats After the first coat dries, apply a second (or third) coat, this time brushing in a perpendicular direction to the first coat for even coverage. Again, let each layer dry thoroughly before applying the next.
Tips for a Professional Finish
- Work in a dust-free environment to prevent particles from sticking to your varnish.
- Avoid shaking the varnish to prevent bubbles. If bubbles appear during application, lightly brush them out before the varnish sets.
- Test on a small area first to ensure you like the finish (gloss, matte, or satin).
Varnishing is an essential step to protect and enhance the beauty of your acrylic painting. With the right tools and techniques, you can ensure your artwork looks professional and stands the test of time. Whether you prefer a glossy sheen or a matte finish, taking the time to varnish your acrylic painting will safeguard your hard work for years to come.